
It is always good to have a recent backup of important files. After all, a mistake is made in no time or a virus can occur. Or maybe you simply need the files on another device. Performing backups manually is time consuming, tedious and prone to error. Fortunately, there are tools like jaBuT Backup that allow you to automate multiple backup sessions.
The jaBuT Backup tool is of German origin and was developed in 2011. Meanwhile, the diligent maker has already provided more than a hundred releases. We started with the most recent version of July 2020. You can find the Windows tool at www.jabut.de, both in 32 bit and 64 bit. You download the version that suits your system. Don’t you know which one it should be? Then open Windows Explorer, right click on This PC and choose Properties: you can find the information at Type of system. JaBuT Backup is available in both an installable and a portable version. The operation is identical, the portable version has the advantage that you can also put it on a USB stick. Incidentally, it is true that from the installable version at the end you are still ahead Install as a portable version can choose. A little confusing, but okay.
Introduction
After installation, you will see a window with seven tabs that will guide you through the working principles of jaBuT Backup. What we especially remember about this is that the tool works on the basis of profiles, with various backup options that you can have done manually or automatically.
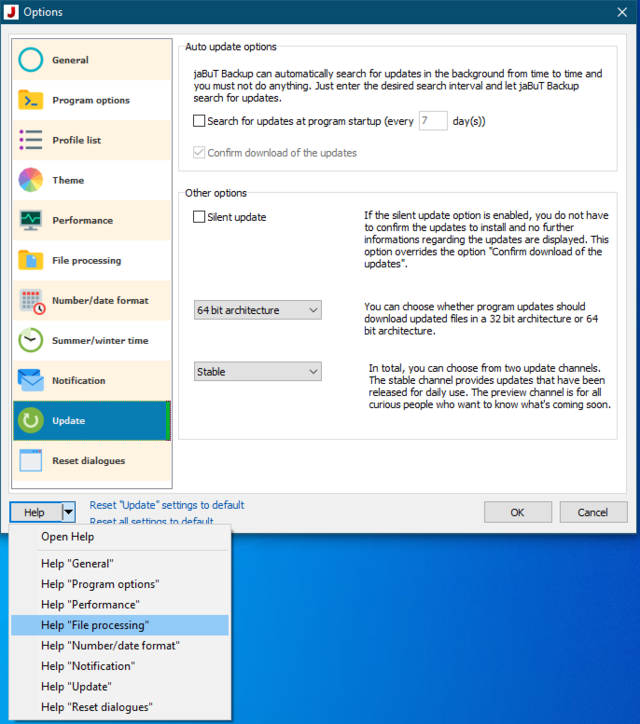
The first time you will receive some animated instructions that introduce you to the graphical environment of jaBuT Backup. You do well with the menu Edit to open and Settings to choose. Here you will find the button at the bottom left Help back which gives you extensive feedback about the program.
Also good to know: in the section Update you can indicate whether the tool can keep itself up-to-date and how often it can check it. Bee Notifications you can indicate a mail server, so that you will also be notified by e-mail after a backup session.
Source and destination folder
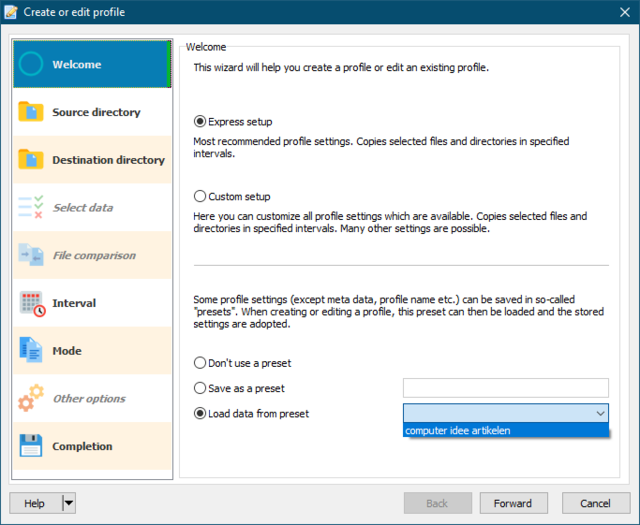
Since jaBuT Backup works with profiles, you must first create such a profile. To do this, press the green plus button so that the window Create or edit profile appears, including the Help-button. In the welcome window, choose between one Express setup and a Custom setup. In most cases, the first is sufficient. You set the source and destination folder, backup interval and type.
Do you choose Custom setup then you can define inclusion and exclusion rules and indicate on the basis of which criteria jaBuT Backup should compare files in source and destination folder. We’ll keep it here for now Express setup. If you think you can use this profile later, choose Save as a preset and enter an appropriate name. You can pick this up afterwards via the option Load data from preset.
Confirm with Forward. Refer to your source folder and leave Include subdirectories checked if you also want to include subfolders. In the next step you indicate a destination folder, preferably on another medium. Mind you, you choose for example e: backups and if you also use this destination folder for other backup profiles, all backups will end up in the same folder by default. It is therefore better to choose something like e: backups
Interval and mode
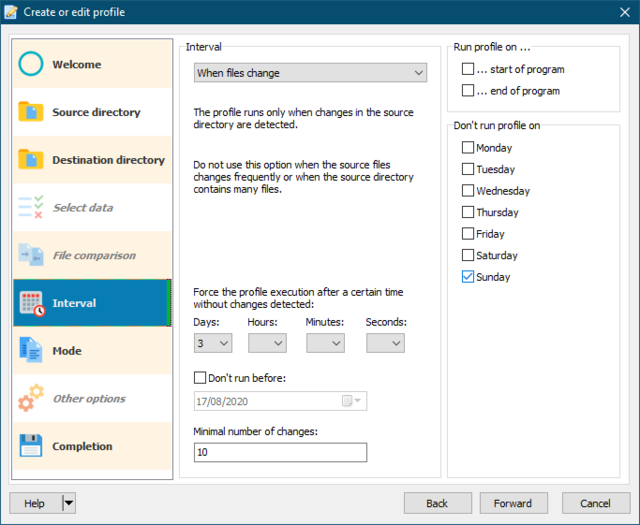
Then you record the backup interval. By default this is set to Manual but you can choose from five more automated modes, including Every few hours and When files change. Bee When files change for example, you determine, among other things, the minimum number of established changes before the backup can start. On the right you can select days on which the backup should not be performed.
In the next window, choose the backup mode. By default jaBuT Backup assumes the type Simple copy, where all files (new or changed) in the source folder that are not in the destination folder are copied. Nothing more, nothing less.
Bee Exact copy on the other hand, files from the destination folder that are not in the source folder are automatically deleted. Move moves all files from the source folder to the destination folder. Files in the destination folder are not overwritten. Do you choose Exact Move then identical files in the destination folder will be deleted as well as files that are not in the source folder.
The type Mirror Copy ensures that the destination folder has exactly the same content as your source folder. Bee Synchronize initiates a two-way copy operation so that all files go from the source folder to the destination folder and vice versa.
Completion and implementation
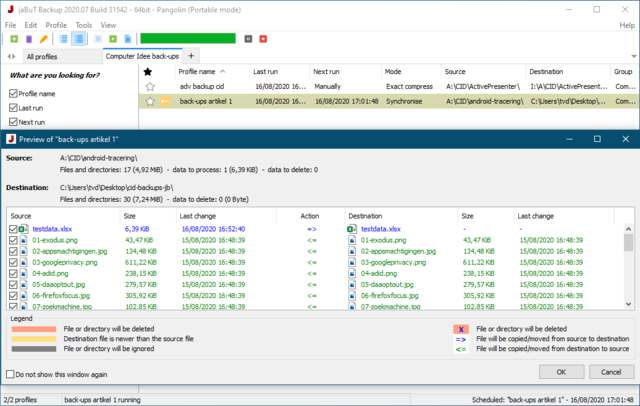
In the last step you choose a profile name. Leave the checkmark here, especially the first few times Show preview before the operation starts stand. You can also group your profile one more time: click on (New profile group) and enter a group name. Confirm with Save. Your profile will be added to the list.
When you right click on this profile, you can perform all kinds of actions, such as Activate / deactivate profile with which you temporarily suspend the execution. There are further important options such as Rename profile, Delete profile, Duplicate profile and Run profile. With the latter you start the profile. By checking the box at Show preview a window will appear in which you can see at a glance what exactly happens with the data when you use OK confirms. Press Cancel if you still want to stop this operation.
To edit the profile, choose Profile properties: you now end up in the window Create or edit profile. You can import and export profiles via the Tools-menu. From the tab All profiles you can search for profiles according to various criteria and search terms.
Custom set-up
You can now of course create other backup profiles. Let’s see what happens if you go before Custom setup choose. You notice that three extra sections are now available: Select data, File comparison and Other options. You are already familiar with the first two steps, determining your source and destination folder. Bee Source directory this time you can choose to transfer the folder structure from the source folder to the destination folder. Suppose the source folder is c: data computer total, then in the destination folder the subfolders become c data computer total created.
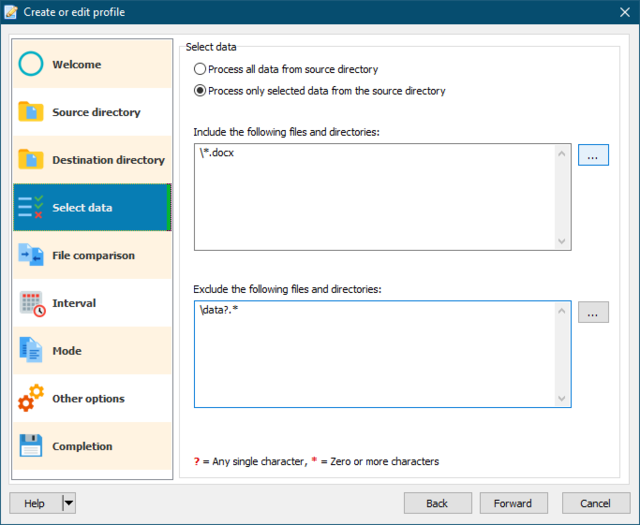
After you have registered the source and destination folder, you can access Select data via the option Process only selected data from the source directory indicate which files and folders you certainly do or do not want to include in the backup. You do this using wildcards, such as *.docx or data?. *. A ? represents one character, while a * symbolizes multiple characters.
Comparison and compression
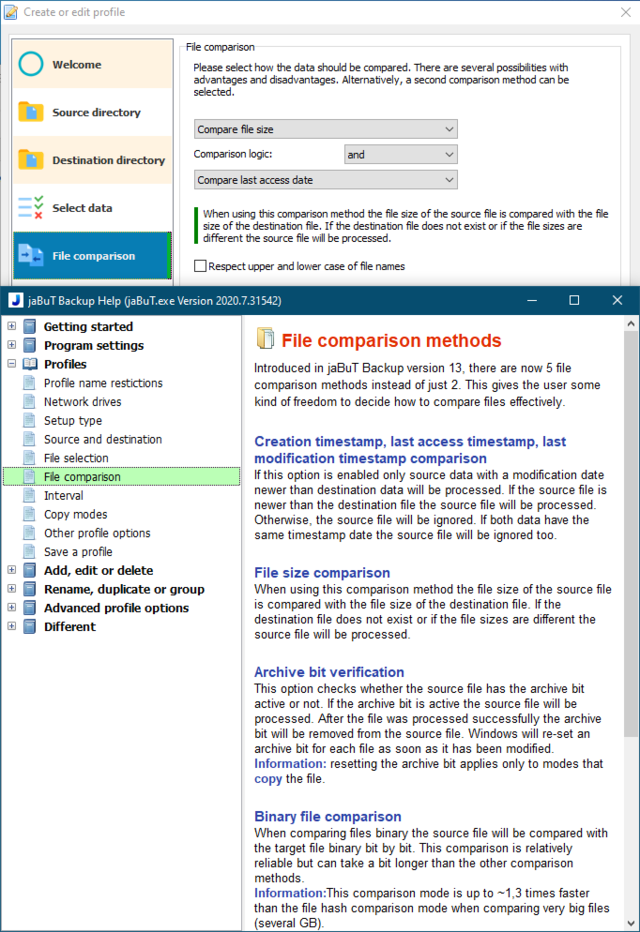
In the section File comparison you can define associated criteria that files in your source and / or destination folder must meet before they are included in the profile execution. Only the backup type Mirror Copy does not care here. There are seven comparison methods, two of which can be combined: via and (both must be met) or with or (it is sufficient if one of them is fulfilled).
Suppose you choose Compare file size and Compare last access date, then only those files are processed whose size not only differs in the source and destination folder, but where the source file was also accessed more recently than the destination file. The Helpfunction you give more feedback on all methods.
The headings Interval and Fashion contain hardly any extras, but now is a good time to explain the two remaining backup types: Compress and Exact Compress. This will create a compressed archive file of all data from the source folder in the destination folder. The second type also removes all data from the target folder if it is not in the source folder. Click on either type Show advanced archive options, then you can choose from two archive formats: ZIP and 7z (the latter is more compact but slower). You can encrypt the archives from both types and protect them with a password, but at ZIP you should click the tab ZIP options or first one Encryption method designate, such as AES-256.
extra options
Over to Other options, where you can keep older versions of files deleted from the target folder by a profile run. When you click the button here Show advanced profile options additional options become available on four tabs.
For example, you can click the tab Execute programs select applications that should start automatically at the start or at the end of profile execution. Bee Removable media lets you run profiles as soon as you plug in a usb stick.
There are even more options. JaBuT Backup can be precisely controlled via all kinds of parameters from the command line and you can get a Silent Mode Activate with which you switch off almost all visual feedback from jaBuT Backup.
There is no function or tool to restore backed up data, but that can be easily arranged with your regular file explorer, if necessary with some help from an (de) archiving tool if it is free. 7-Zip. An excuse for not having recent backups is no longer valid with jaBuT Backup.
