Teletext has been around for over 40 years and is still popular on television and in the app. But did you know that you can also generate and view teletext yourself with a Raspberry Pi? If that’s not nostalgia!
Wim de Wijgaert
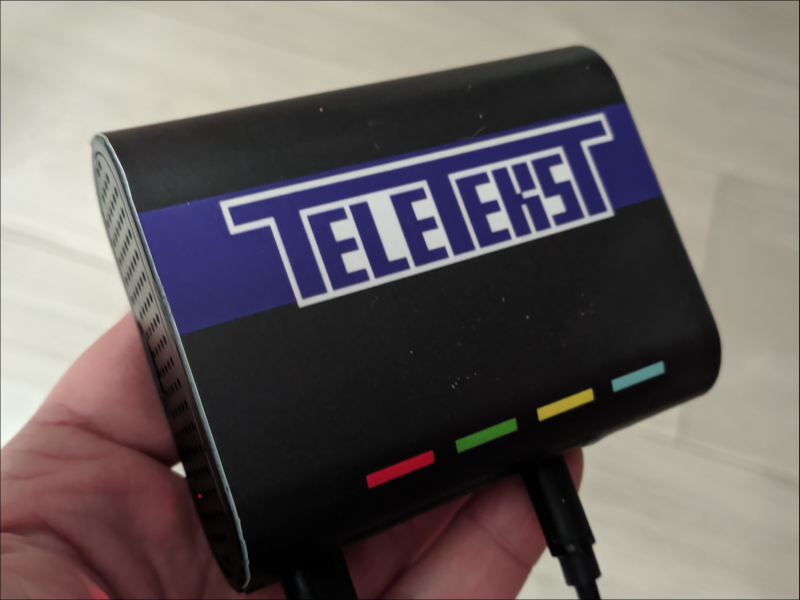 |
| Raspberry Pi case with homemade Teletext stickers |
The NOS has been broadcasting teletext continuously since 1 April 1980. The somewhat corny looking pages with news and sports messages are still surprisingly often consulted. And not only via television, but also via the special app, which is opened about 600,000 times a day. With a Raspberry Pi you can watch teletext services from hobbyists on your television and possibly also get started yourself. What do you need for that?
GROCERY LIST
- A Raspberry Pi with 3.5mm audio/video jack (this excludes the Raspberry Pi 400, for example);
- A power supply and housing for your Raspberry Pi;
- A 3.5mm male to 3 x RCA (composite) male audio video cable (red, white, and yellow plugs);
- A micro SD card of at least 4 GB; • An (old) television with a built-in teletext decoder and three analog RCA composite inputs (red, white, yellow).
WHAT IS TELETEXT?
Teletext was invented by the BBC, where it was used from 1975. In Flanders and the Netherlands, broadcasting started in 1980. Typical for teletext is that each page has a three-digit number. After entering the numbers, the page is searched. In the past, it was necessary to wait for a while before the requested page appeared on the screen, because the unsolicited pages are also broadcast sequentially. On more recent televisions, all pages are cached and are visible after an initial short wait. The graphics capabilities of the original teletext protocol are limited to eight colors and a number of mosaic characters, just like the Viditel/Videotex protocol, which dates from the same period. There have been several revisions up to ‘level 3.5’, but there are hardly any teletext services that take advantage of the new features. Teletext remains a widely used source of information in the Netherlands because of its brevity.
HIDDEN?
The teletext signal is hidden in the top (not visible) picture lines of the analog television signal. With a combination of the programs VBIT2 (github.com/peterkvt80/vbit2) and Raspi-teletext (github.com/ali1234/raspi-teletext) we can generate these video lines ourselves via the video output of the Raspberry Pi. In order to actually view teletext, you therefore need a somewhat older television with which you can still watch an analog signal.
To work
1. INSTALLING THE OS
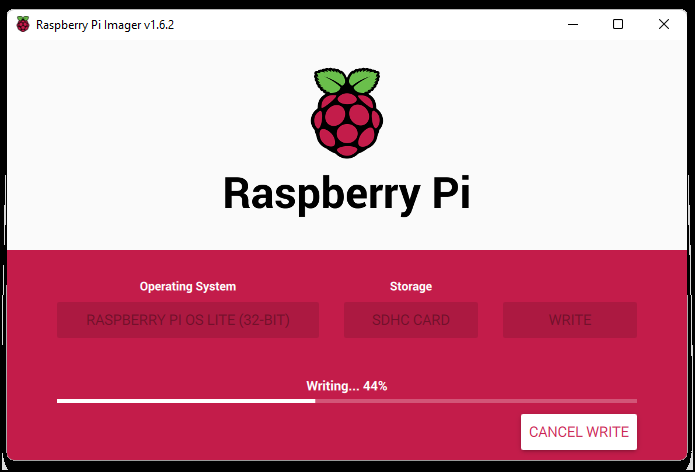
We’ll start by putting the Raspberry Pi operating system on a micro SD card. If you’re using Windows, this is easiest with the Windows Raspberry Pi Imager (raspberrypi.com/software). Insert the card into your Windows computer and run the program. Choose OS for Raspberry Pi (other) and then Raspberry OS Lite (32-bit). Bee Storage choose the drive letter of the micro-sd card. At the touch of a key combination Ctrl+Shift+X then open additional settings. Select Enable SSH and type any password. Finch Set local settings on and choose Europe/Amsterdam. If you want to use a WiFi connection, select Configure Wi-Fi and enter the details of your WiFi network here. Finally you choose Save and write. When the writing is done, insert the micro SD card into your Raspberry Pi.
2. INSTALL SSH
To connect to the Raspberry Pi we need an SSH client. Don’t have these yet? Then open the Windows Start menutick Optional features in the search bar and install the OpenSSH client.
3. START BEFORE
Start the Raspberry Pi and wait a few minutes. Now find your Pi’s IP address. This can be done, for example, with the Fing program on your mobile phone or often also via the web interface of your router.
Open the Command Prompt on your Windows machine and type: ssh <IP-adres van d Raspberry Pi> -l pi
You will be asked if you trust the connection, choose here yes. Use the password you chose in the first step.
4. INSTALL PROGRAMS
You are now connected to the Raspberry Pi.
We will first provide the operating system with the necessary updates.
Type the following commands: sudo apt update sudo apt upgrade
(choose yes if there is a question if you want to update)
We then take out Getty: sudo systemctl disable getty@tty1
While watching teletext, we also want to show the user instructions and play some music in the background. For this we install FBI (an image viewer) and VLC (to play videos): sudo apt install fbi vlc
(type Y to confirm download)
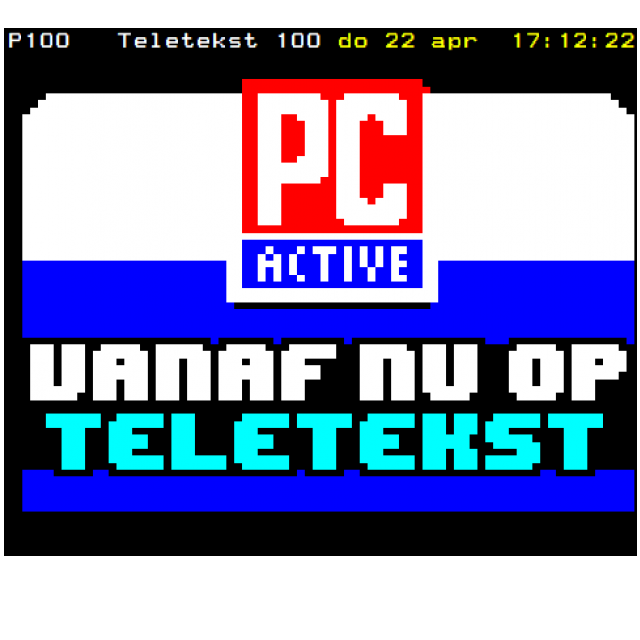
Then we download the image to be shown during the Raspberry Pi startup: sudo wget “https://www.tt-edit.com/teletext.png” -O /opt/splash.png
We will now create two services, one to display the image we just retrieved and another to play the music in the background.
Tap: sudo nano /etc/systemd/system/splashscreen.service
and put the following here:
[[Unit] Description=Show background After=local-fs.target [Service] ExecStart=/usr/bin/fbi -d /dev/fb0 --noverbose -a / opt/splash.png StandardInput=tty StandardOutput=tty
Of Ctrl+X you can save the document.
Then tap: sudo nano /etc/systemd/system/music.service
and put the following here:
[[Unit] Description=Play music Wants=network-online.target After=network-online.target [Service] Type=idle User=pi ExecStart=/usr/bin/cvlc http://www.101smoothjazz.com/101-mellowmix.m3u
Restart=always
We activate both services with: sudo systemctl enable splashscreen music
The teletext software also needs some adjustments in a number of configuration files.
Tap: sudo nano /boot/config.txt
and see if you can find the following line: dtoverlay=vc4-kms-v3d
If yes, put a # before it.
Finally add at the bottom after [all] add this line: disable_splash=1
and save the file.
Next, we also want the Pi to boot up without any text on the screen.
To do this, tap: sudo nano /boot/cmdline.txt
and add a space at the end of the line, followed by: logo.nologo quiet
Change in front of the line console=tty1 nasty console=tty3 and save the file again with Ctrl+X.
Finally, we install VBIT2 ourselves with this command: source <(wget -O - https://raw.githubusercontent.com/peterkvt80/vbit2/master/getvbit2)
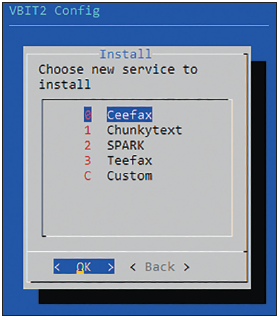 After a while, a blue screen will appear. Choose here Install Service. In the next screen you can have one or more teletext services installed that are maintained by different hobbyists. For example, choose Teefax (a variation of the BBC’s Ceefax). In the options screen you then ask to let VBIT2 start and update automatically on reboot. Restart the Raspberry Pi and connect the three plugs to your television.

 5. DO WE HAVE IMAGE?
On your television, choose the CVBS, composite or AV input (the correct name depends on your device). You should now see a test screen with the text Press the teletext button on your remote. As prompted, press the teletext button on the remote control. If all goes well, you can now browse the installed teletext service. If you don’t have a signal on the television, try swapping the plugs. Often the colors do not match.
6. CREATE YOUR OWN TELETEXT?
Are you a real fan? Then it is also possible with some effort and effort to design a teletext service yourself and add it to VBIT2. Instructions for this can be found on VBIT2’s Github page (github.com/peterkvt80/vbit2).
Have fun watching and making!