Win or lose… With FreeSync turned on, the answer is already determined!

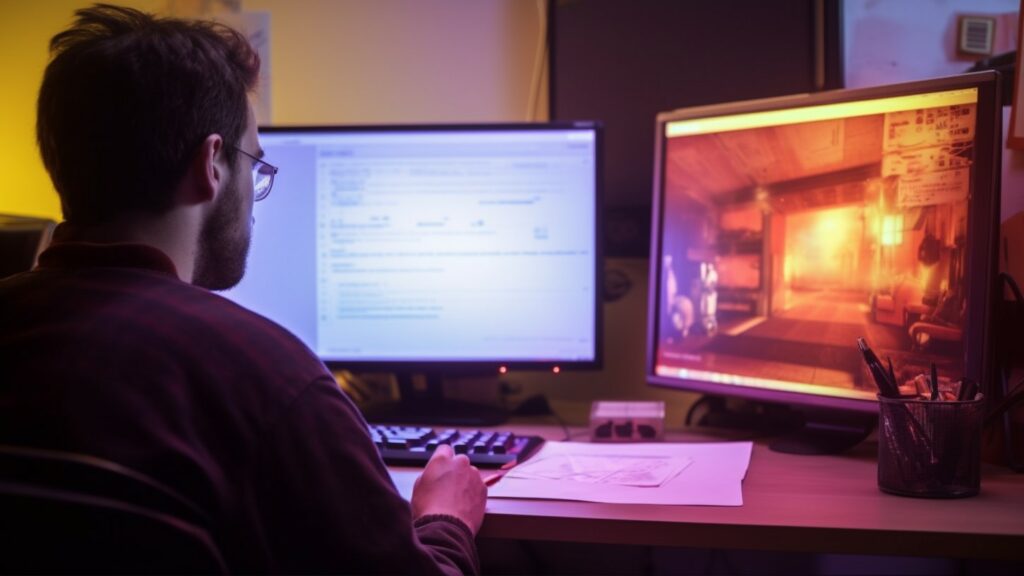
Are you stuck in a world of choppy games and annoying screen tearing? Do not worry! This guide will help you enable FreeSync, specifically for NVIDIA graphics cards .
I’ve found that FreeSync makes a world of difference. With the help of this technology, you will enjoy a smoother and more immersive gaming experience! In this article, I’ll discuss the pros and cons of FreeSync, and provide you with a step-by-step guide to setting it up on your own system. Let’s get started ! 🎮
Key points summarized:
- FreeSync technology enhances the gaming experience by addressing screen sync issues such as screen tearing and stuttering.
- FreeSync offers benefits such as reduced input lag, improved image quality and power savings for gamers and graphics professionals alike.
- Enabling FreeSync requires a compatible monitor and graphics card, the correct cables, and activating settings in both the monitor and graphics card software.
What is FreeSync and why would you want to enable it?
FreeSync is a technology developed by AMD to address screen sync issues such as screen tearing and stuttering.️
It works by matching your monitor’s refresh rate to the output of your graphics card, so your monitor displays images more smoothly and without stutter.
Enabling FreeSync is especially useful for gamers and graphics professionals looking for a smooth and seamless gaming experience. I may not be a graphics professional, but I enjoy gaming. FreeSync offers me a lot of positives and I’m happy to make sure it can offer you the same.
FreeSync offers a number of advantages over other screen synchronization techniques, such as NVIDIA’s G-Sync, and is often available on the best gaming monitors.
Benefits of FreeSync for Gamers and Graphics Professionals
Enabling FreeSync significantly improves your gaming experience in most cases. Some advantages are:
- Reduced input lag and screen tearing, making for smoother gameplay.
- Improved image quality and smoother animations, making your games look better.
- Energy savings and longer monitor life.
1. Check if your monitor and graphics card support FreeSync
Before enabling FreeSync, please make sure that both your monitor and graphics card support this technology. Check the product specifications of your monitor, for example the best 144 Hz monitors , to see if it is FreeSync compatible.
Although FreeSync was originally developed by AMD, some NVIDIA graphics cards are also compatible with this technology. Check your graphics card specifications and look for information about FreeSync support. Otherwise, see if G-Sync works and might be a good alternative.
List of popular NVIDIA graphics cards
Some NVIDIA graphics cards that support FreeSync include:
- GeForce RTX 20 Series
- GeForce GTX 16 Series
- GeForce GTX 10 Series
2. Install the latest drivers for your graphics card
Updating your graphics card drivers is crucial for enabling FreeSync. Newer drivers often contain improvements and bug fixes that improve FreeSync compatibility and performance.
To find and install the latest NVIDIA drivers , visit the official NVIDIA website. Find the correct driver for your specific graphics card model and follow the instructions to download and install it. This ensures that you have the best possible support for FreeSync on your system.
You can read more about how to do this below. 👇
Download and install NVIDIA drivers
First and foremost, make sure you have installed the latest drivers for your NVIDIA graphics card. That’s how you do that:
- Visit the NVIDIA Driver Downloads page.
- Select your graphics card and operating system (usually Windows) from the drop-down lists.
- Click ‘ Search’ and then ‘Download’ to download the installation file.
- Open the downloaded file and follow the on-screen instructions to install the driver.
- Restart your PC after installation.
Voila ! You are now ready to proceed with connecting your monitor.️
3. Connect your monitor to the graphics card with the appropriate cable
It is important to use the correct cable and connector to connect your monitor to your graphics card. This ensures that FreeSync works optimally. 🌟
Recommended cables and connectors are DisplayPort 1.2 or higher and HDMI 2.0 or higher, which support the bandwidth required for FreeSync.
The importance of choosing the right cable and connection
The wrong cable or connection can negatively affect FreeSync and even make it unusable. That’s why it’s important to choose the best cable and connection for your setup. Check the specifications of your monitor and graphics card to find out which connectors are compatible.
4. Activate FreeSync in your monitor settings
Now that you’ve got everything connected, it’s time to enable FreeSync in your monitor’s settings.️
You do this as follows:
- Turn on your monitor and press the menu button (usually a physical button on the monitor).
- Navigate to the Picture Settings or Advanced Settings section.
- Search for “FreeSync” or “Adaptive Sync” and enable it.
- Save the settings and exit the menu.
Congratulations! You have activated FreeSync on your monitor. But we’re not quite there yet…
Navigate through your monitor’s menu and enable FreeSync using the manual
Each monitor’s menu is different, so it’s important to refer to your monitor’s manual for specific instructions. If you no longer have the manual, it can often be found online at the manufacturer’s website. 📚
5. Enable FreeSync through your graphics card software
Now that FreeSync is enabled on your monitor, you also need to activate it in your graphics card software. In this case, that is the NVIDIA Control Panel.️
Enable FreeSync in the NVIDIA Control Panel
Follow these steps to enable FreeSync in the NVIDIA Control Panel:
- Right click on the desktop and select ‘Nvidia Control Panel’. Sometimes you first have to click on ‘Show more options’.
- Open the ‘3D Settings’ section and click ‘Set up G-Sync’.
- Check ‘Enable G-Sync’ and select your monitor from the list.
- Click ‘Apply’ to save the settings and close the window.
Done! FreeSync is now enabled on both your monitor and graphics card. Enjoy your smooth gaming experience!
6. Test and optimize your FreeSync settings for the best gaming experience
Now that FreeSync is enabled, it’s time to test if everything is working properly. A good way to do this is to play different games and see if you see a smoother picture without stuttering or tearing.
Setting the correct refresh rate is also important, as this determines the refresh rate of your monitor.
How to correctly test FreeSync and set the correct refresh rate
When testing FreeSync, it is an option to use special testing programs, such as G-SYNC Pendulum Demo. These tools show you how FreeSync performs in different situations.
If you’re happy with the performance, set the optimal refresh rate through your graphics card’s settings. This is usually the maximum refresh rate your monitor supports, but if you experiment with different values, you’ll see which works best for your situation.
FreeSync and Troubleshooting FAQs
FreeSync can sometimes raise some questions or cause problems. Don’t worry, I’m happy to help you with some frequently asked questions and solutions to common problems. 👍
What if FreeSync doesn’t work? Troubleshooting tips
If FreeSync is not working as expected, there are several things to try:
1. Check if the latest graphics card drivers are installed.
2. Make sure that both your monitor and graphics card support FreeSync.
3. Make sure you are using the correct cable to connect your monitor and graphics card.
4. Check that FreeSync is enabled in both the monitor settings and your graphics card software.
What is the difference between FreeSync and G-Sync?
They are both synchronization techniques that give monitors a variable refresh rate. FreeSync is a technology from AMD and G-Sync from NVIDIA. It’s a battle between two titans: FreeSync vs. G sync. Which one is best depends on your specific situation and preferences.
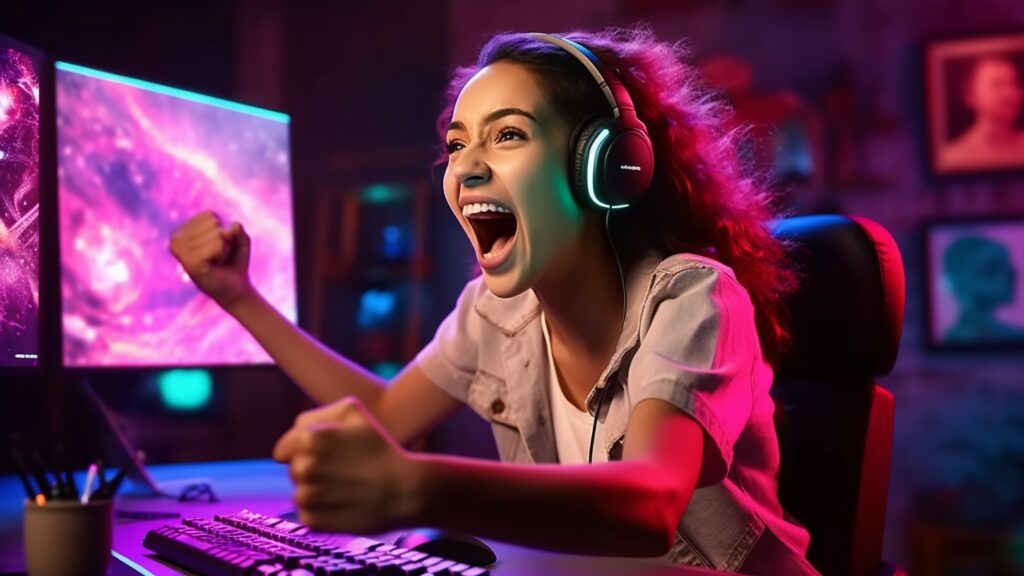
Enjoy a smoother gaming experience with FreeSync enabled
With FreeSync enabled, you’ll soon notice your gaming experience improve significantly. No more stuttering images or screen tearing, so you can fully focus on your game.
The impact of FreeSync on your everyday gaming experience
FreeSync ensures that your display and graphics card are more in sync, resulting in a smoother gaming experience.
Many gamers who have FreeSync never want to be without it. It makes a big difference, especially in competitive games where every frame and millisecond matter. So what are you waiting for? Turn on FreeSync and experience the difference for yourself!
Conclusion
After reading this article, you should be able to successfully enable FreeSync and experience a significantly smoother gaming experience! Remember that FreeSync is not just for gamers, but also for graphics professionals who want to take advantage of a smoother screen.
In short, what are you waiting for? Enable FreeSync and dive into your favorite games without annoying interruptions! Also, don’t forget to keep an eye on our website for more helpful articles and guides. Have fun gaming!️ 😄