The first version of ChatGPT (Generative Pre-trained Transformer) was launched at the end of 2022. It is a conversational generative artificial intelligence that has created a buzz at all levels. All you need is an internet connection and a browser to access ChatGPT. No need to learn any programming language, the AI understands natural language, you give it your instructions in the language of your choice and it responds in the same way.
Each time you log in to the interface, a new chat session is launched. Past sessions are kept in the sidebar. But you may want to keep a local track of your conversations with ChatGPT. The handling is very simple, follow the guide!
Export your conversations with ChatGPT
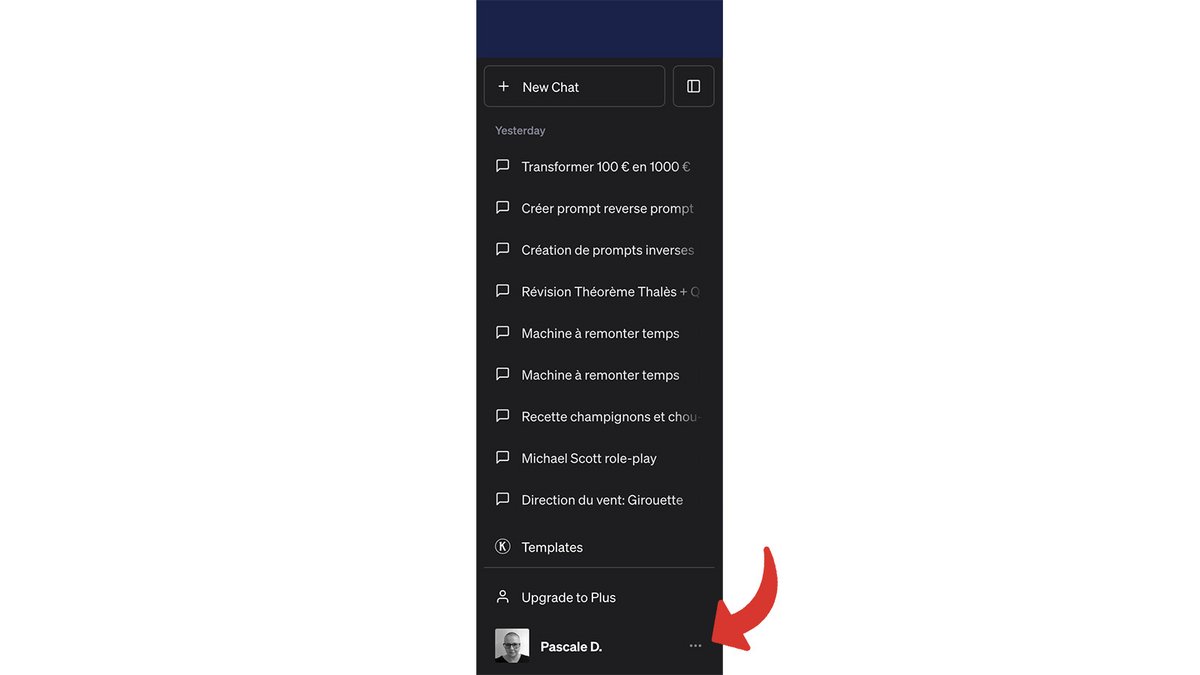
1. Unfold the sidebar
It is by default, but if necessary, you may have to unfold the sidebar to access the menu.
- To do this, simply click on the pictogram at the top left of the page.
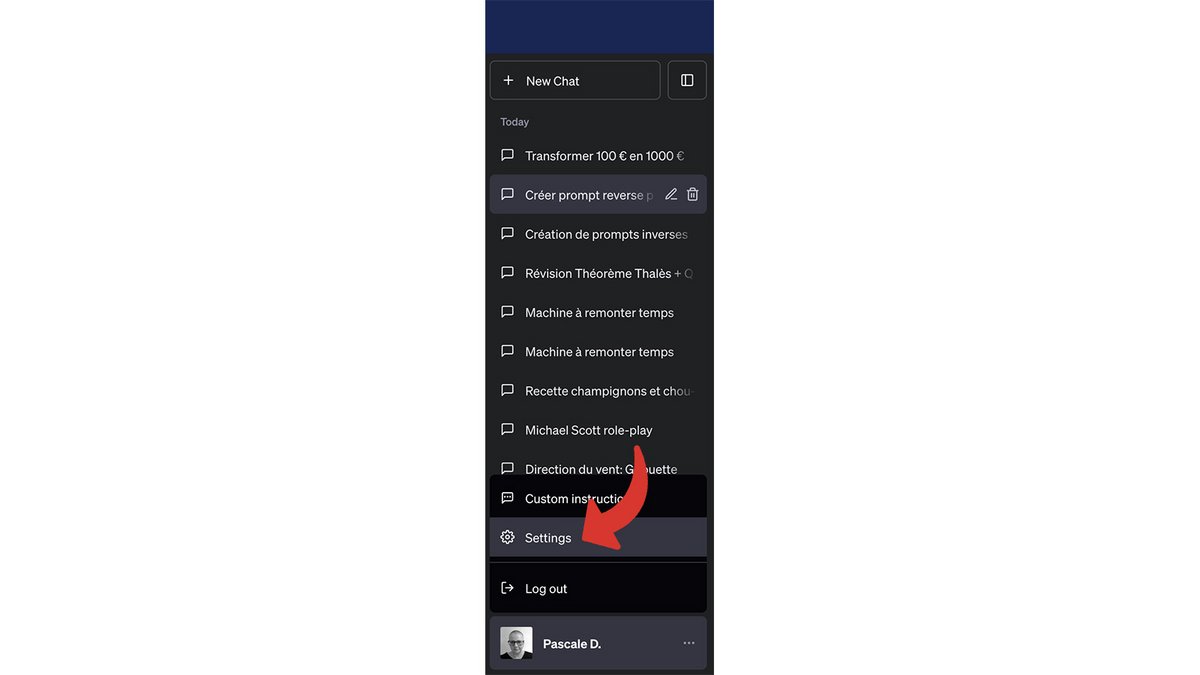
2. Go to Settings
- In the sidebar, click on the 3 dots to expand the menu.
- Then click “Settings” to open the settings window.
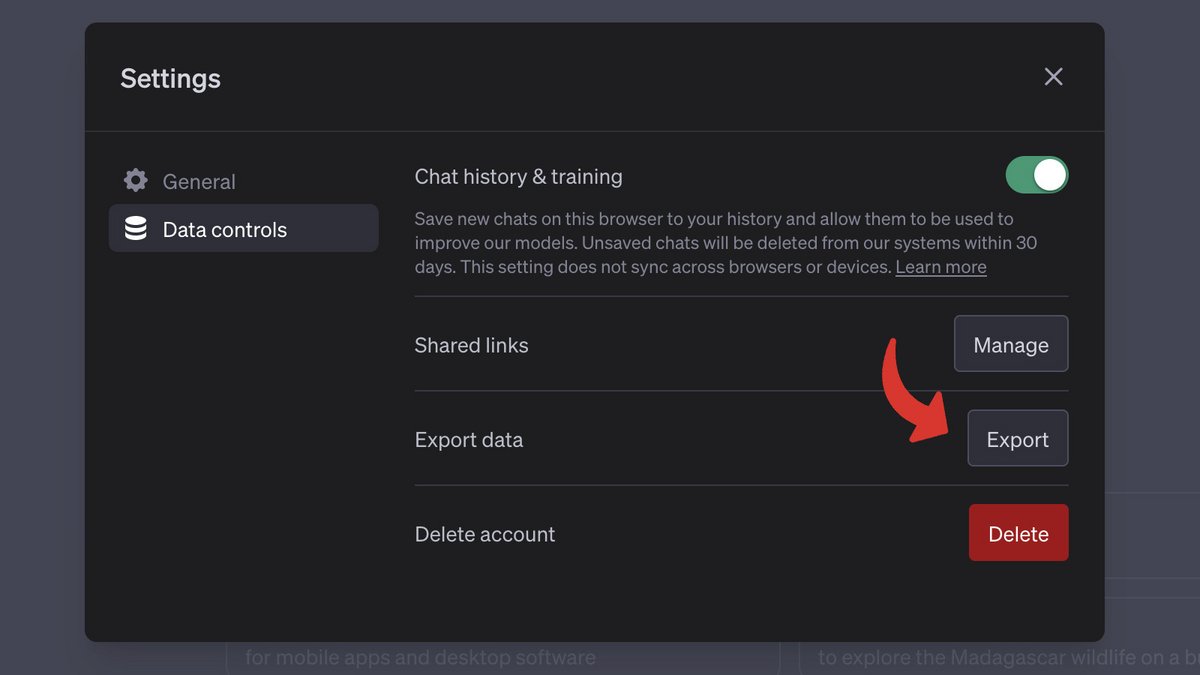
3. Access the data control panel
-
From the settings window, click “Data Controls”.
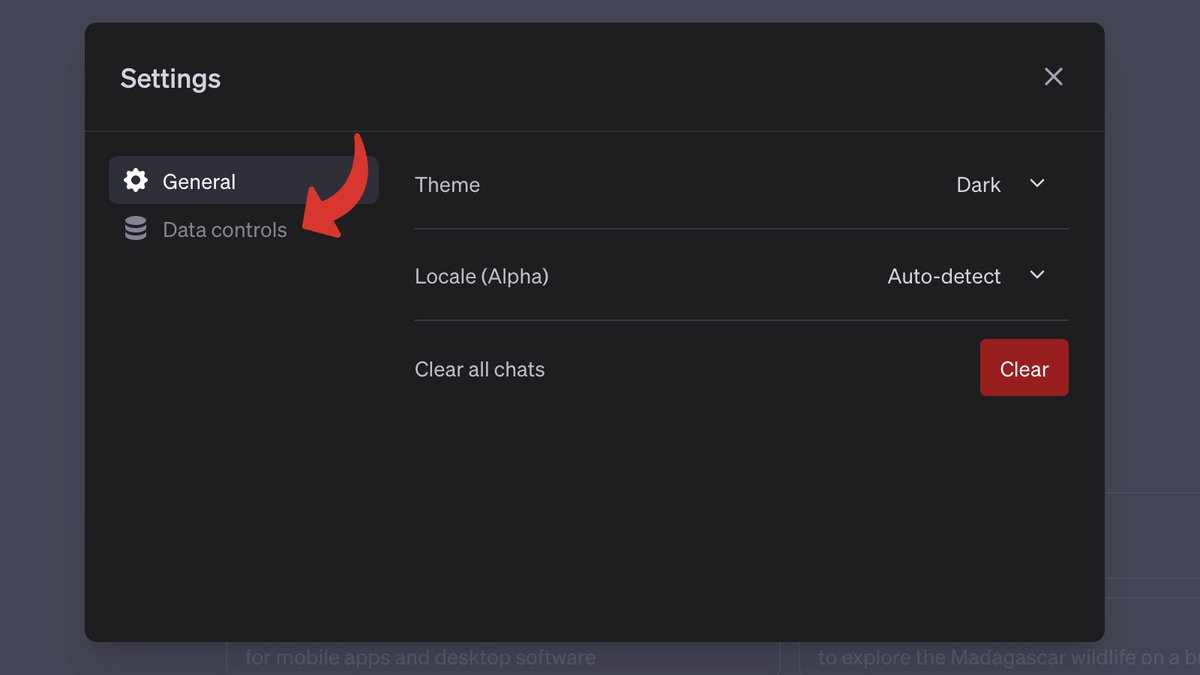
You then access the panel which allows you to manage history, shared links, data export and account deletion.
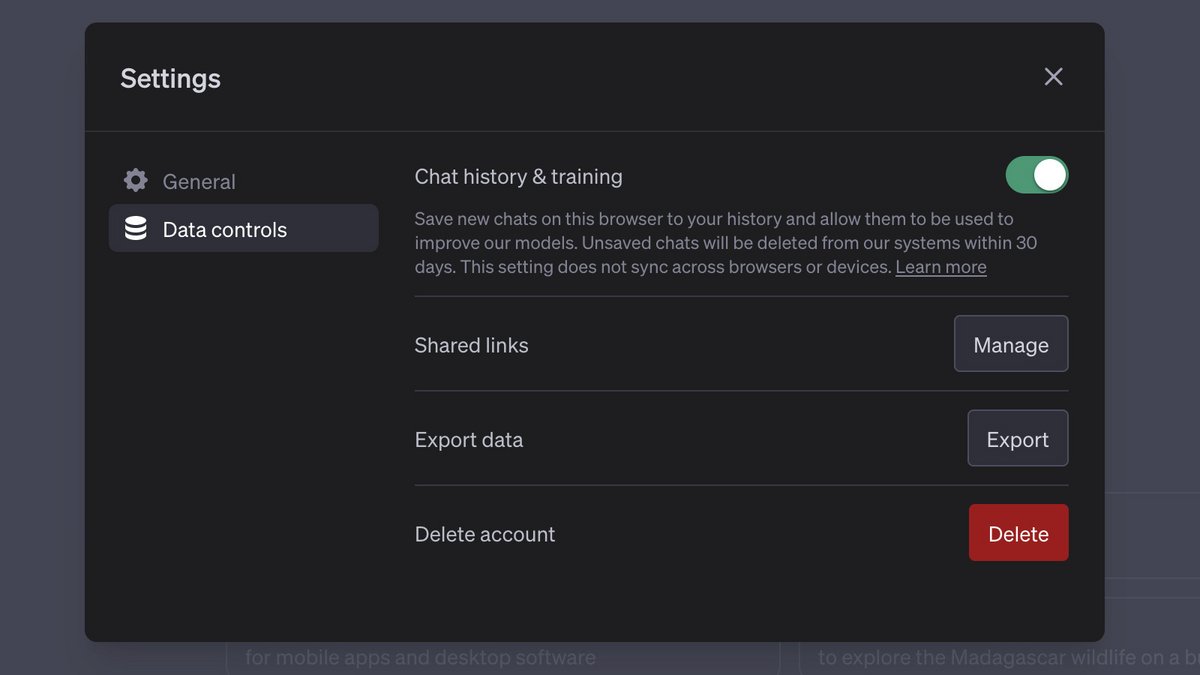
4. Start data export
- Click on the “Export” button to export the data.
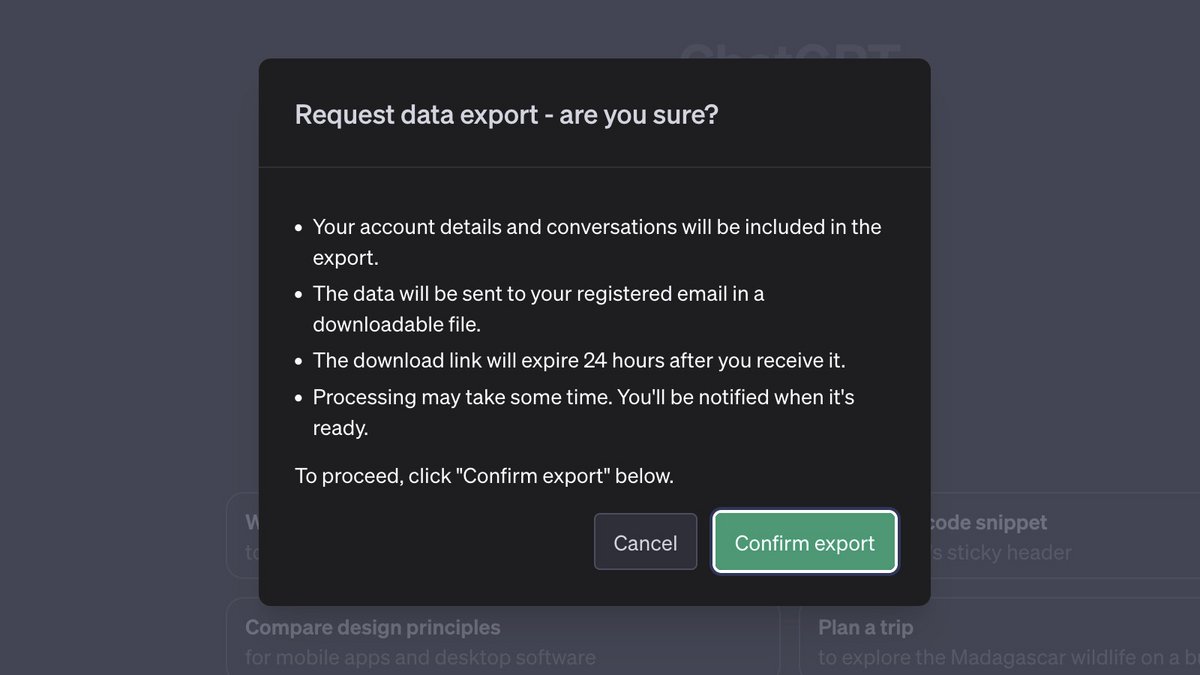
A confirmation message reminds you of all the consequences of exporting the data:
-
account details and conversations will be included in the export;
-
the data will be sent to the account registration email address via a downloadable link;
-
the download link will expire after 24 hours;
-
the process may take some time, you will be notified as soon as it is completed.
-
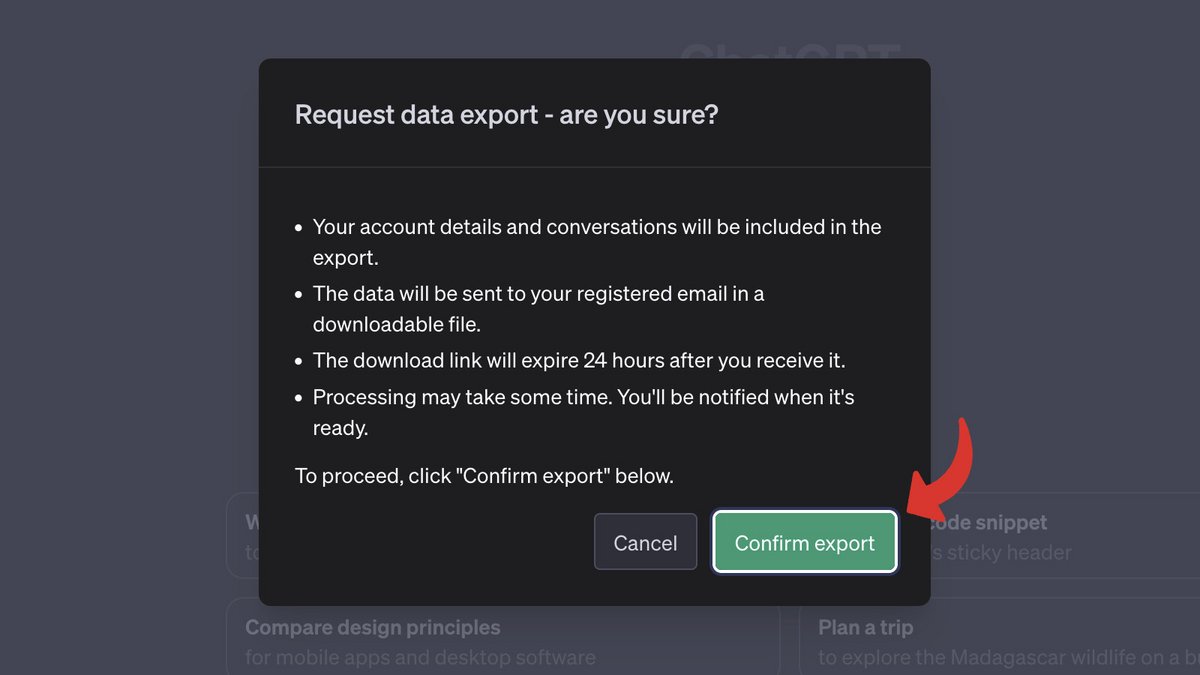
Click “Confirm Export” to confirm the data export.
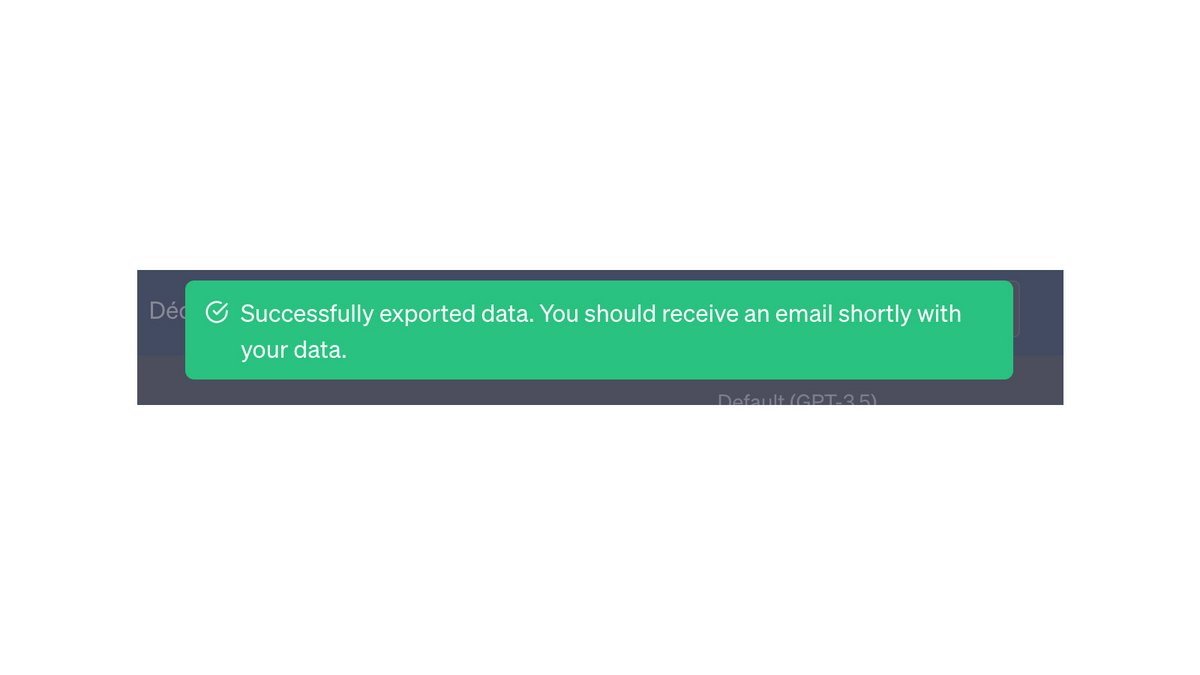
A message on a green background validates the operation and announces the receipt of an e-mail containing the exported data.
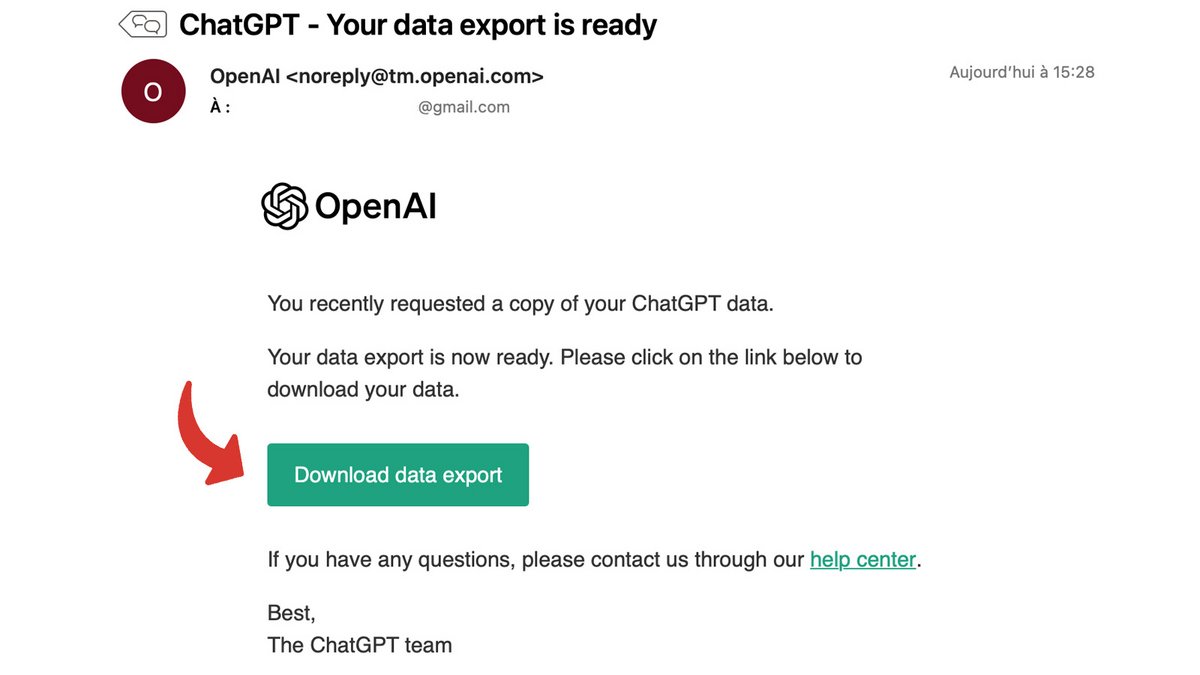
5. Recover the exported data
You will receive an email with a link to a downloadable file. This file contains your ChatGPT conversations.
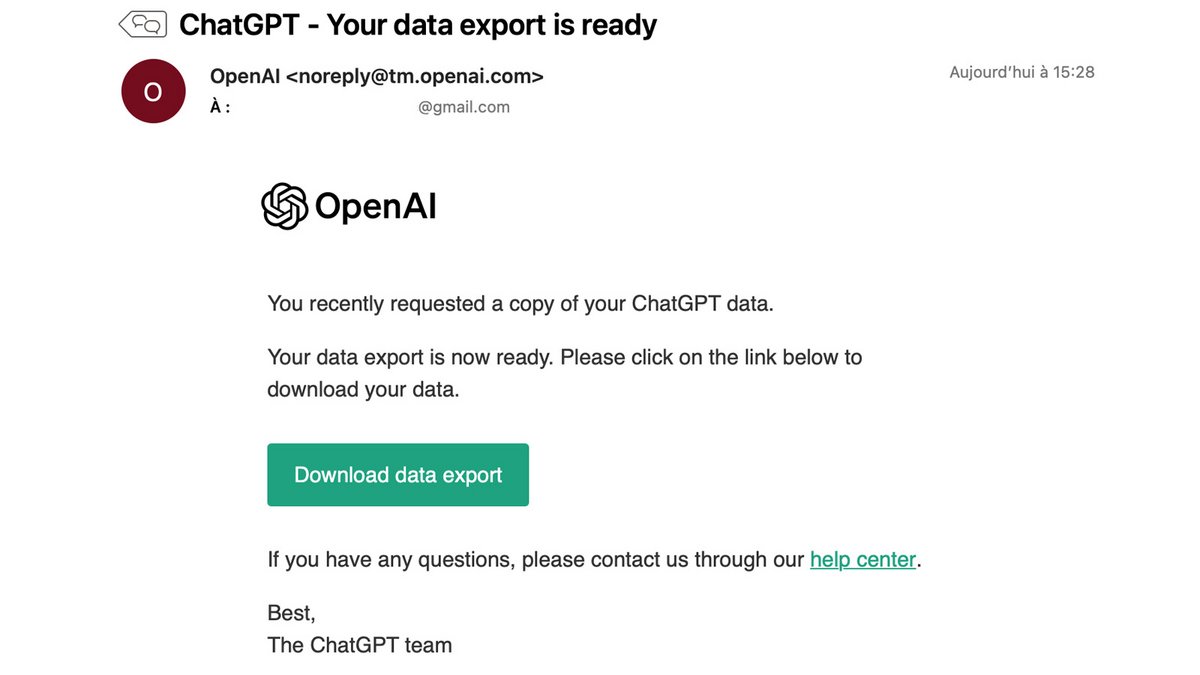
- Click “Download data export” to access the data.
- Choose a name for the ZIP file containing the conversations, select where you will keep it and click “Save”.
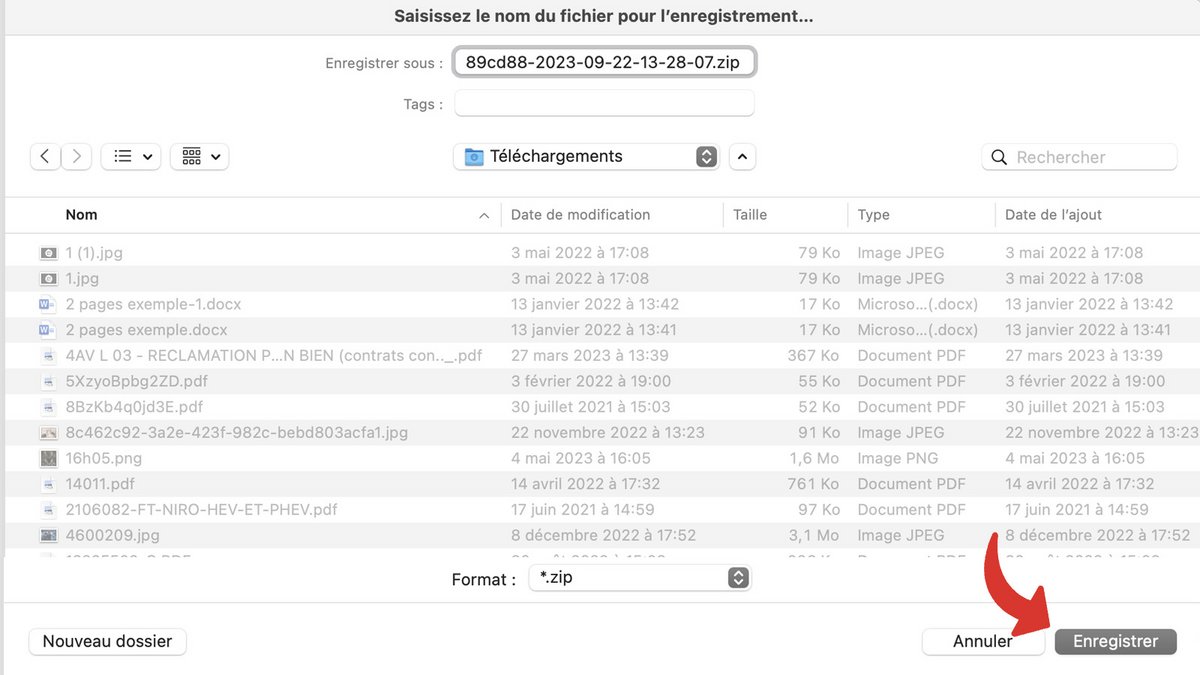
- Use your usual software to unzip the file.
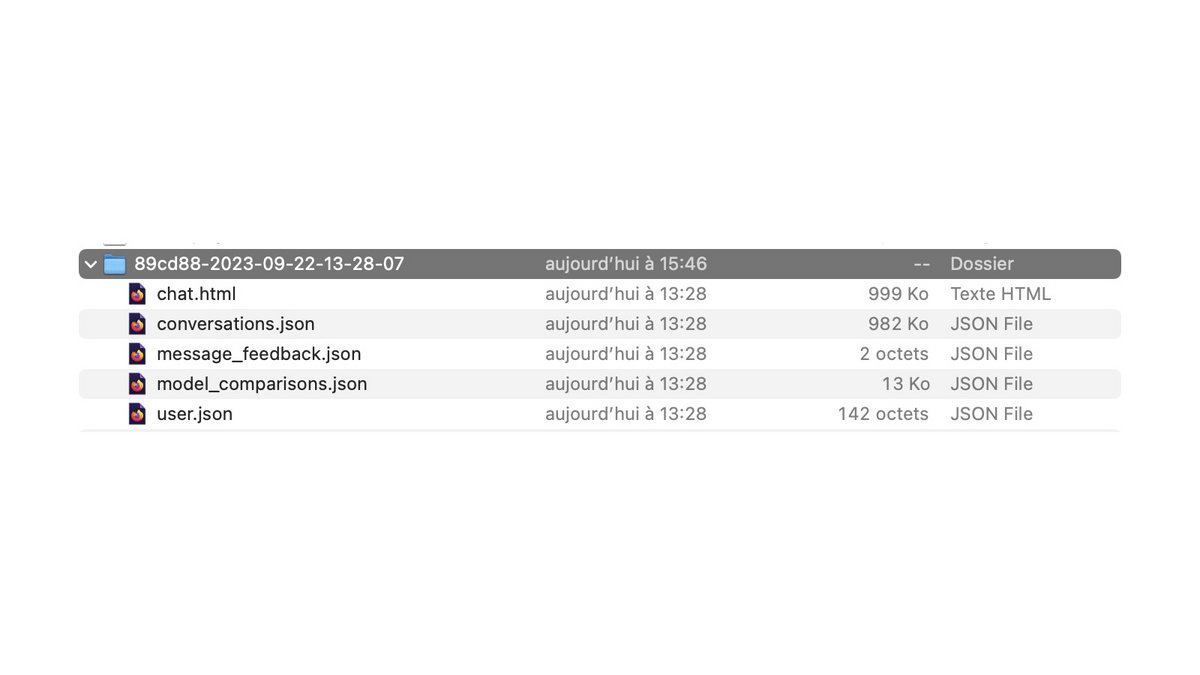
- Launch the “chat.html” file by double-clicking on its name.
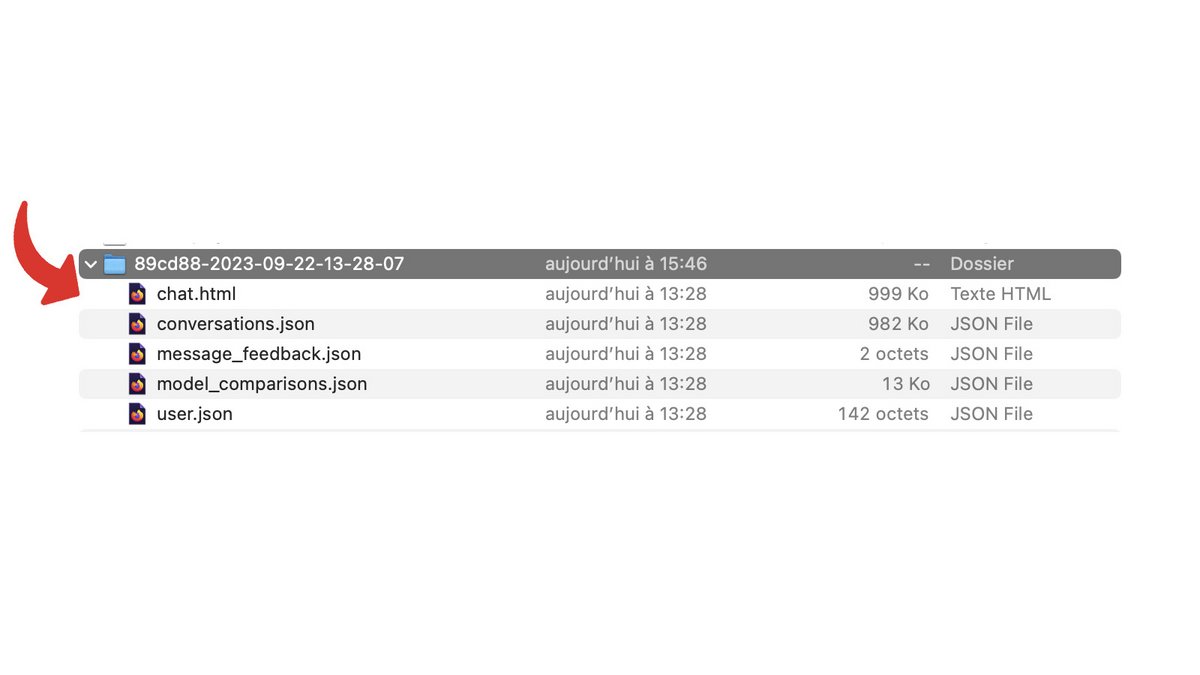
All your conversations then open in your internet browser, from the most recent to the oldest, without you needing a network connection, since the file is local. The history goes back to your first connection to ChatGPT, which is why generating the export can take time.
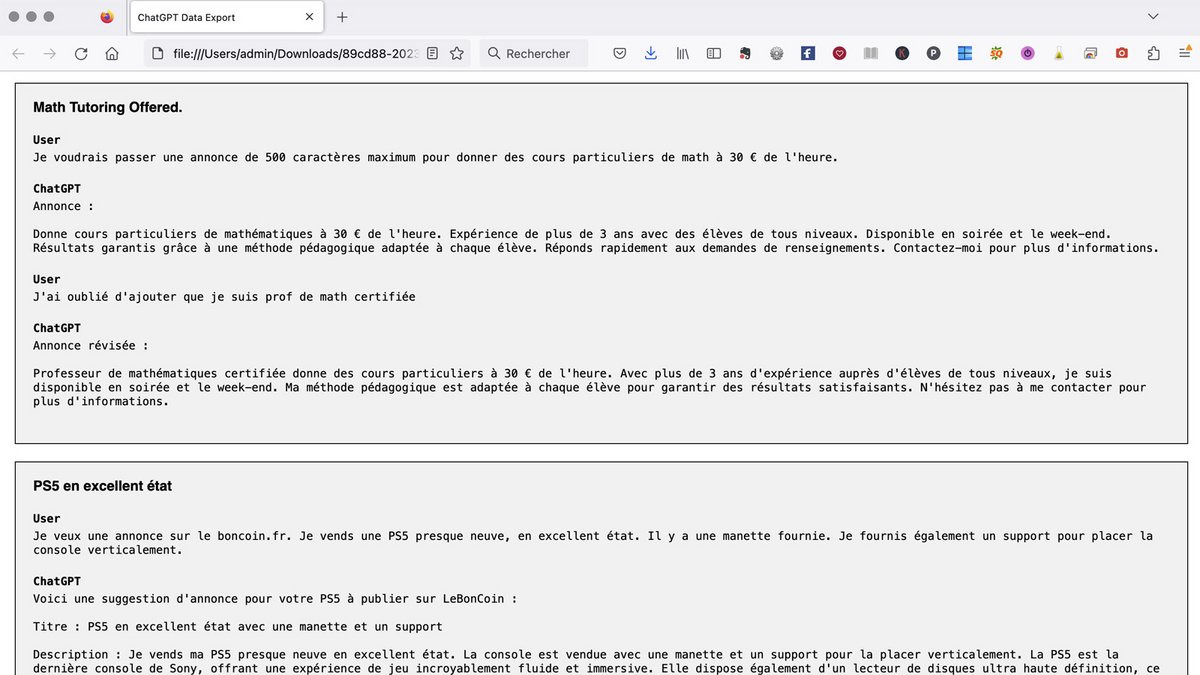
Thanks to the conversation export functionality, you can retrieve all the prompts you have launched since your registration on ChatGPT, as well as their responses. You can edit them, copy and paste them, rework them without needing to be connected to the interface. The format is also easier to copy than that used in the online history, accessible from the sidebar. The latter, however, allows a conversation to be resumed along the way, so that the AI retains the corresponding learning.