I still want to save a lot of files on my computer, but my storage space is almost full. However, I don’t want to spend hours deleting files. Can this be done differently or how can I quickly free up storage space on my Windows 11 computer? Elyas. K
Quinten Jochems
Do you no longer have enough storage space on your laptop or desktop PC with Windows 11 and don’t know which files to delete? Good news, Windows 11 can help with this quite quickly and easily.
Free up storage space quickly in Windows
If you’ve been using the same computer for years and cloud storage isn’t your thing, chances are you’ll reach the limits of built-in storage at some point. There are several ways to solve that, from external storage to a thorough cleaning. With such a thorough cleaning, Windows 11 can help you get started by indicating which files can (perhaps) go in the trash.
Step 1 On to the Settings
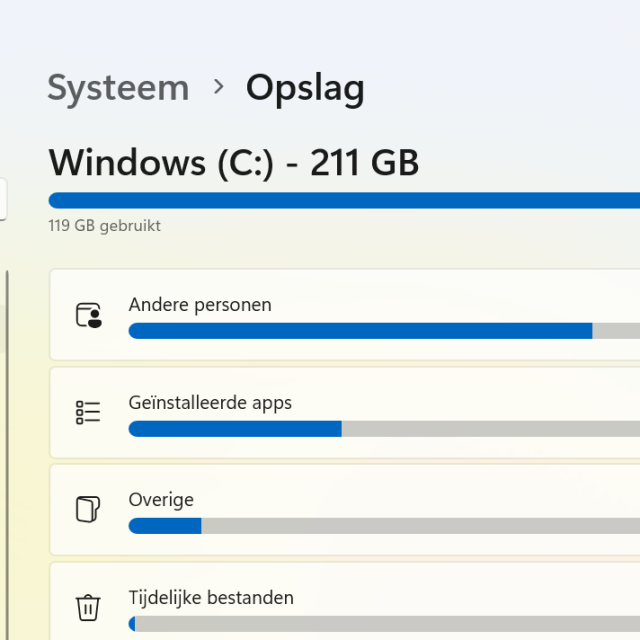
The ability to quickly free up storage space is baked into Windows 11. You don’t need a separate app or special program: everything you need is in the general settings. In the search window (with the magnifying glass) at the bottom, type ‘settings’ and then click on the gear that appears at the top right. In this general Windows 11 settings menu, click on the left menu System and then click in the large menu on the right Storage (this could be the sixth option). Then you will end up in the menu Storage and your computer will indicate how much free storage space you have left.

In System, choose Storage
Step 2 Cleanup recommendations
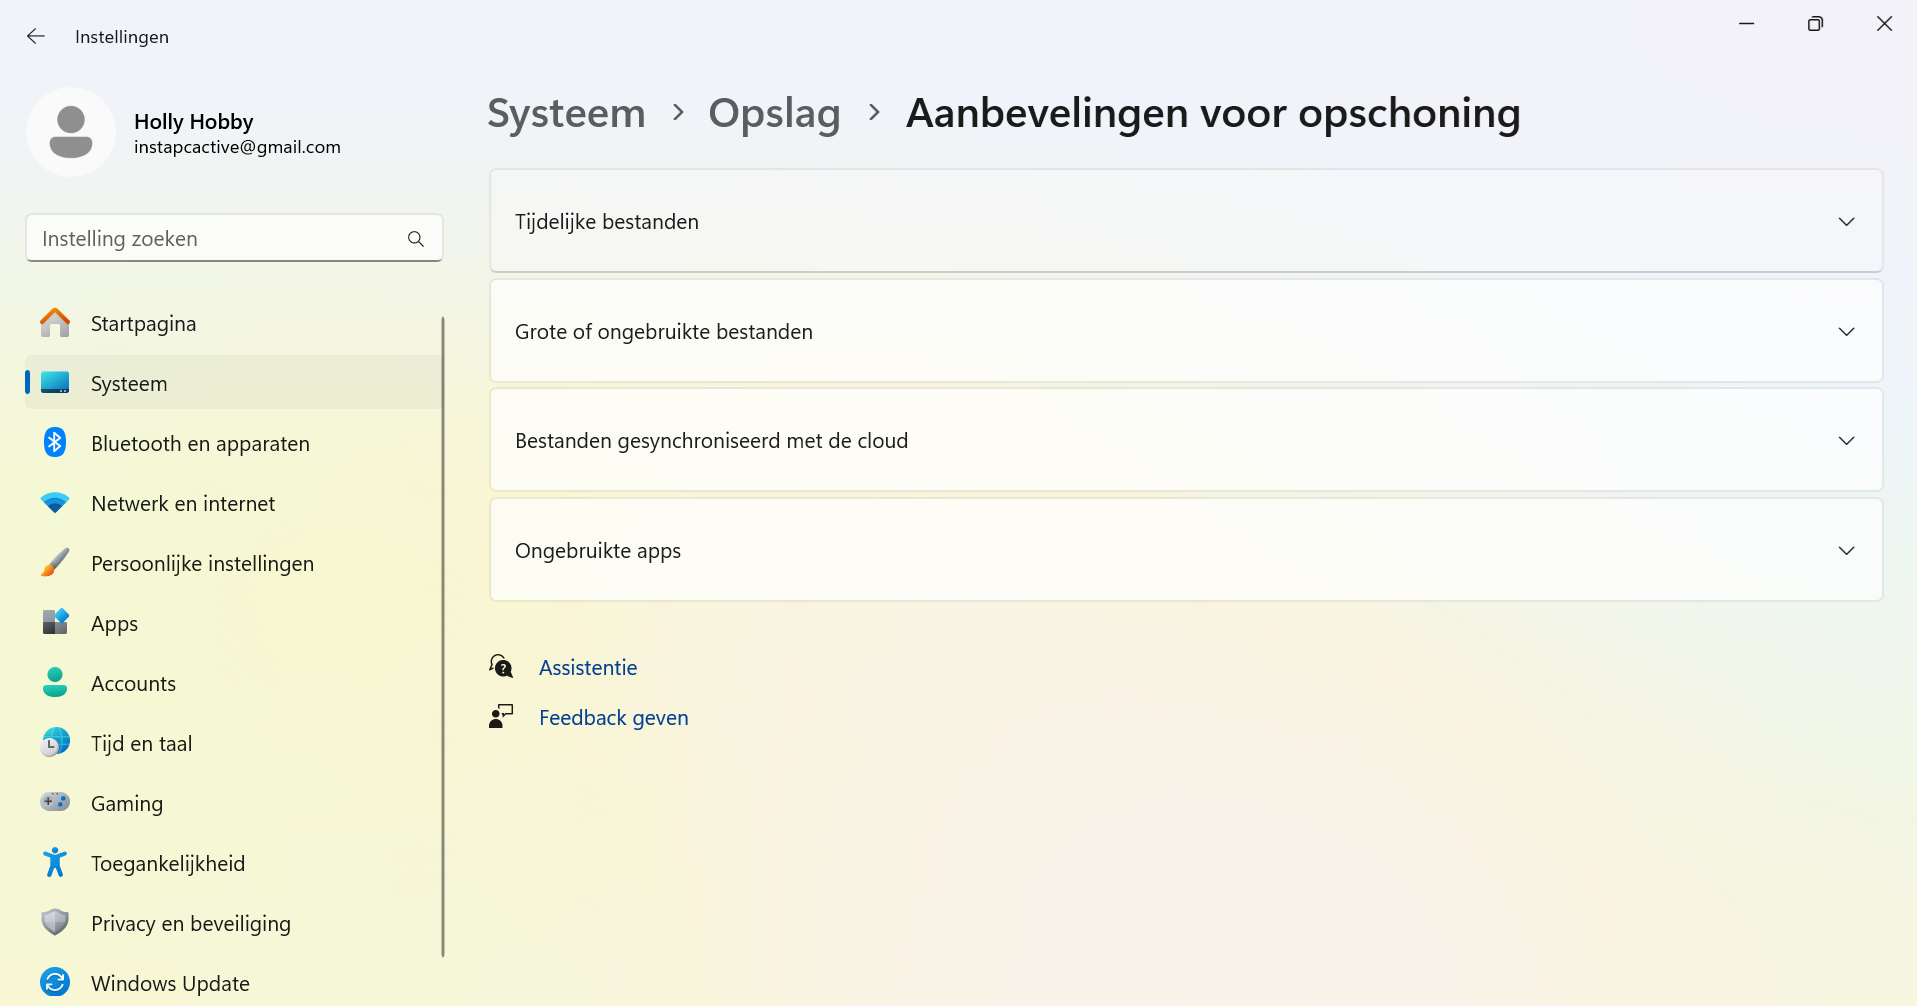
In Storage you will see the submenu Storage management with 4 options below, with the first option Temporary files has already been opened. By default, Windows 11 basically shows three recommendations at the bottom of the submenu Temporary files: the folder Downloadsthe System Restore files and the Waste paper basket. Although Windows 11 says you can safely delete the System Restore files if you haven’t encountered any problems recently, we don’t recommend it. On the other hand, you can safely clean out the files in the Recycle Bin and the same goes for the folder Downloads. Check the boxes you want and then click Clean upwhere for the option Clean up also states the number of GBs, MBs or KBs that you can delete.
Except the option Temporary files So there are still three options: Large or unused files, Files synced to the cloud and Unused apps.

Windows 11 helps you clean up
Step 3 Can more be removed?
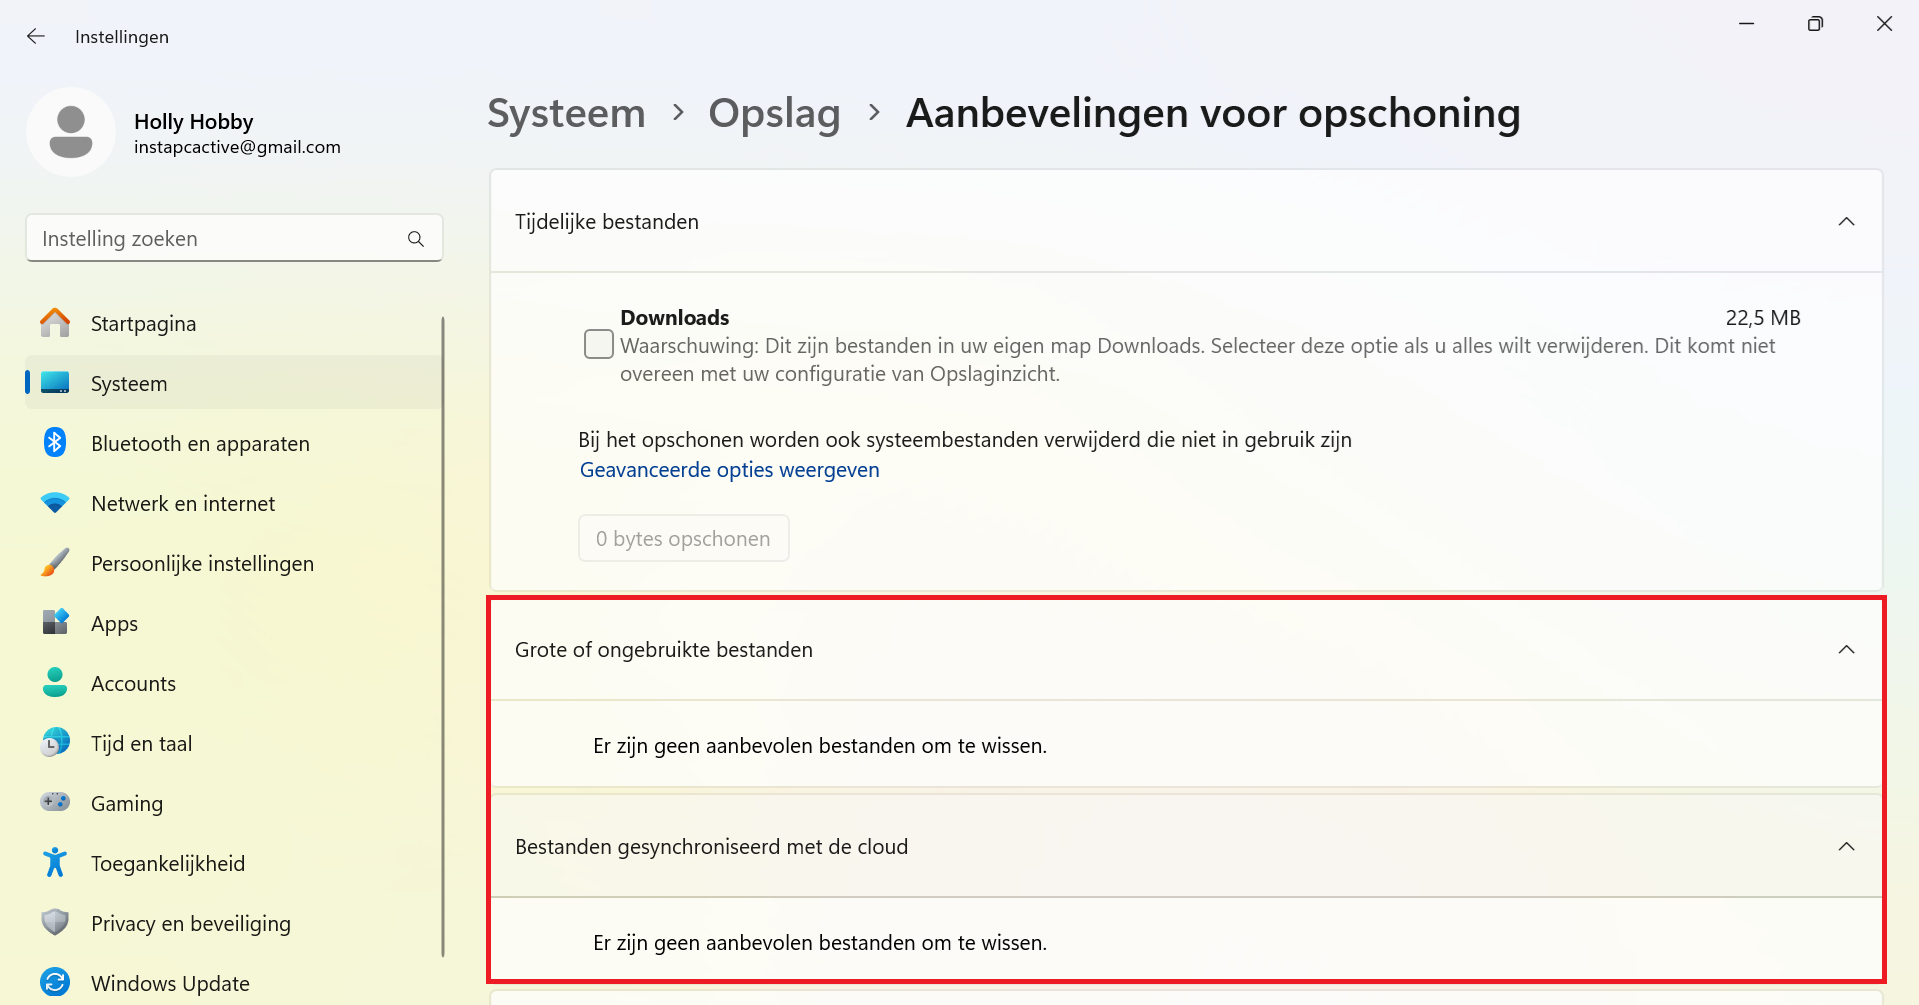
In the menu Cleanup recommendations By default, only the first submenu with temporary files is expanded. Below are three other submenus: Large or unused files, Files synced to the cloud and Unused apps. The principle is the same here: Windows 11 looks for files that it thinks you no longer need and by checking them you can delete them immediately. If you don’t want to click on each individual large/unused file, you can simply select the entire list of older or recent files and clean them.

This is what it looks like if you want to delete files and there are no recommendations
STEP 4 Enable Storage Insight
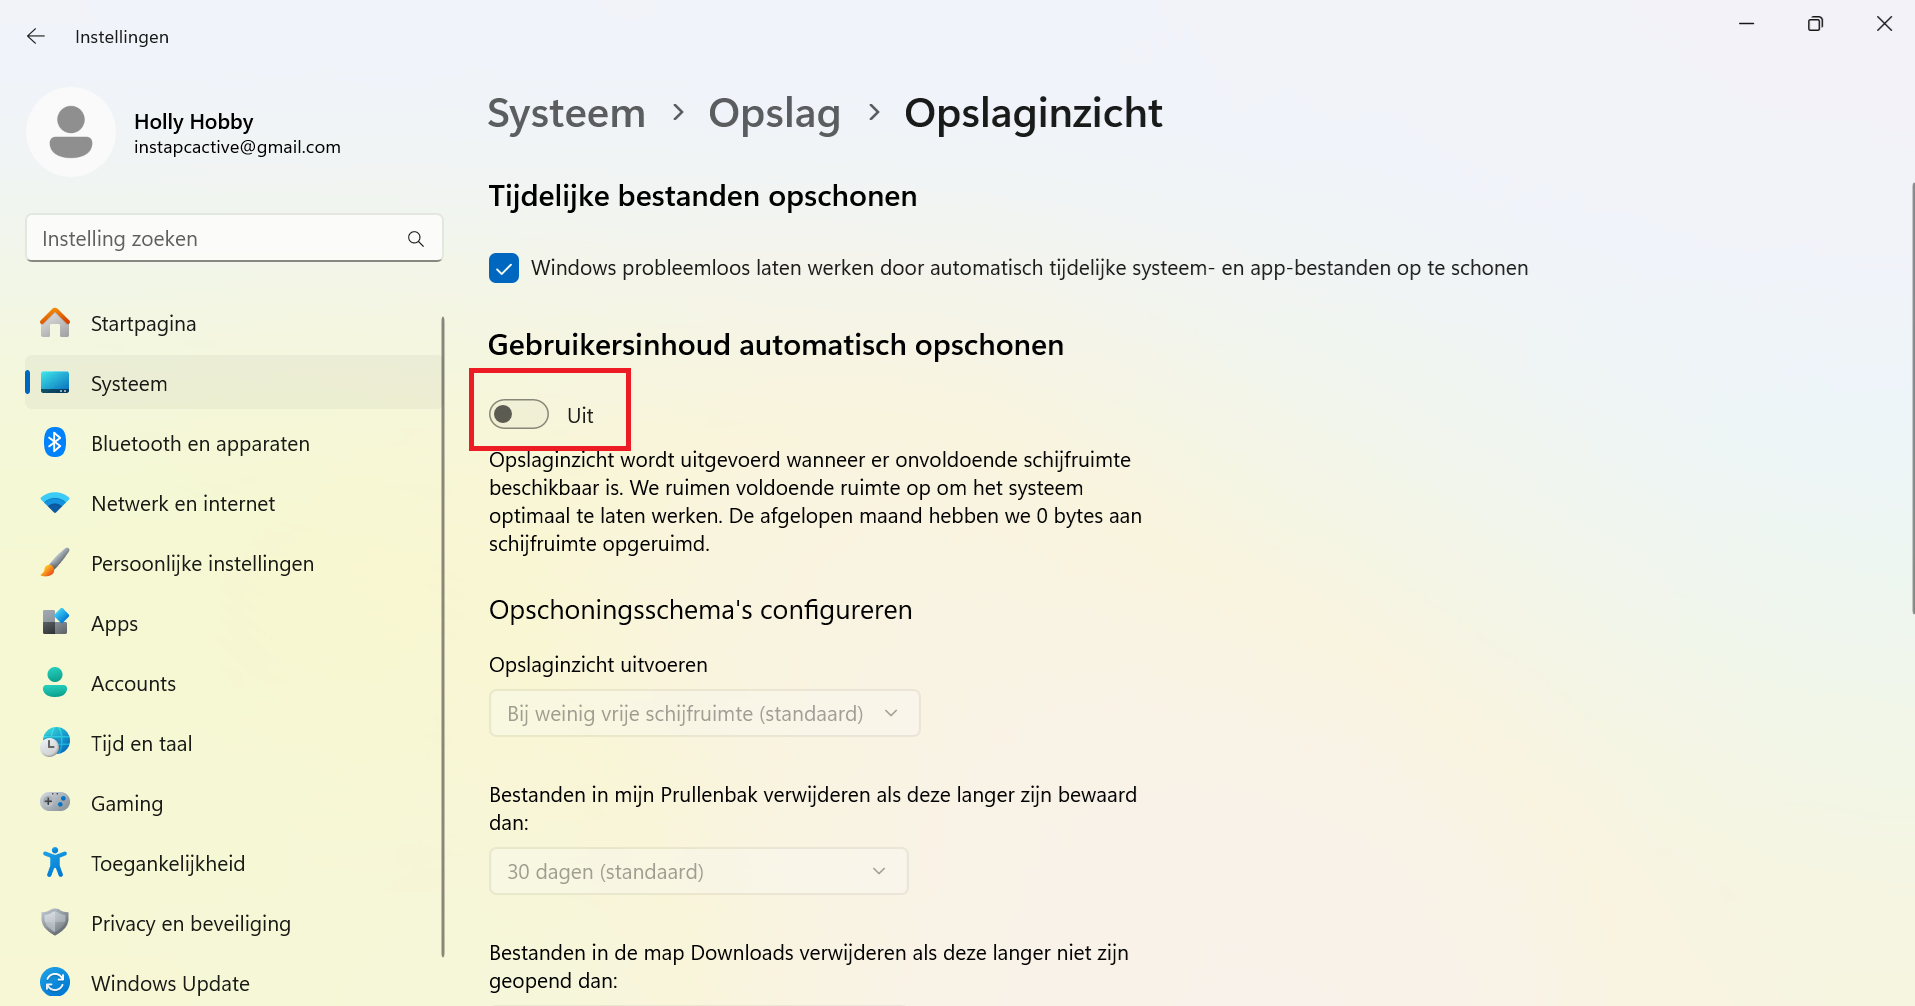
One way to prevent your storage from being unexpectedly full is Storage insight. You’ll find this in the general storage menu above the recommendations box and it should be enabled by default. Storage insight can automatically delete files from Recycle Bin and folder Downloads. By default, it deletes all files from the recycle bin every 30 days and you can also set this to every day, every 14 days and every 60 days. For the folder Downloads it is turned off by default and here too you have the same options (1, 14, 30 or 60 days) for automatic cleaning.

This is where you need to click if you want to enable Storage Insight