Have you bought a new iPad Pro or another iPad? Then you probably want to transfer all your data from an old iPad. In this guide we will walk you through step by step.
Transfer all data from an iPad
On average, people continue to use iPads for years, but the latest iPads, such as the iPad Air, bring many more features than older iPads. That’s a good reason to upgrade. The iPad Pro is also an excellent iPad for professional use.
If you still have an old iPad, it is smart to transfer its data to the new one. This way you don’t have to manually download all apps again and your documents and photos are saved. Apple has also made transferring your data very easy. You have the choice of two ways: iCloud and Finder.

1. Transfer an iPad via iCloud
The easiest way to transfer an iPad backup via iCloud. Of course you must have a good internet connection and sufficient space in iCloud to make this backup. If you don’t have that, we recommend transferring the data via a Mac or PC.
You do not need any cables to transfer with iCloud, although both tablets must be sufficiently charged. Start by backing up your old iPad first (Settings> iCloud> iCloud Backup> Back Up Now). After that, turn on the new iPad. The transfer is now a piece of cake. You only have to keep the two tablets close to each other to transfer data.
- Tap ‘Continue’ when the screen appears;
- An animation of a blue circle will appear on your new iPad;
- Scan this animation with the camera of your old iPad by holding it over it;
- Enter the access code;
- Choose your iCloud backup.
It may take a while for all your apps to be reinstalled. So leave your new iPad connected to the internet for a few hours and make sure the battery does not run out.
Are you unable to do it via the camera, for example because you still have an old iOS version on your old iPad? Then you can still use iCloud to transfer your data. Instead of using the camera, you can choose ‘Restore iCloud backup’ in the ‘Apps and data’ window.

2. Transfer an iPad via Finder
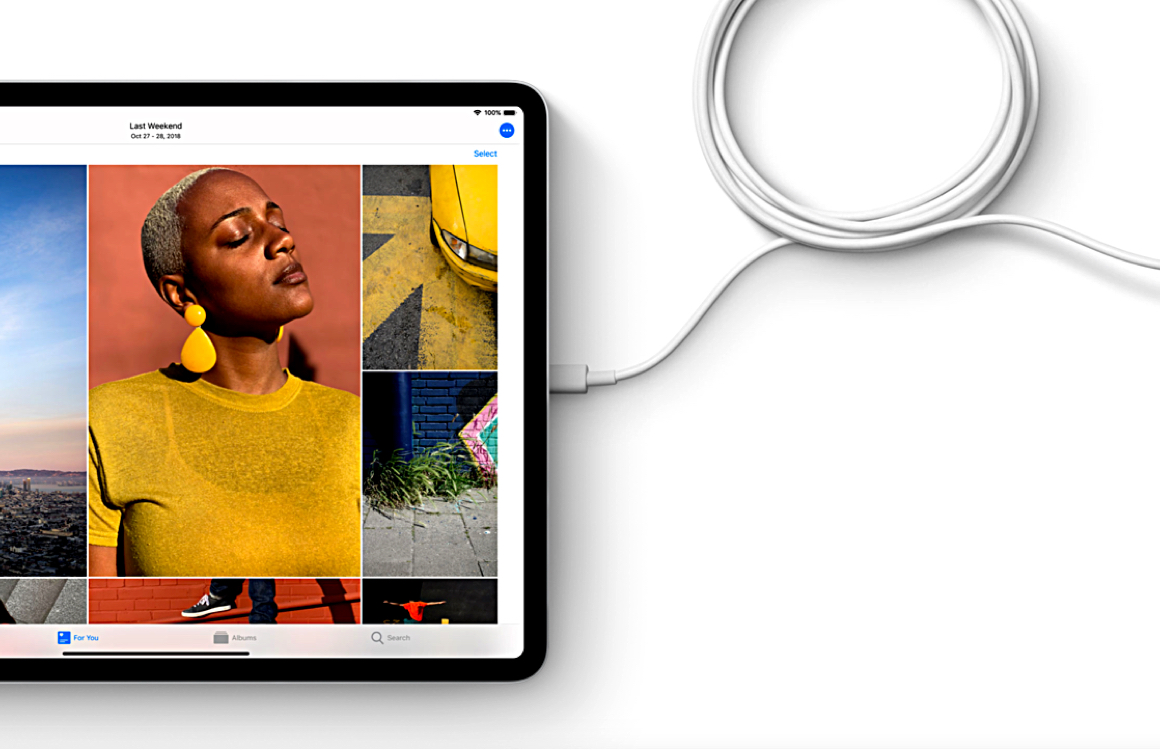
If you don’t have iCloud but you have a MacBook available, we recommend transferring your data via Finder. This works exactly the same on a PC, but via iTunes. Check in advance whether you have installed the most recent update for your old iPad and that no more data is being updated. You also need a Lightning cable and the iPad must be sufficiently charged. Once all these matters have been arranged, you can follow the steps below.
- Connect your old iPad to your PC or Mac;
- Open Finder or iTunes and select your iPad under Devices;
- Click on the tab ‘Overview’ and ‘Encrypt iPad backup’. This way your HomeKit and health data will also be saved;
- Click on ‘Backup’. It may take a while to create, depending on the amount of data;
- Check via ‘Preferences> devices’ whether the backup has been saved correctly.
Now that the data from your old iPad is packaged on your computer, it is time to turn on your new iPad. Turn on the iPad and follow the steps on the screen until you can choose the option ‘Restore backup’. Then you can go through the steps below.
- Connect the new iPad with a cable to the Mac or PC;
- Open Finder or iTunes and select the iPad;
- Click on ‘Restore backup’ and select the copy you just made;
- Enter the password;
- All data will now be transferred. This may take a while.
The tablet will reboot several times while the data is being transferred. Once completed, you can complete the installation by following the steps on the screen. Just make sure to keep your iPad connected to Wi-Fi for the next several hours, as all the apps that have been transferred will now be downloaded automatically.
Read the latest news about Apple
-
‘iPhone 13 Pro renders show a smaller notch and slightly thicker design’
-
‘Renders of iPhone 13 show new camera design’
-
Apple’s Find My Network opened up to third-party accessories
-
Apple owns these fascinating patents for its future eyewear
-
Apple opens the doors of Find My Network with a new app