Since the release of its beta version in July 2022, MidJourney has become one of the leaders in artificial intelligence-assisted image generation. To access it, you must connect to the official Midjourney Discord server. By default, “prompts” (phrases which allow you to start creating images) are entered on public channels and the results are visible to all connected members.
The Midjourney robot designs hundreds of thousands of visuals every day. To be sure not to lose track of your creations on a public channel, it is possible to communicate with the robot in a private conversation. But you can also install Midjourney on your own Discord server, for example for collaborative work.
How to use MidJourney on your own Discord server?
1. Add a Discord server
To create a new Discord server or join an existing one, click the + button on the left side of the screen.
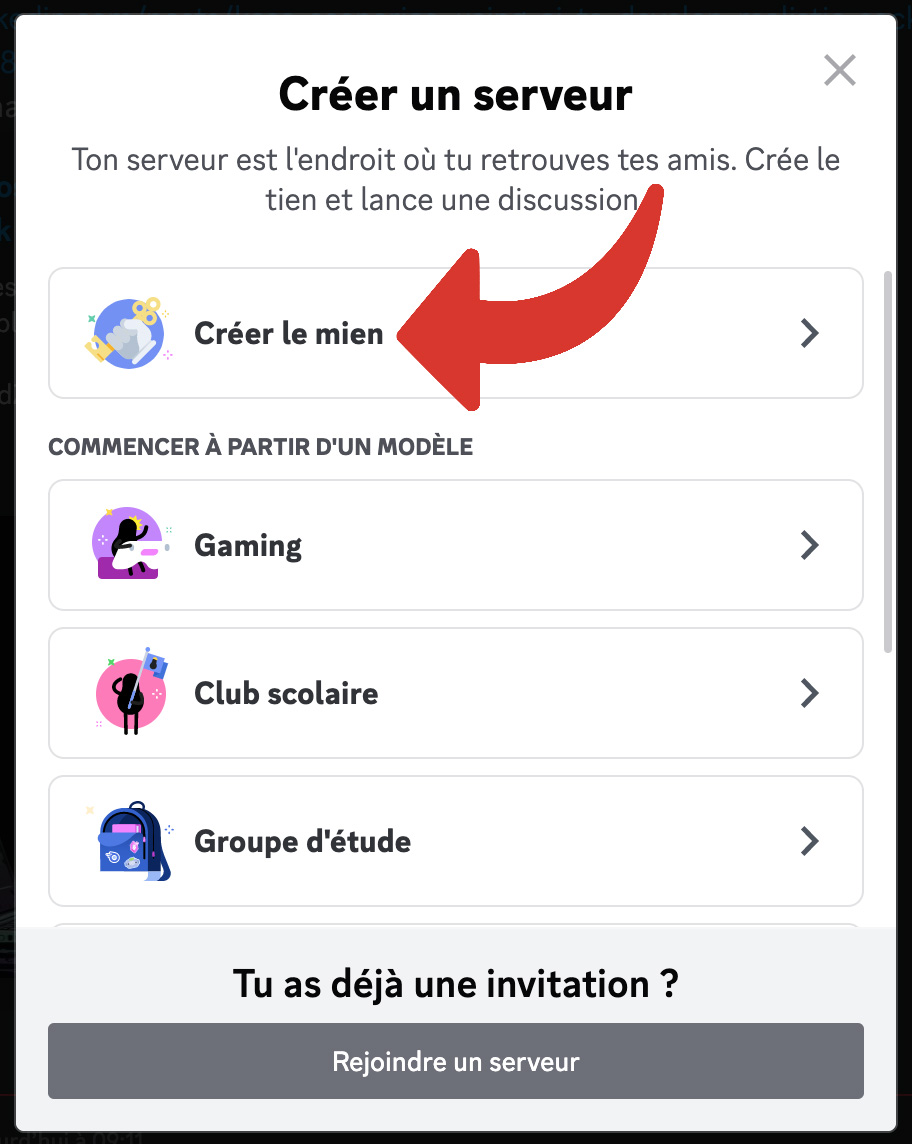
In the window that opened, choose “Create mine”, to create a new Discord server of which you will be an administrator.
Here you can indicate the audience concerned by the server: “For my friends and me” or “For a club or a community”. This question can be ignored at first.

Personalize the server: you must start by naming it . You can also optionally assign a logo to it. The logo is optional, but it makes it easier to find your server among the others, especially if you have a lot of them on your interface.
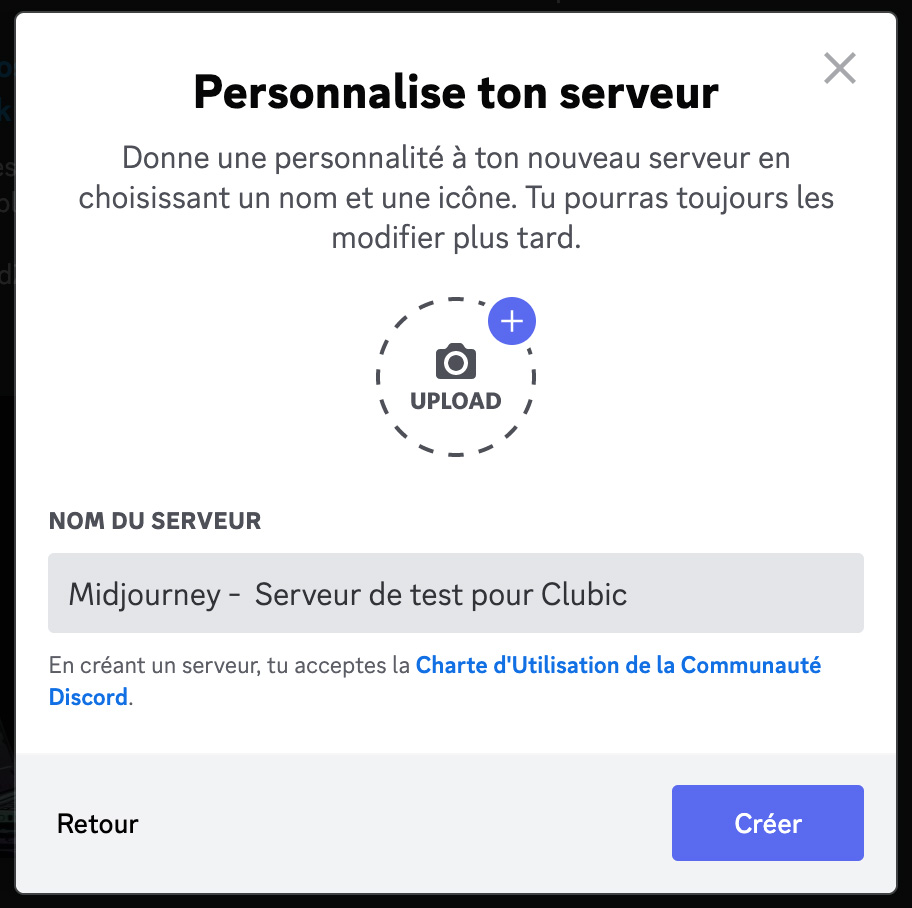
To finish the procedure and validate the creation, click on “Create”.

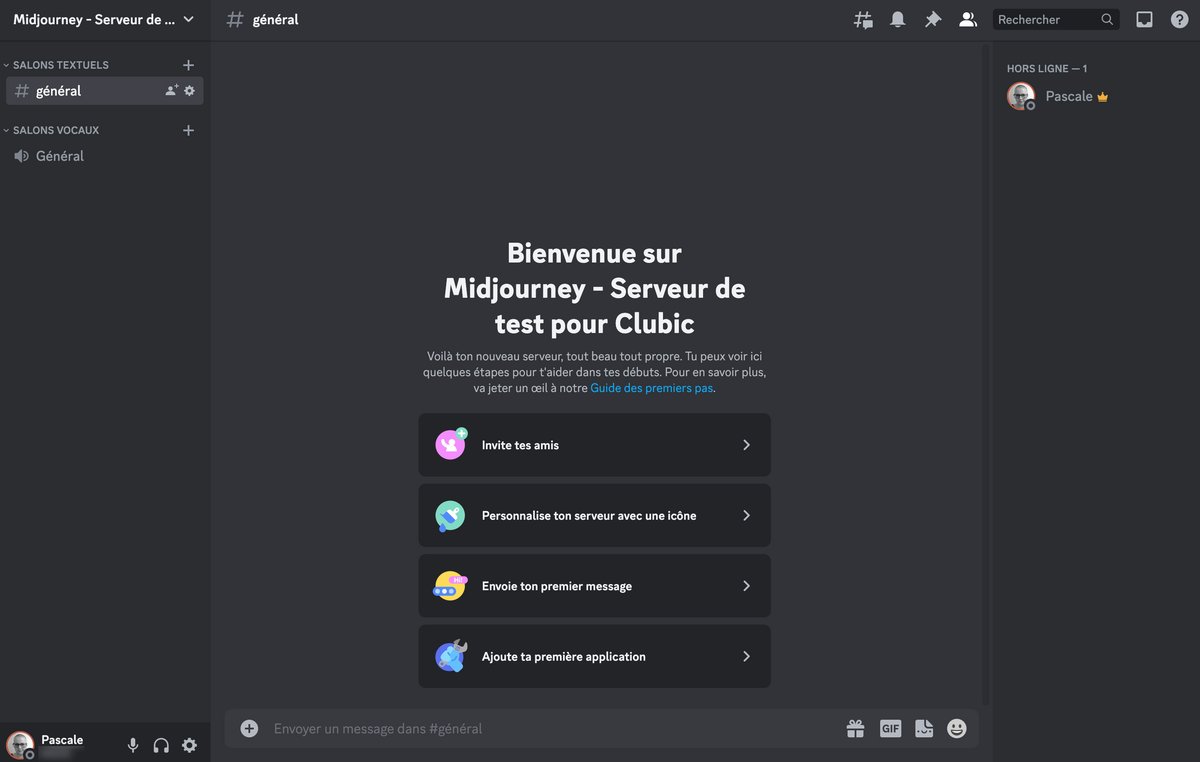
Your personal Discord server is now active!
2. Go back to the official Midjourney server
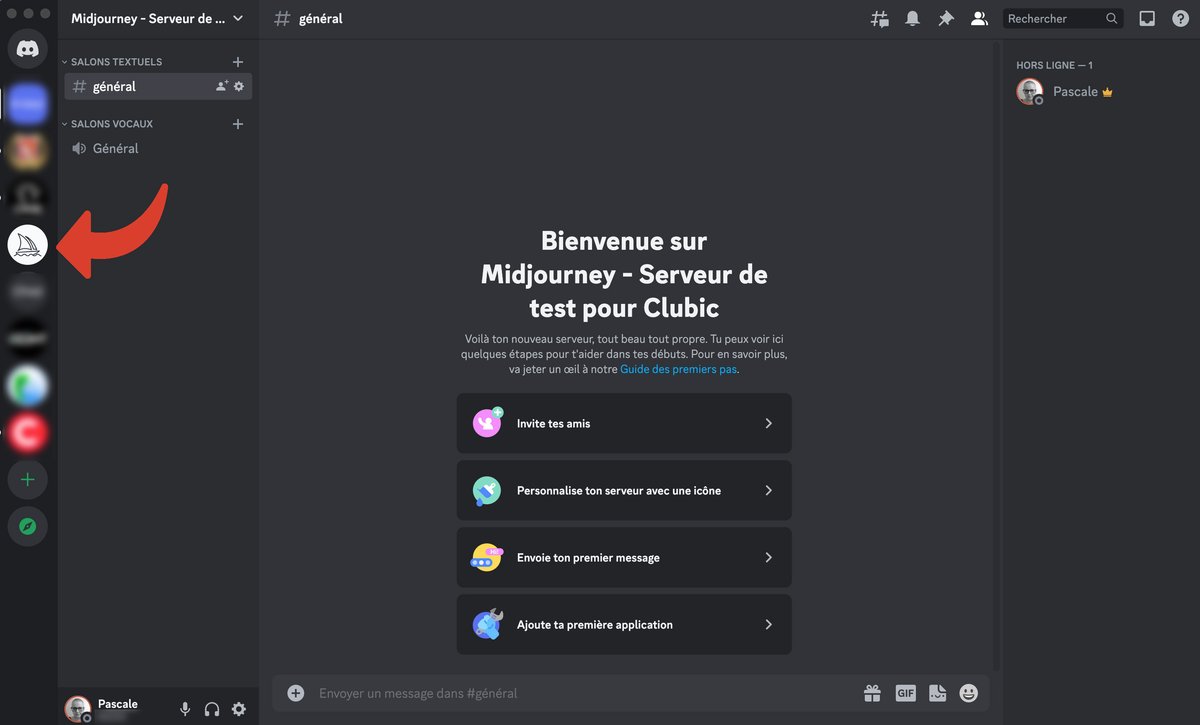
To return to the Midjourney server, click on the corresponding logo in the list of servers on the left of the screen.
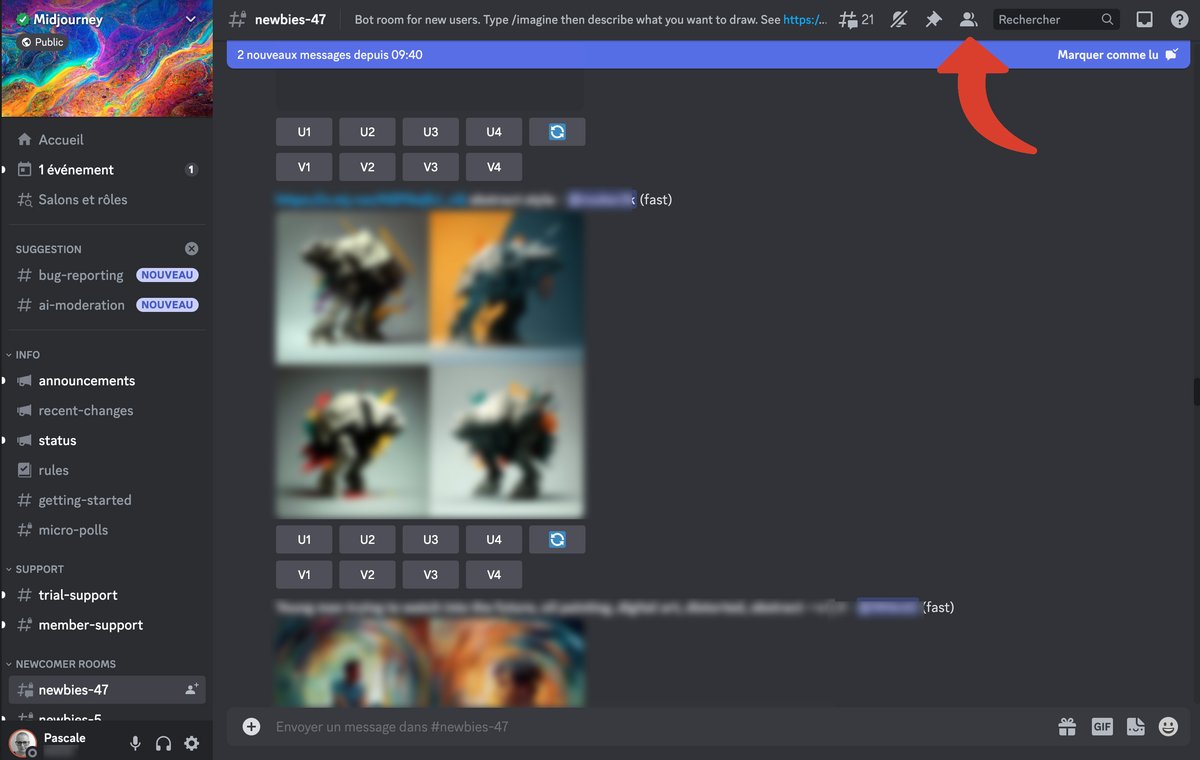
3. Check the list of server members
If the list of members is not displayed on the right of the screen, activate it by clicking on the corresponding icon.
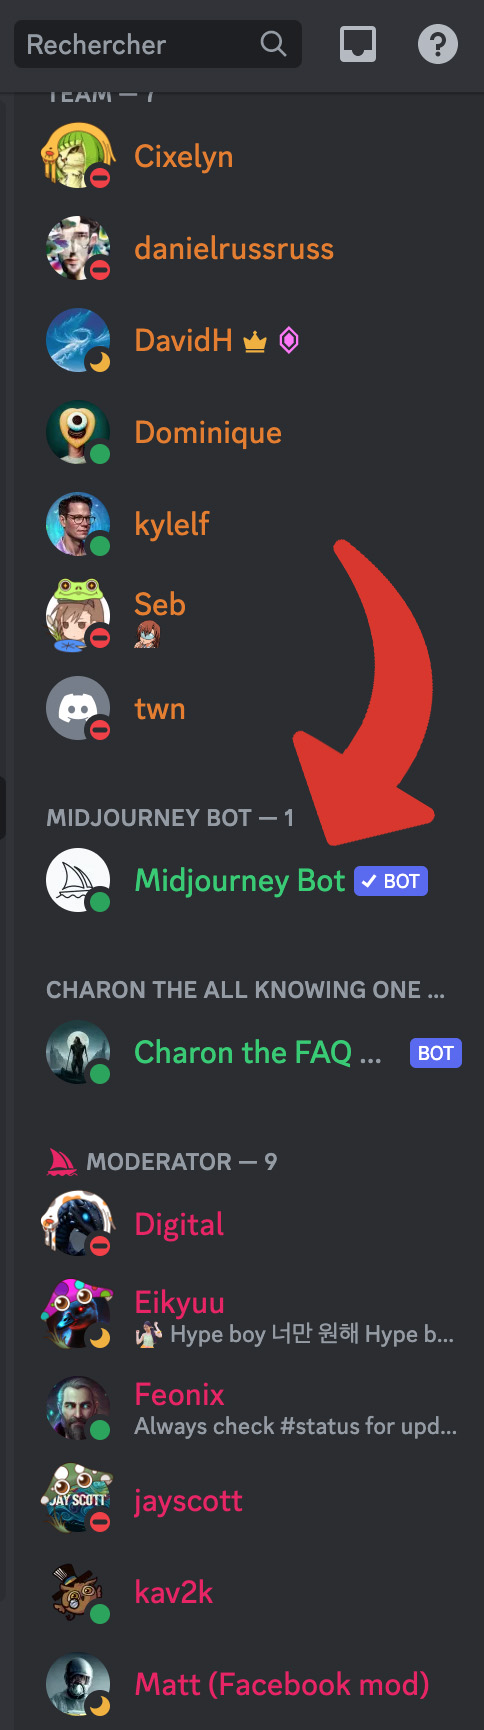
4. Add the Midjourney robot to your personal server
In the list of members, click on “Midjourney bot”.
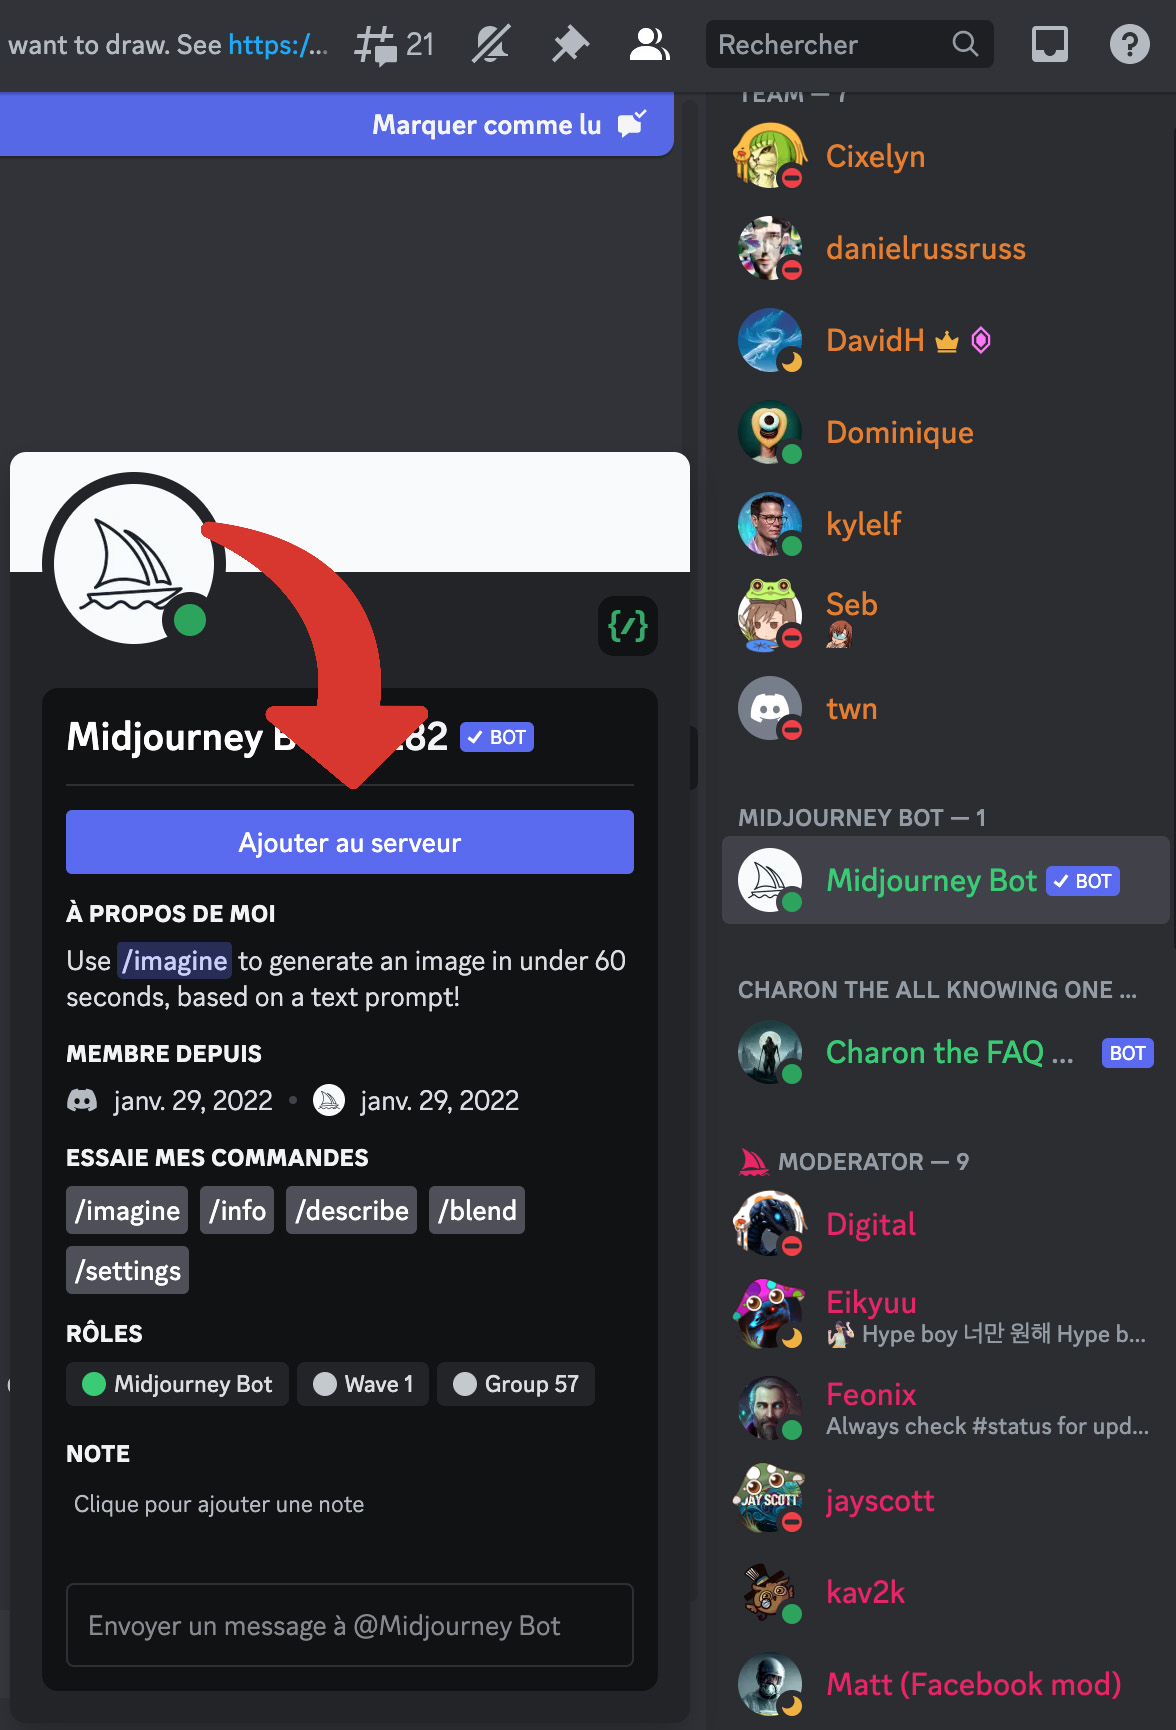
Click “Add to Server”.
From the drop-down list labeled “Add to Server”, choose the personal server you just created.
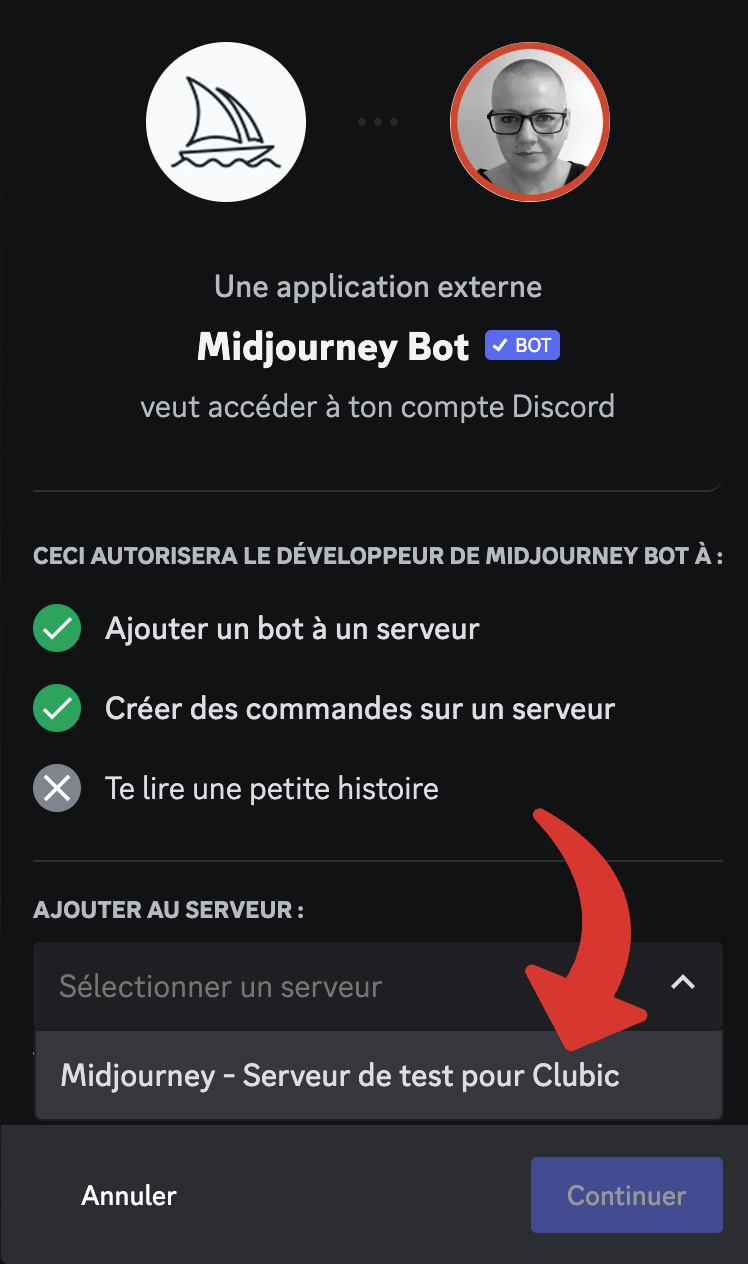
Validate by clicking on “Continue”.
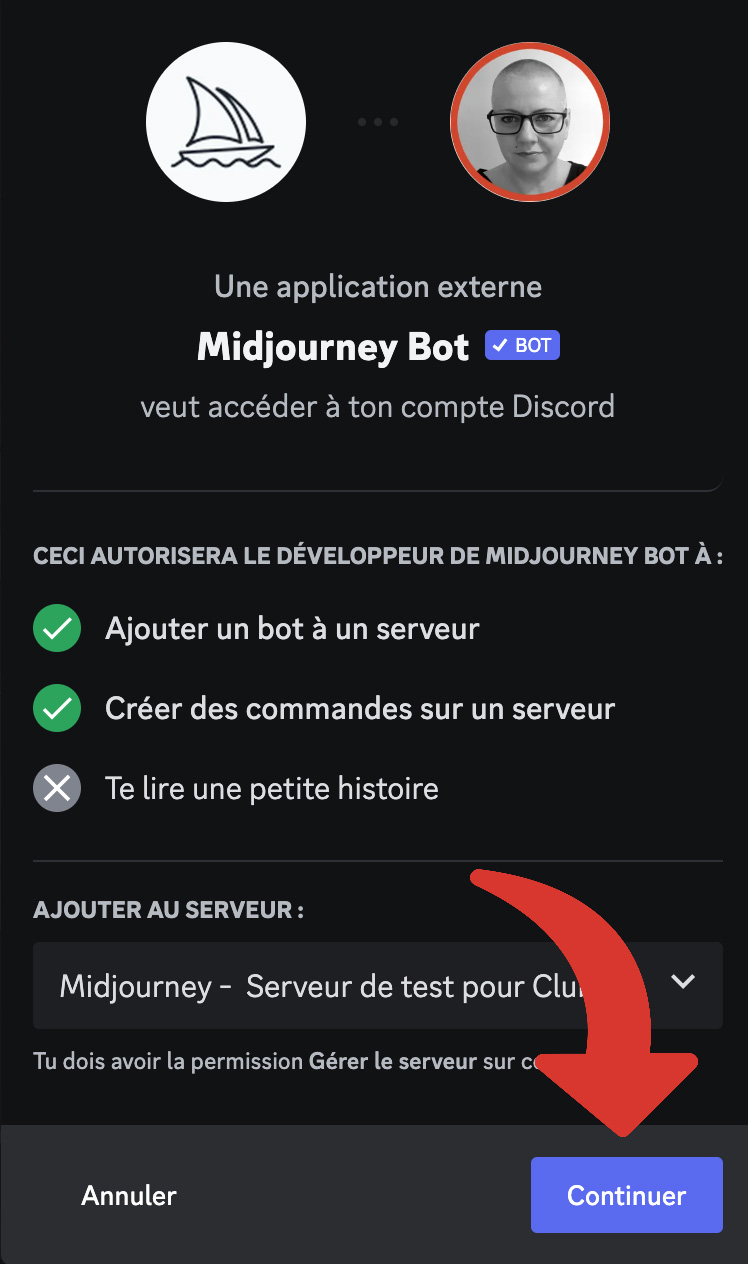
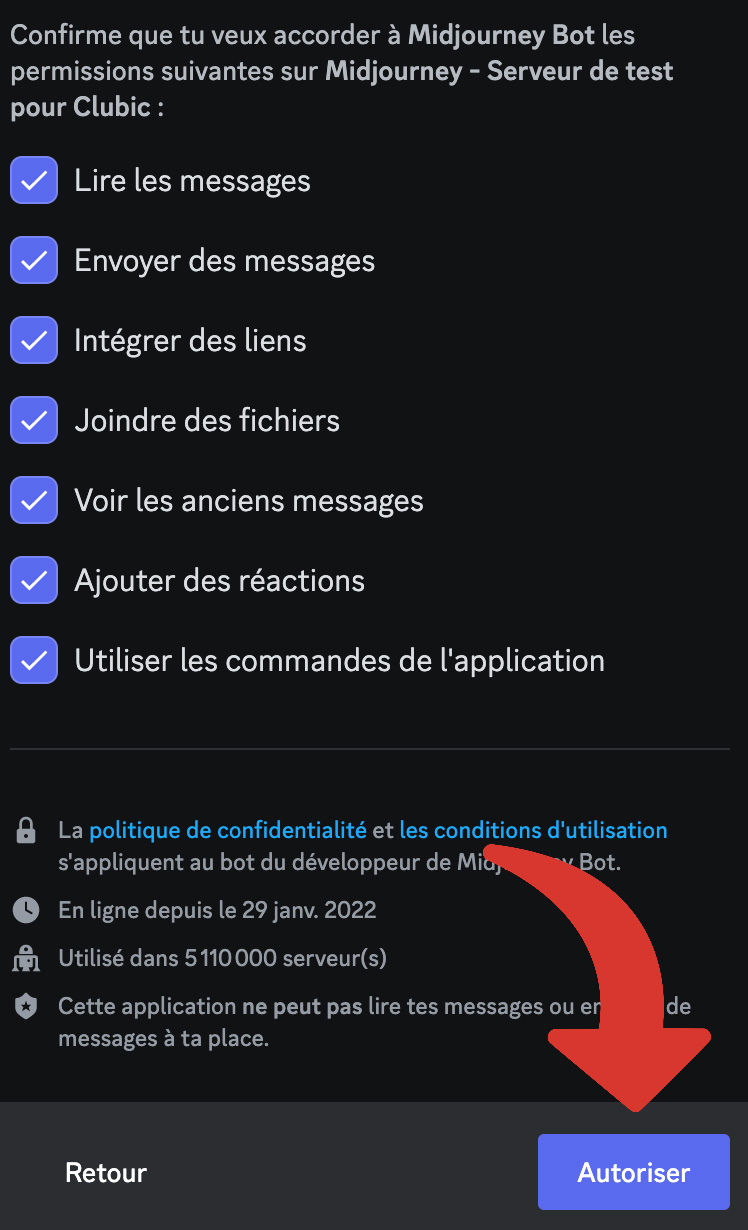
5. Determine robot permissions
For Midjourney to function properly on your personal server, you must leave the robot with all the default permissions, then validate by clicking on “Authorize”.
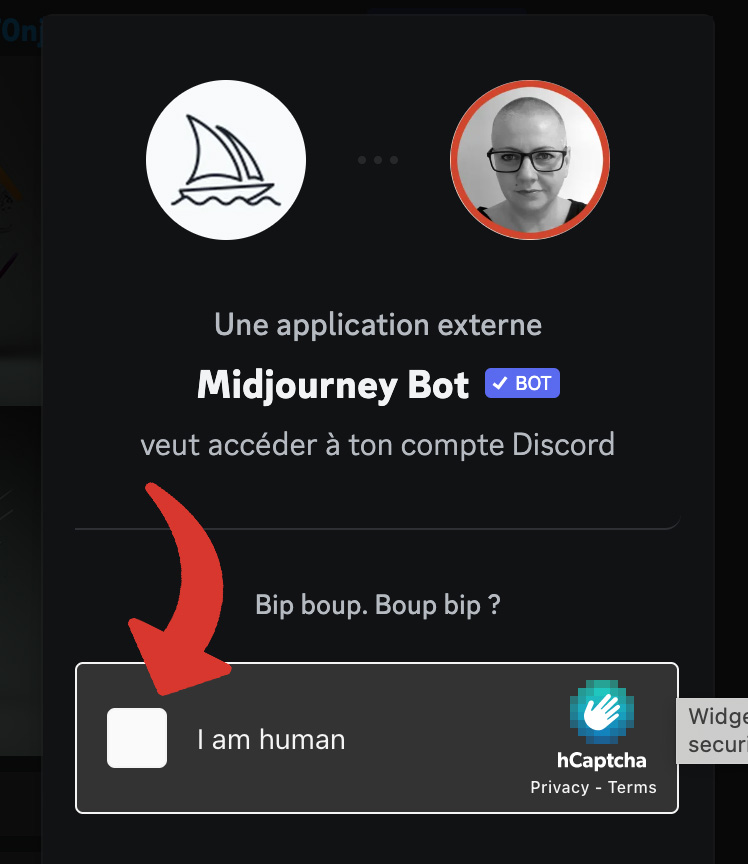
Confirm that you are not a robot yourself!
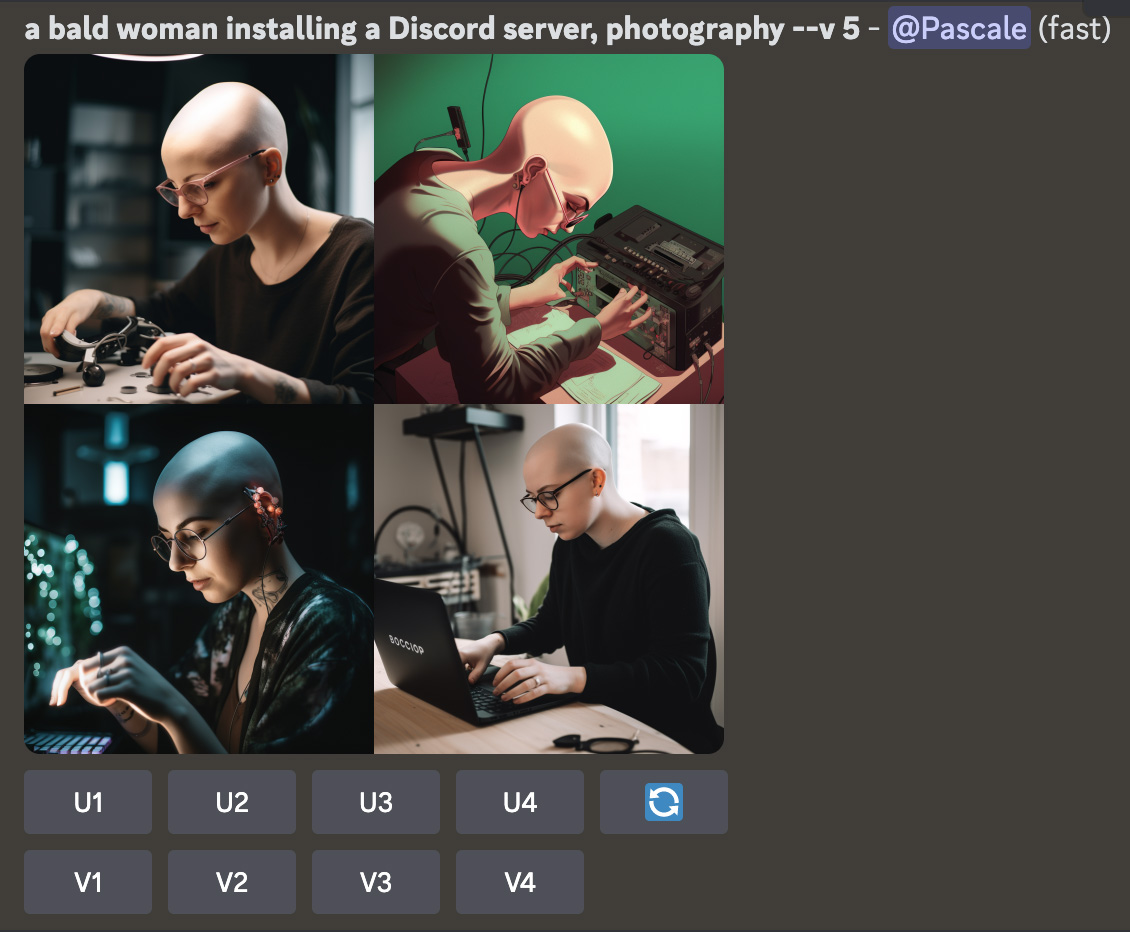
Midjourney is now activated on your server and visible in the list of members.

You can interact with the robot by typing your first prompts.

You now have access to Midjourney’s technology on your own Discord server. The prompts are no longer visible to everyone on the official Discord server, but they are still displayed in the gallery (Community showcase) of the Midjourney site. The only way for your images to not be visible on the site is to subscribe to a Pro plan and activate the /stealth mode. Be careful, however, even if you have activated stealth mode, if you want the visuals created to be completely invisible, you must launch your prompts from a private message or a personal Discord server.