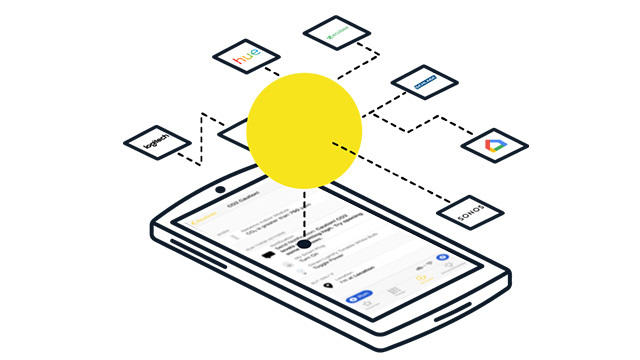
We are now used to the fact that devices in our house have so many functions that we can call them smart. Yet we all use only a fraction of the possibilities that are offered. Because when we link smart devices to each other with a service like Yonomi, smart changes to super smart.
It sounds very difficult to combine the functionality of smart devices. Fortunately, that is not something that you have to come up with, there are handy platforms for that. We already know IFTTT and Zapier, and now Yonomi has been added, a user-friendly service that allows you to have smart devices communicate with each other very easily, with Yonomi as an intermediary.
How? We explain this in this article.
Download and register Yonomi
Yonomi is similar to the aforementioned IFTTT and Zapier platforms in many respects, with the difference that it is a lot more user-friendly. This also means that a good number of options have been removed, simply to make the service easier. Part of this is, for example, that the service cannot be configured via the website, but only via an app on your smartphone.
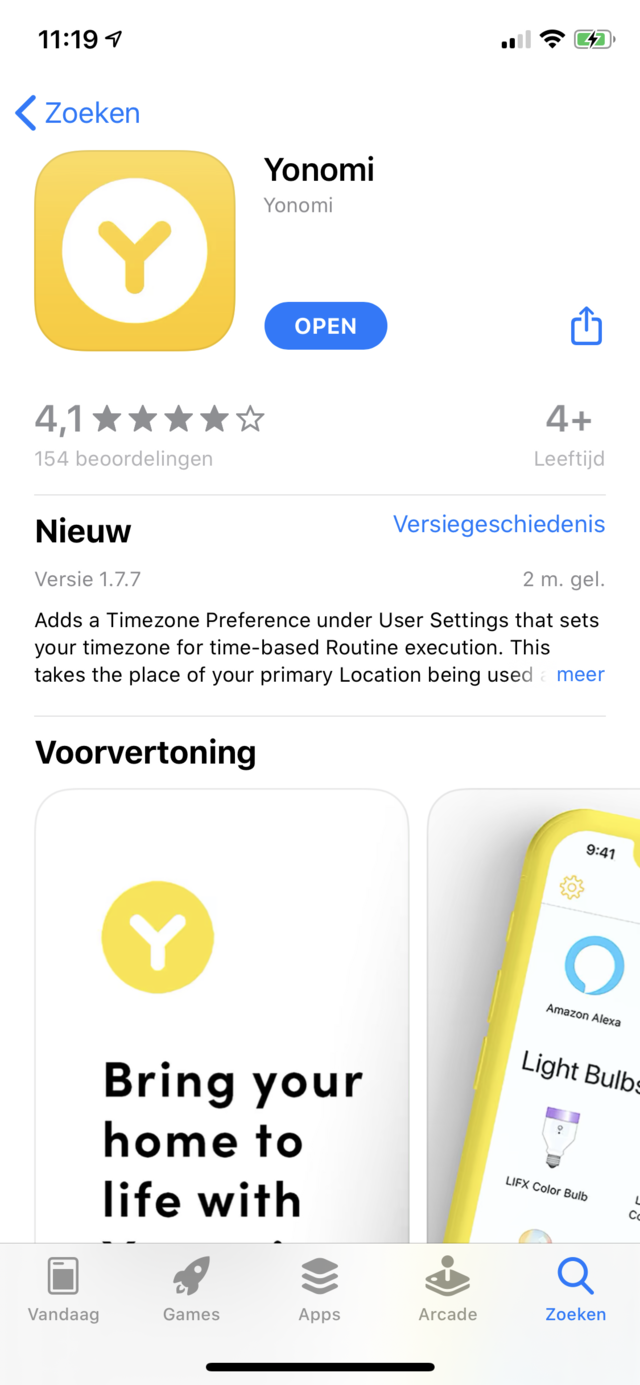
You can download the app for both iOS and Android. When you have downloaded the app and start it for the first time, you need to create an account. Technically, an account does not seem necessary to us if we look at the functionality that Yonomi offers, but given that this is a free service, we understand that the makers demand it.
Detect smart devices
When you have created the account, it is time to add the smart devices to the app. We called Yonomi more user-friendly than platforms such as IFTTT and Zapier, and you notice that immediately when you get started with the app after creating an account. Because while on the other platforms you have to indicate which smart devices you have, Yonomi offers the option to find these devices for you yourself.
For this you must of course be connected to the same wireless network that the smart devices are connected to. The app asks if it should search for devices for you, and if you confirm this, scanning starts and the smart devices that are supported will appear in the overview.
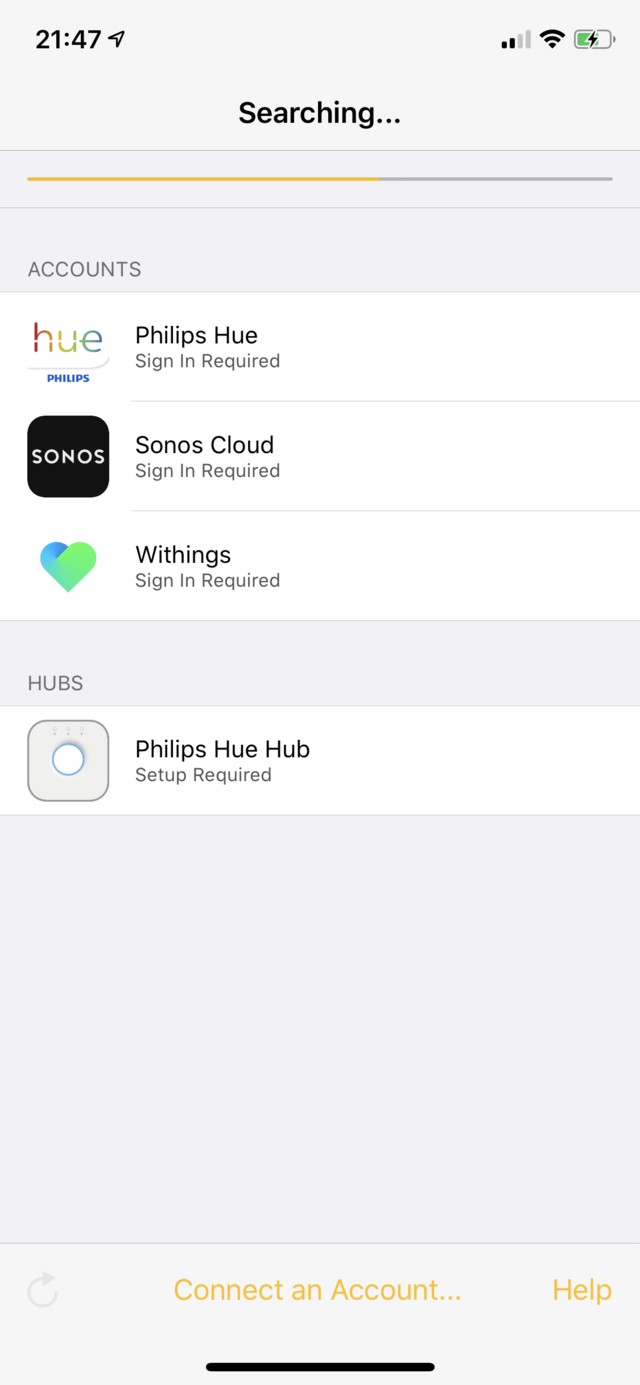
In addition, we immediately say that the support is not as wide as with competing platforms, for example you cannot use your Google Nest thermostat, Ring doorbell and Google Hello doorbell with Yonomi, although we expect that those devices will be supported in the future.
When the devices are found, you must then log in to the accounts associated with those devices, so that the app can take full control of these devices, adjust settings and scenes, and so on.
Voice assistant linking and operation
As you will read a few steps later, you can create routines in Yonomi (which we call recipes in IFTTT and Zapier) that you can use to specify which events should cause a certain action or action. Such a routine can be triggered by an event, but also with the help of a voice command. What we find particularly useful about Yonomi is that you can decide for yourself which speech assistant you want to work with, depending on the devices that the app has found. For example, you might find Siri working better than the Google Assistant, in which case you can indicate in the app that you want to work with Siri.
The Yonomi routines that you create will then be added to the Siri shortcuts. You activate a voice assistant by pressing in the app Settings and then on Voice Assistant. Now press the voice assistant you want to connect, and ensure that Yonomi has access to the functions of Siri. Here again it becomes clear how user-friendly this app is, you do not have to figure out much yourself, only give permission (although you have to realize what you are giving permission for).


Just like in IFTTT and Zapier you can create routines (recipes) in Yonomi, but what sets this app apart is the fact that you can also operate the devices directly from the app, without creating a routine for it. The makers have done this from the idea that you should only need one app to control your smart devices in any way. Of course this is not entirely true, since a large number of devices are not (yet) supported, but the service is still relatively young, so we have good hope for the future.
To control your devices, press the tab on the app Things at the bottom. You will then see all the devices found there that you can operate from this app. Press the desired device and you will see a large number of predefined options. Unfortunately you cannot add your own options here, but perhaps that is something that we can expect in the future.
Create routines and set exceptions
The great strength of Yonomi is that creating routines is child’s play. As mentioned, the functionality is a bit more limited, but you will never have to deal with all sorts of complicated parameters and routines that do not work because you just happened to put a comma wrong. To create a routine, press the tab on the app Routines and then on the plus sign at the top right. Press Add Event and choose the trigger (or what should cause the action). This can be, for example, a specific time or the moment you enter or leave a specific location.
To show you how devices can work together, we use our Withings interactive scale as a trigger. Suppose, just to keep it light, that we want everyone in the house to know if we finally weigh less than 90 kilos. We press for that My weight is less than 120 lbs. Change the number to the correct weight (90 kilos is 198 lbs) and then press Add Action under the heading Run these actions. We then choose our Sonos loudspeaker from the list of devices, and indicate that we have the Playlist Lose weight want to play (which we naturally created in our pride). Then we press again Add Action, and we indicate that the Philips Hue lamps must display a color loop (nice disco feeling). We do this for every lamp in the living room.


We have now laid the foundation for a routine, but in real life things sometimes go a little differently than planned. It could just be that you come home once at night and stand on the scales for a while after an evening of dancing to see if the weight has already been reached. At moments like that, you obviously don’t want a big party to burst out in light and sound. For that reason you can add exceptions.
To do this, press Add Condition under the heading But only if. In the menu that appears you can now indicate that this routine can only play when it is after sunrise and before sunset. That way you can save yourself a lot of noise, while you can be sure that the routine will be played when it meets the conditions. Then give the routine a name so that you can easily recognize it later. This name is not important for the voice command, so you can make it into anything you want.
Voice commands and other tips
We have created a trigger that activates the routine. In our case there is not really a reason to play the routine manually, but there are enough routines to think of where that is the case (we call it something crazy, playing a song on all smart speakers when it’s dinner time). We have already given Yonomi access to Siri Shortcuts, and that makes the process very simple now.
Press the tab Routines and then on the routine that you created. Now press the gear and then Edit Siri Phrase to indicate with which voice command you want to activate this routine. When you on Done press is the routine ready to be activated with your voice (that is a nice way to test the routine right away).


When you first start the app and press the tab Ideas at the bottom, then its content is rather disappointingly empty. However, the reason for this is a very good one: the app does not provide you with a laundry list of ideas that are of no use to you. On the contrary, the app first collects information about which smart devices you have, and then only fills the Ideas tab with tips and ideas from other users who have the same devices.
That way it really becomes a personal experience and you don’t get lost in a world of inspiration, so you end up doing nothing at all with these tips. With us it took half a day before the first tips appeared, so a little patience is needed.
.