With a Windows 10 backup you may immediately think of securing your personal documents. But there are many more things that you do not like to lose and for which you can make a backup. Think of: the Windows registry, drivers, application settings, mobile data and much more.
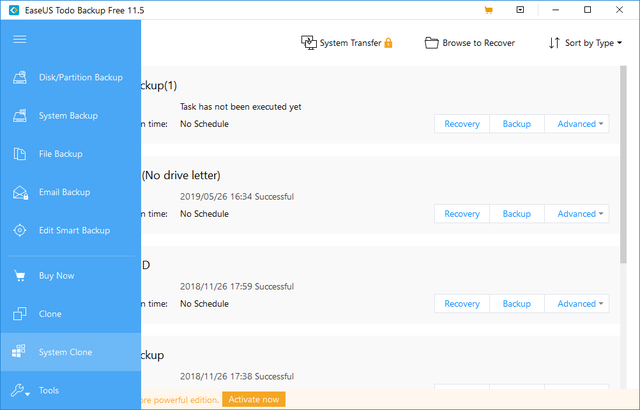
This article is not about backing up your data, disk or system. If you still want to get started with that, then you will get a long way with free EaseUS ToDo Backup Free or AOMEI Backupper Standard – and there are many other tools.
Let’s take EaseUS ToDo Backup Free as an example. With this you can not only backup specific data folders, but also an entire partition or disk. Or you make a complete system image and even a real disk clone. You can also schedule incremental backups – handy, because space saving and no worrying about. And you can link a random backup as a virtual disk, which allows selective recovery. But this time we are not going to work with the “classic” backups, but rather back up less obvious things that you would not like to lose.
Our online Back-up & Recovery course is also available with a book. 180 pages of useful reference work!
01 Complete register
The Windows registry contains numerous configuration settings of the system, software and hardware components. Now a large part of the registry is backed up every time you create a system restore point in Windows: press the Windows key, tap restore point in and choose Create restore point (to restore a restore point, press the Windows key + R and perform your rstrui).
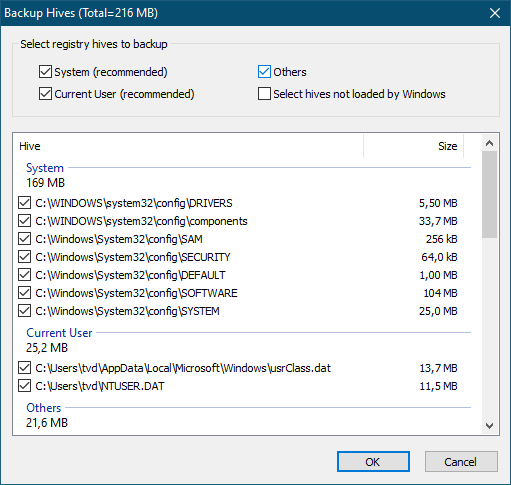
But for a complete backup you better use other tools such as Registry Backup and Restore. Start the tool, press the button New Backup and choose a suitable backup location and a clear description. click on Click here to view details and preferably also place a check mark at Others and at all parts of System. Confirm with OK and with Start.
Via the button Options set how many older backups you want to keep. RegBak retains all backups made as standard. These backups appear in chronological order in the program window. You only have to select such a backup and with the button Restore and Start to put back. Or you click on this first Options and you indicate exactly which parts of the register you want to restore.
This method of course only works if Windows itself is still booting. If that is not the case, you can still restore such a backup via the built-in Windows recovery environment (see box “WinRE”).
WinRE
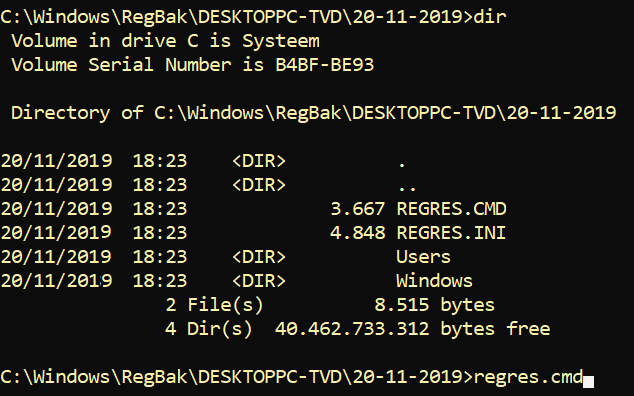
Windows has a built-in recovery environment: WinRE (Windows Recovery Environment). It is then necessary to start the nasty system with a boot medium. You can create such a medium (also on another computer) with the Media Creation Tool, what you choose Create installation media (USB stick, DVD or ISO file) for another PC and a USB flash drive selects (at least 8 GB). Place the complete RegBak backup folder on this stick (see section 1 “Complete register”).
With this stick you start your PC and after choosing the language, country and keyboard you press Next one and on Repair your computer / Troubleshooting / Advanced options / Command prompt.
Here you execute the command notepad and choose File / Open. File types are best set up All files. Through This PC then you eject the drive letter from your system disk (this contains the folder Windows).
Then enter the command CD
If all goes well, the registry is now nicely restored and Windows does it again.
02 Registry keys
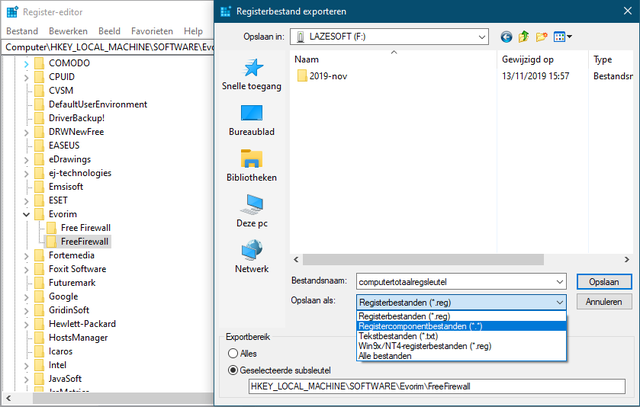
If you want to tinker with the registry yourself, you may find it exaggerated to back up the entire registry. You can also make a backup of individual registry keys. To do this, press the Windows key + R and enter regedit from. Right-click the desired (sub) key and choose Export. At the bottom, at Selected subkey, you see a reference to the chosen key. Give the export file a clear name. This file is given the extension .reg and by double clicking on this file you restore the original key. You can check that via regedit after you refresh the view with F5.
Note: if you have created one or more new subkeys yourself, they will not be deleted again in this way. If that is your intention, then choose at Save as the type Registry component files (*. *). To restore this binary file, open again regedit and choose you File / Import. Choose the type here too Registry component files (*. *) and select your backup file.
03 Dism
All your hardware components and peripherals are working properly. You do your best to correctly install all drivers and keep them up to date. Then it is pretty annoying if such a driver is corrupt, or if you have to reinstall Windows and several drivers appear to be missing afterwards. You guessed it: with a backup you avoid such annoyances.
There are backup tools for this, but they are often outdated, cumbersome, or contain adware (or worse). Fortunately, it is also possible from Windows itself.
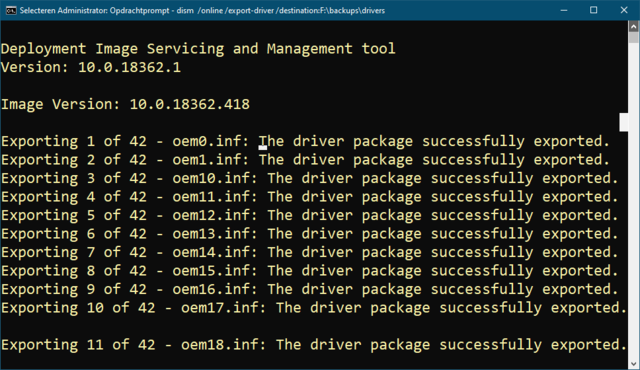
Press the Windows key, tap cmd in, right click on Command Prompt and choose Run as administrator. Then you execute the following command, confirm with the Enter key:
dism / online / export driver / destination:
Replace
To restore a driver, press the Windows key + R and enter devmgmt.msc from. In the device manager, right-click the desired device and choose Update driver. In the dialog you choose Search for driver software on my computer and via Leaves select the backup folder. Leave the check mark at Including underlying folders. Press Next one and follow the instructions. If all goes well, the right driver will be back in place a little later.
04 CloneApp (selection)
If you have installed installed applications, you can usually download them again (or you still have the installation files somewhere), but your settings … you can whistle about that. You probably lose it when such an app gets corrupted or when you reinstall Windows.
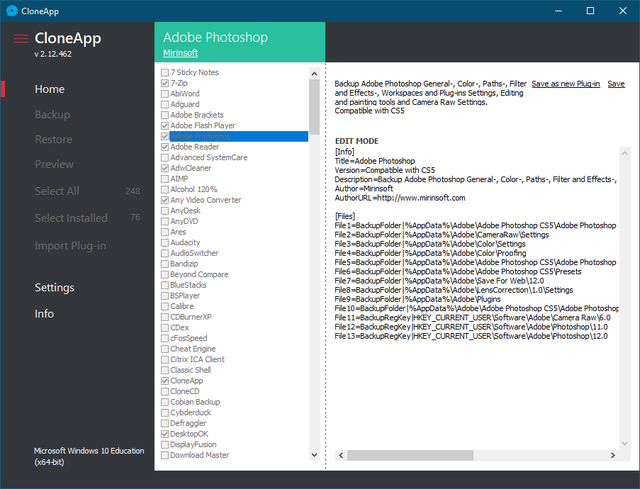
With the free and portable CloneApp you can backup and restore such settings. Extract the zip file, right-click CloneApp.exe and choose Run as administrator. On the tab Home you will find all supported apps back, there are almost 250. Put a check mark on all applications installed on your system whose settings you want to back up. Or click on Select Installed and you let CloneApp automatically detect the apps on your system. At the bottom of the list you will find a lot of Windows components; keep in mind that some require a lot of disk space. From the context menu of any item you can also, if desired Unselect all Selecting.
Click on the top right Edit Plug-in to find out which parts of a selected item are included in the backup. If necessary, you can still adjust it after which you use it with Save (as new Plug-in) records.
05 CloneApp (backup)
Also take a look at the button Settings. You can do it here Clone Path the target location of the backup. If everything is to your liking, click Backup and confirm with Yes to start the backup. You will find that CloneApp creates a separate folder for each selected app.
Restoring the settings is just as easy. Restart CloneApp as an administrator and click Restore. CloneApp will look for your backup at the chosen backup location and after your confirmation with Yes, all settings are reset. It is also possible to restore one specific configuration. Right click on that app and choose Restore in the context menu.
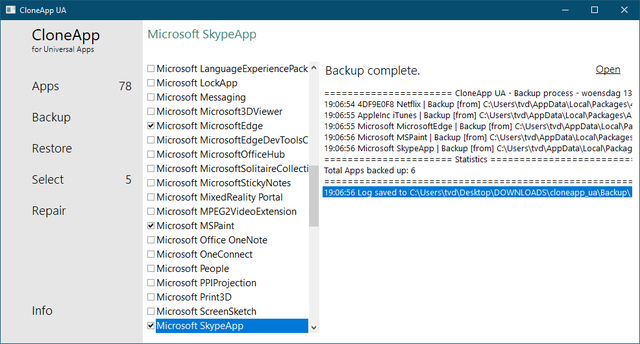
Good to know: you can also visit CloneApp for Universal Apps on the site of the makers. That works in the same way as CloneApp but is intended for apps from the Microsoft Store. Here, by the way, is also the option Repair available with which you can reset corrupt apps.
06 ImageUSB
To copy the data from a usb stick you can of course use a traditional backup tool. But as a Techzle reader, you must have prepared one or more sticks as a boot medium with all kinds of recovery tools in case, and you probably want an image file from that.
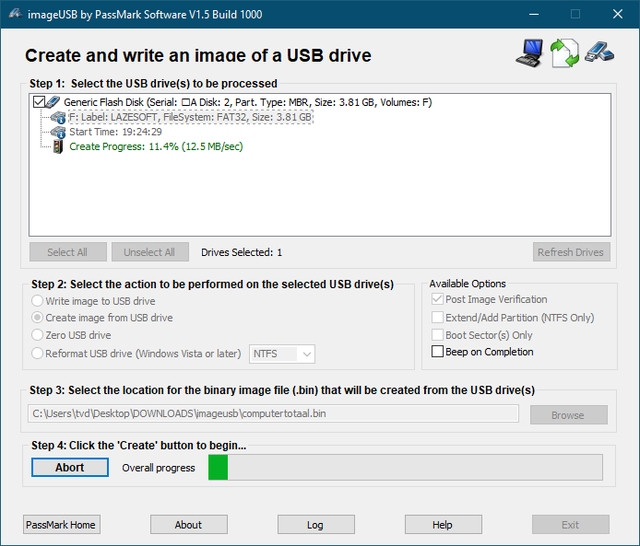
The free tool ImageUSB is not difficult about that. Extract the downloaded zip file and start the tool. Insert your stick in the PC and click Refresh Drives. Place a check next to the stick and select the option Create Image from USB drive. click on Browse and choose a suitable location and name for the image file, confirm with Create / Yes / Yes.
You can write this image file to the stick at any time via the option Write image to USB drive. It couldn’t be easier!
In many cases, a traditional data backup program also takes your e-mail messages with you. If not, there are always specialized tools. All such programs have been discussed in Techzle 07-08 / 2019, for both Outlook and Gmail. We highlight two here.
For Outlook there is Safe PST Backup. The paid version costs 29.95 euros, but the free version is sufficient for one Outlook profile. Once you have entered a backup location, the .pst files that are associated with your Outlook profile are copied. These files not only contain the e-mails but also your diaries and contacts, among other things. Through Options / Schedule determine the frequency of these (incremental) backups. If your original .pst file ever becomes corrupt, simply replace it with the backed up copy.
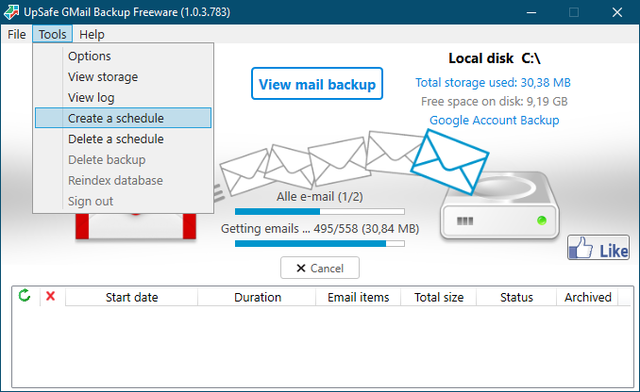
The same kind of solutions exist for Gmail, such as UpSafe Free Gmail Backup. Log in with your Google account and confirm with Allow. Through Backup Options Use various criteria to determine which messages you want to include in your backup. On the tab Storage choose a suitable storage location. After a free registration comes the option Create a schedule available in it Toolsmenu, so you can automate things.
07 iOS and iPadOS
You can also make a backup of your iPhone, iPad or iPod Touch, useful in case your device is lost or damaged or replaced. There are two methods: via iCloud (up to 2 TB storage space, the first 5 GB free) and a local backup to your PC. Here you will find both in brief.
To make a backup with iCloud you first connect your device to a wireless network. Then you go to Settings /
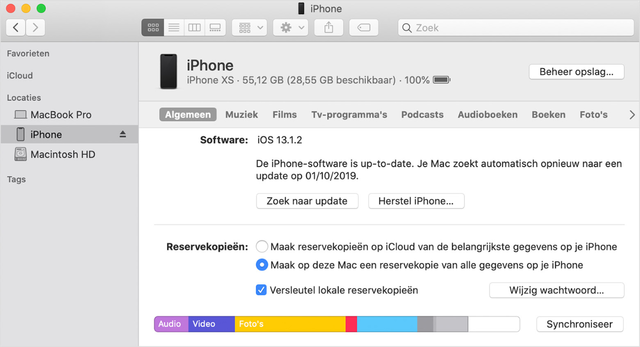
If you don’t feel like saving your data in the cloud, a local backup is also possible. You can do this by connecting your device to a Mac with macOS Catalina 10.15 (via Finder) or to a PC or Mac with macOS Mojave 10.14 or lower (via iTunes). Make sure your device is connected via a USB cable and let your computer search for the device (in Finder this will appear in the navigation column; in iTunes 12 you click on the device symbol in the top left corner). With the press of a button you start the backup, with preferably also the option Encrypt … backup activates.
08 Android (cloud)
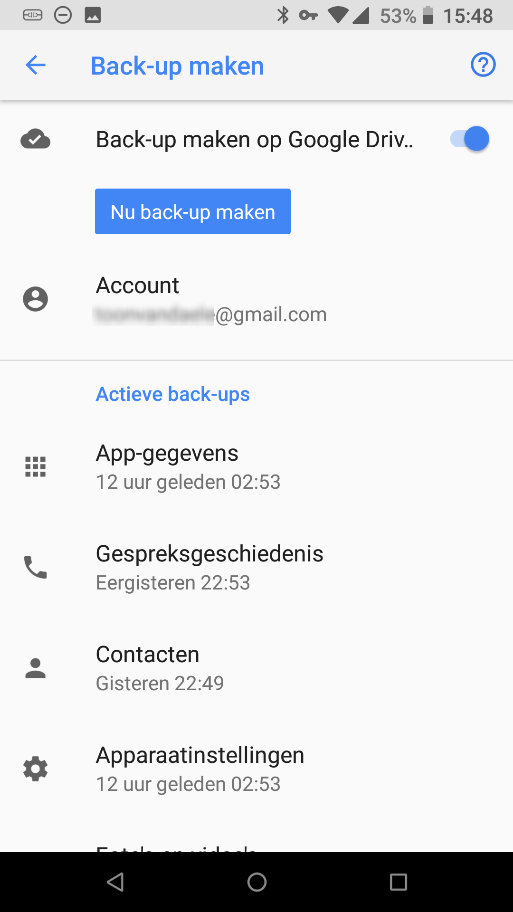
Backups are also perfectly possible with Android. Regular backups prevent you from losing important data, such as your contacts, installed apps and passwords. Such a backup option is built into Android as standard and saves your data in your Google account. You will find this feature at most smartphones Settings, where you then System / Backup select. Make sure the button is up Make a backup on Google Drive is enabled. As a result, everything happens automatically and a backup is made regularly. You can always force this via the button Back up now. On this same screen you will also find more details about the active backups.
Keep in mind that photos are not just included in these backups. You can automate that from the Google Photos app. Start the app and open the menu. Tap on Settings, go to Backup and synchronization and make sure the top button is turned on.
You can also backup WhatsApp messages separately. Start the app, tap the button with the three dots and choose Settings / Chats / Chat backup and make the backup (via WiFi). Tap on Back up to Google Drive to set the backup frequency.
09 Android (local)
It is also possible to make backups to your PC. The fastest way is to connect your device to your PC via a USB cable. You then check whether USB debugging is activated on your Android device. Go to Settings / System / Developer Options and activate here USB debugging. If you don’t find the developer options go to Over the telephone / Build number and tap this number at least seven times in a row. Bee Developer options select you USB debugging.
Then tap the notification This device is being charged via USB and with Use USB for choose you File transfer. If all goes well, you can now find your Android device in the Explorer and you can copy your data.
A (more or less) complete backup is easiest with the help of an app. There are several available including Dr. Fone, Syncios Android Manager or Syncios One-Click Data Transfer, SyncDroid and Helium – App Sync and Backup via the Google Play Store.
.