
 Manage custom images with Google Photos. Search by objects, faces, location, date or selfies. Or edit favorite photos. Anything is possible!
Smart Gallery
Google Photos calls itself a “smart gallery.” It’s more than just a collection of all the photos on your device. There are all kinds of options within Google Photos. For example, a quick search by date, photos from a specific location, all selfies or a specific object.
The app may already be installed automatically on your smartphone or tablet. If not, download Google Photos from the App Store (iOS) or Play Store (Android) first.
A Google account is required to use Google Photos. If you don’t have this yet, read the article ‘Create a Google account’ first.
Free storage with Google
With a free Google account you get 15 GB of storage space with Google for free. The various Google services, such as Drive and Gmail, make use of this. The images you save to Google Photos also end up there. For those who take a lot of photos, 15 GB may be a bit little. If you want more storage space, you can take out a subscription. (Note: This is different than before. Before June 1, 2021, you could store unlimited free photos in Google Photos, but the company has moved away from that. Anything saved before that time will be preserved.)
First use of the app
To begin with, an explanation of how to use the app for the first time. Follow the following steps:
- Open Google Photos.
- Give permission to use photos, media and files by tapping To allow.
- If necessary, choose to set up a backup. This can also be skipped. We choose this Enable backup.
- Choose the quality of the photos in the backup. High Quality means the photos will be resized to take up less storage space, but the quality will still be good. Or choose Original not to change the quality of photos and videos.
- If necessary, turn on the slider to make a backup even without WiFi, and tap Confirm.
All kinds of photos that are already on the smartphone are now added to the app. This can take a while, especially if you take a lot of pictures. The message ‘Get your photos’ will appear on the screen. You can try other options in the meantime, but not all photos may be available yet.
Search photo in Google Photos
Google Photos has an extensive search function. You can search by location, but also easily by objects or people. Here are some options to search:
- Open Google Photos.
- Tap at the bottom of the bar To search.
- Use the search bar to search by folder name, or by month. For example, type “September 2020 in” to see all the images from that month. Or “2018” or “December 31, 2019.”
- Also use the search bar to find specific things. For example, try ‘Dog’, ‘Cat’, ‘Beach’ or ‘Flower’. It works surprisingly well, although the function is not perfect yet.
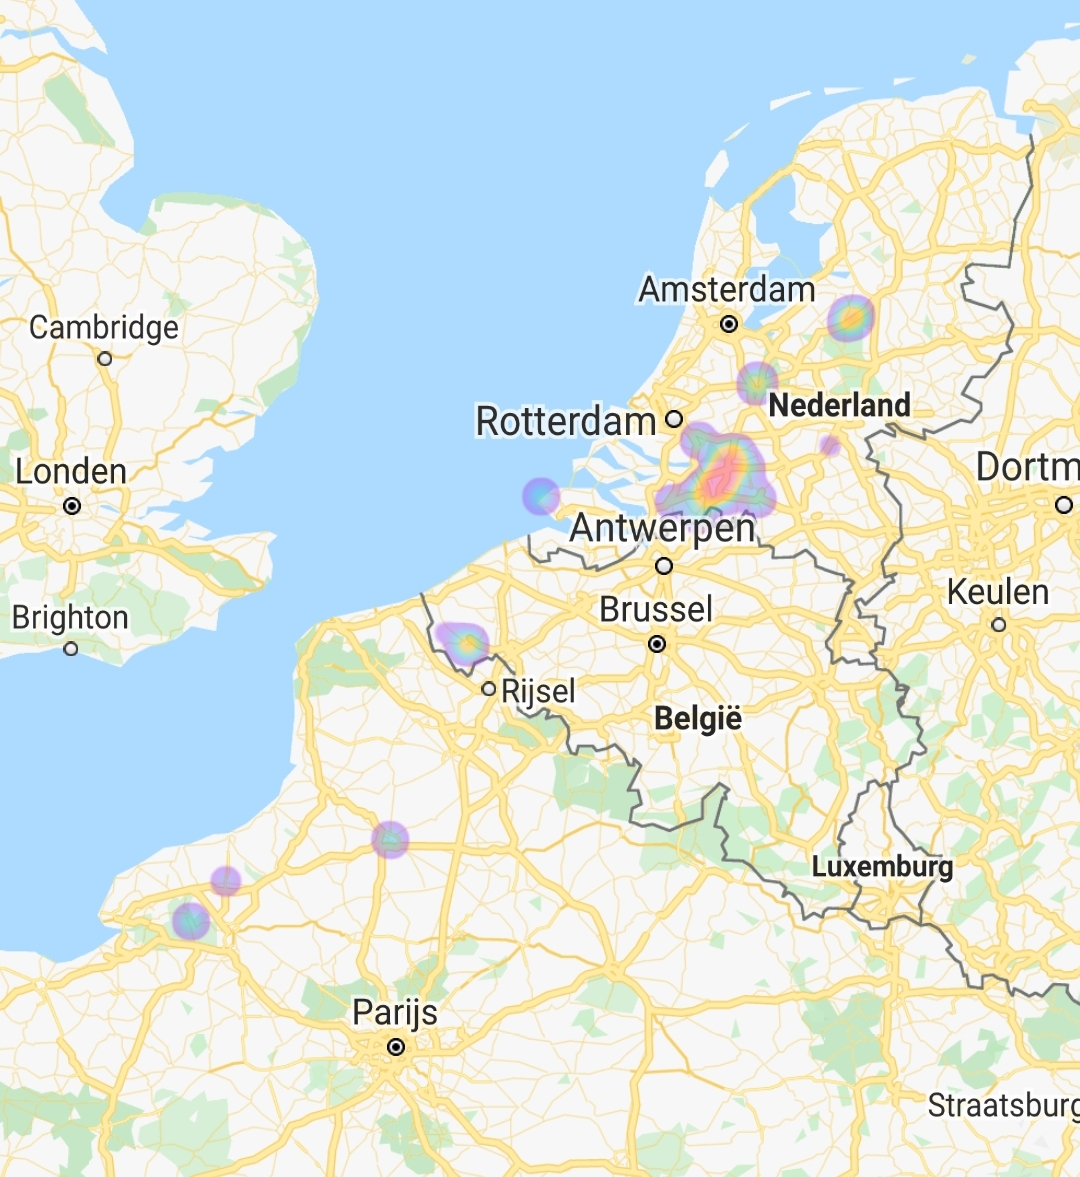
- Use the ‘Explore map’ option to view photos taken in a particular place. Tap on your card and zoom in on the map and tap a specific area to see photos. This option only works if you have given your camera app permission to your location. This also works internationally.
- Under ‘Favorites’ and ‘Recently added’ you will find your favorite photos and most recent photos.
- Under ‘Categories’ you will find different types of images. For example, tap “Selfies” to show all photos taken in selfie mode.
Facial Recognition in Google Photos
Photos can also be grouped using face recognition. That is not set automatically. If you want to make use of this, turn on the option like this:
- Scroll down to the ‘Search’ section and tap Enable face grouping.
- Tap the slider, this will then turn blue.
- Tap on OK.
Google Photos will gradually sort photos by faces that are recognized multiple times. The function may not show faces in the beginning, and more and more over time. Then use the function like this:
- Go to the section To search.
- Under ‘People’, tap Look at everything.
- Tap one of the faces to see more photos of this person.
- Tap on Add a name and type that person’s name. Tap on Ready.
Is one of the results incorrect?
- Tap and hold that photo.
- Tap the three dots at the top right.
- Tap on Remove from results.
Read more about this topic in the article ‘Google Photos Facial Recognition’
The ‘Library’
The different folders are listed in the ‘Library’ section. It also shows which photos are in your favorites, in the archive and in the trash. There is also the option ‘Tools’. You can do all kinds of useful things with this feature. He works like this:
- Open Google Photos.
- Tap at the bottom of the bar library.
- Tap on Tools.
- Now a number of suggestions are made automatically.
- Under ‘Clean up’ there are a number of photos that the app thinks are unnecessary. Tap ‘View suggestions’ to view them. Leave a check mark next to each photo you want to archive. You can remove a check mark by tapping on it. Satisfied with the selection, then tap To archive.
- “Suggested rotations” lists photos that the app thinks should be rotated. Tap ‘View suggestions’ to view them. Tap the photo to tilt it. Then tap Finished.
- If it says ‘Have a big clean’ then you may want to consider moving photos from the archive to the trash. Tap ‘To archive’ and select the photos that can be removed permanently. You do this by tapping and holding a photo until a check mark appears. You can then select multiple photos with a short tap. Tap the trash can icon to move the files to the trash. Tap on Throw away to confirm.
Editing picture’s
Editing photos is also easy in Google Photos. Do this as follows:
- Open a photo.
- Tap the icon of three sliders at the bottom
 .
. - Under ‘Suggestions’ there are three options for editing: enhance, warm and cool. Tap this for quick effect.
- Slide a finger along the Suggestions and Crop buttons to see more editing options.
- Crop: Crop the photo to size, or rotate or tilt it.
- Adjust: Adjust various things such as brightness, contrast, or saturation. Tap one of the options and slide your finger across the bar. Tap on Finished if you are satisfied.
- Filters: choose color filters that adjust the entire style of the image at once.
- More: draw on the image.
- Finished? Tap on Save.
- Tap again Save to replace the original photo, or on Save as copy to keep the original photo.