
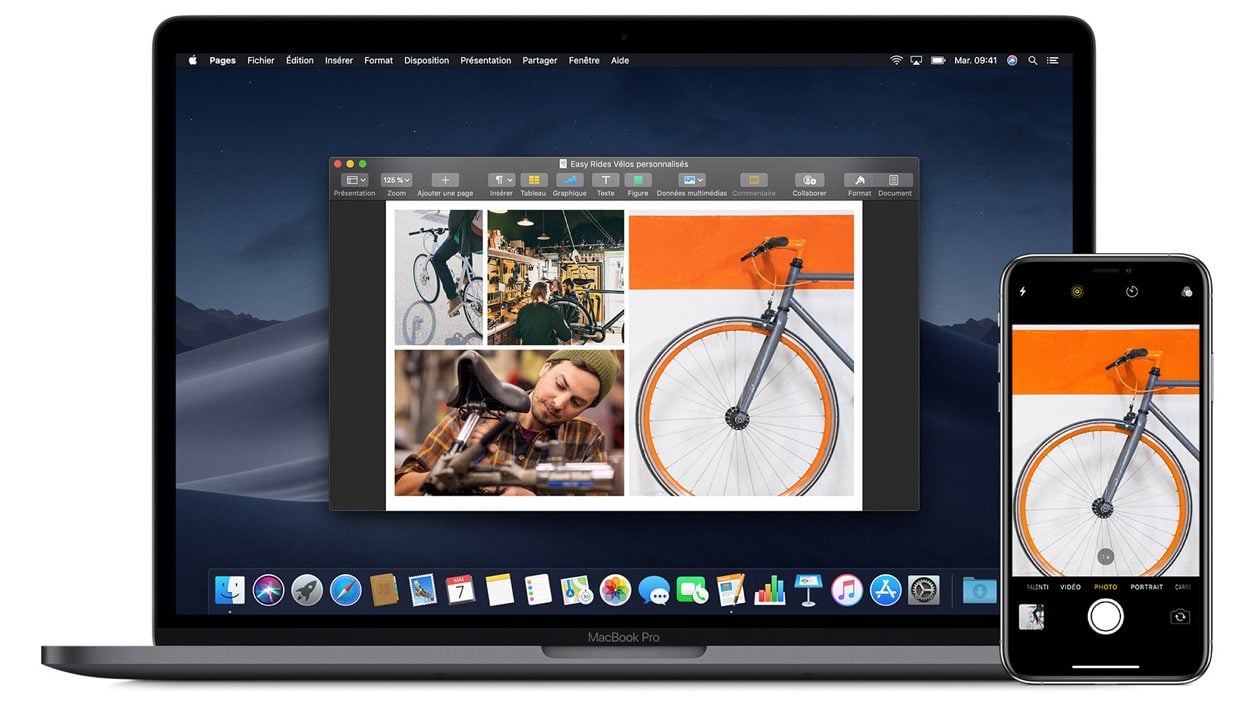
Use the seamless feature between your iPhone and Mac to easily scan documents or take photos.
Mac and iPhone users are in luck. Apple designs its products to work and communicate with each other so that the user can start a task on one device and finish it on another. This function, Continuity, also called Handoff, Apple also uses it to allow you to use the potential of a device to use it on another. For example, it is possible to use your iPhone from your Mac in several ways. One of them, the Continuity Camera, can be used to initiate a document scan from your Mac using your iPhone’s camera. Thanks to it, it is possible to scan or take photos with the Apple smartphone, and to find the content directly in the applications on your Mac.
Also see video:
Be careful however, to take advantage of the continuity functions between iOS and macOS, several conditions must be met:
The Mac must be running macOS Mojave or higher, while the iPhone must have at least iOS 12 or later. Wi-Fi and Bluetooth must also be enabled on the Mac and iPhone, and both devices must be signed into the same iCloud account. When all these conditions are met, you will be able to scan documents with your iPhone from the Finder, Pages, Numbers, Keynote, Mail, Messages, Notes, Text Edit, or Preview. Here’s how.
1. Open a compatible app
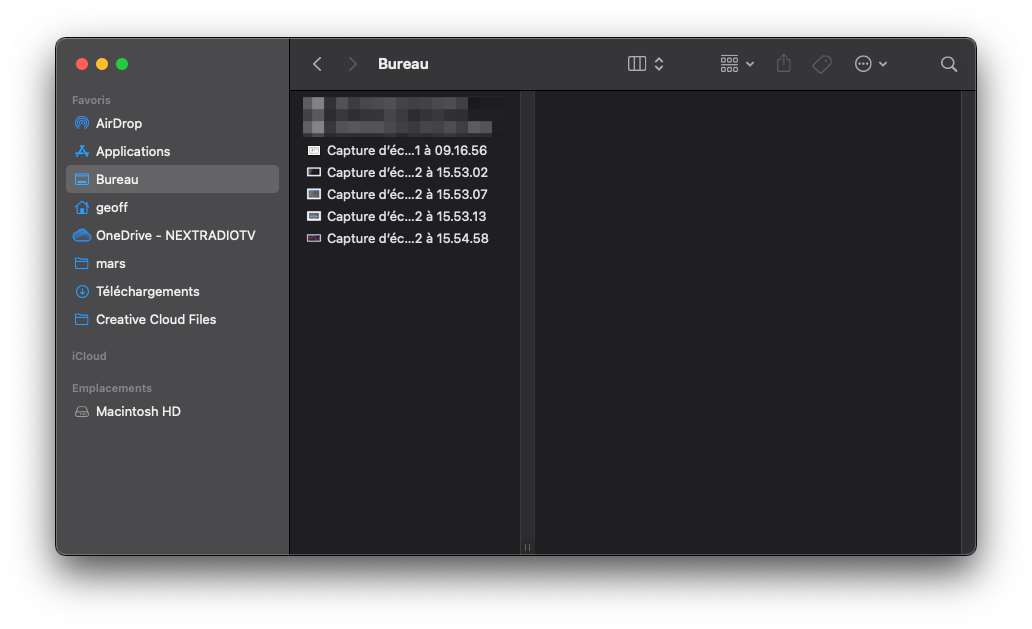
Start by opening one of the previously mentioned applications on your Mac. If you just want to scan a document, without embedding it in a specific file, just open a Finder window.
2. Access the function
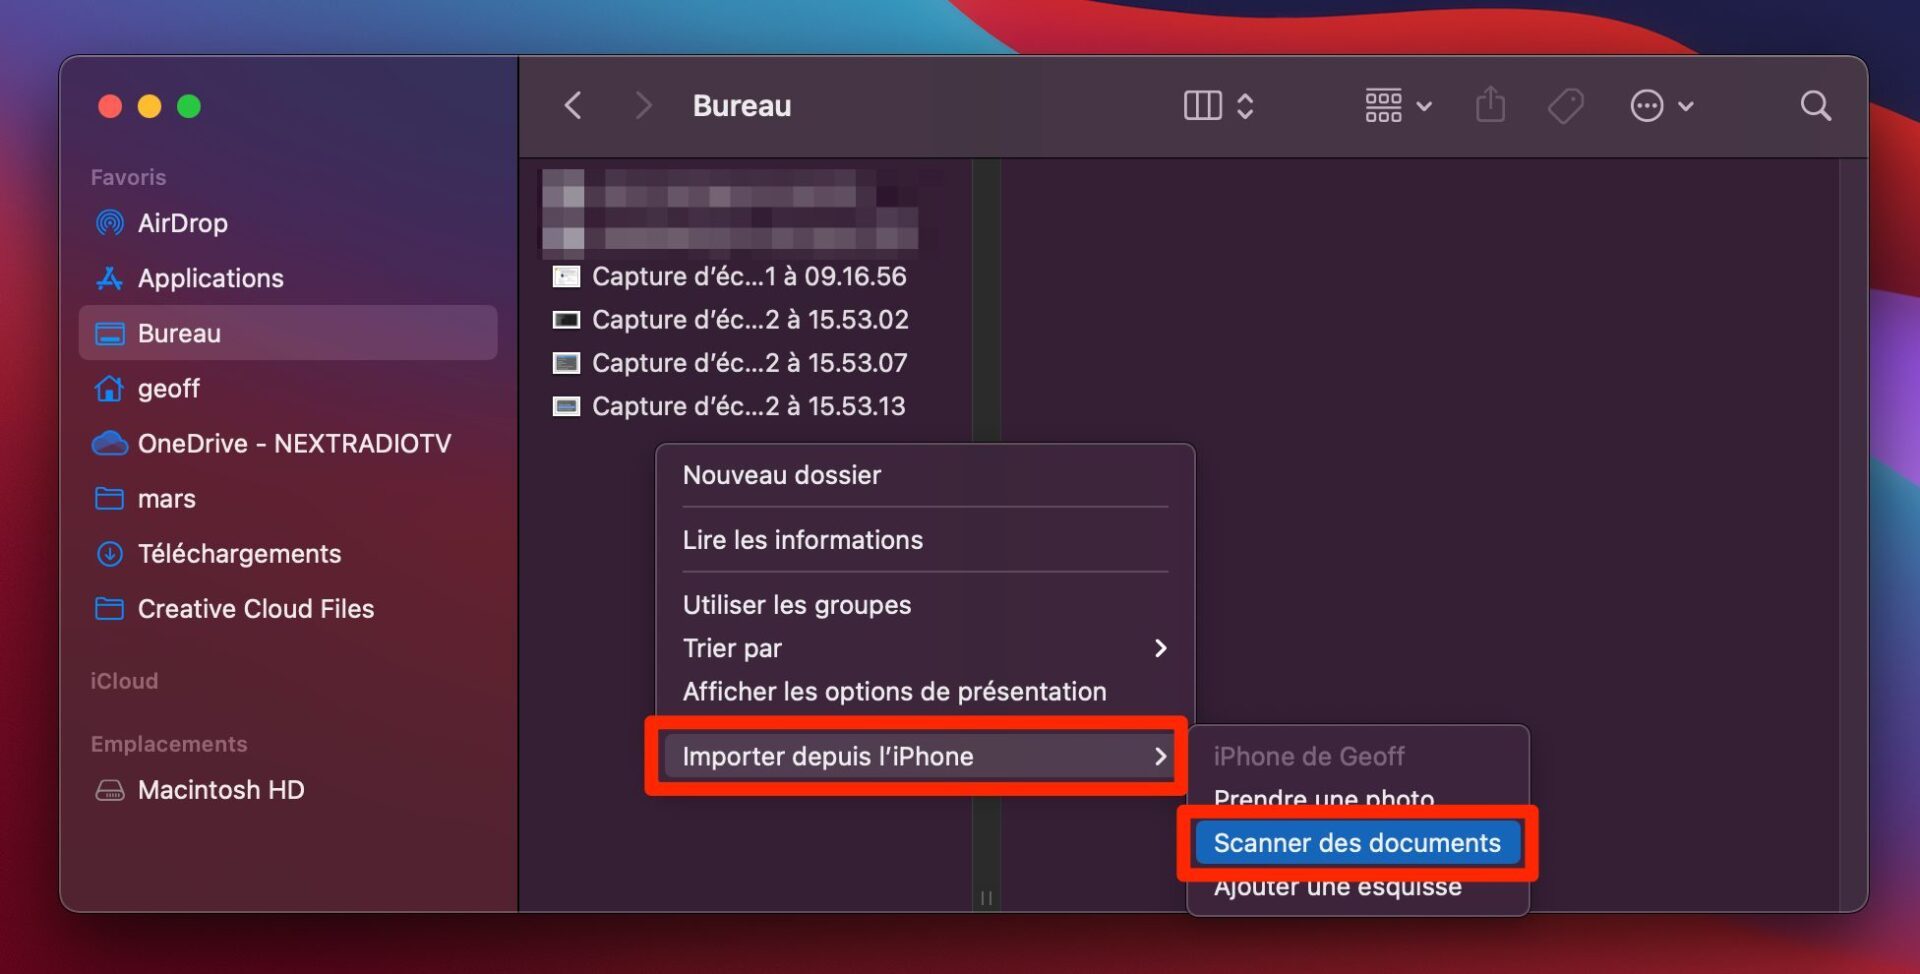
The function to scan from the Mac using the iPhone is accessible in several ways depending on the application used. You will find it either in the File menu of the application, under the heading Import from iPhone, or via the right-click context menu where the function can also be offered.
In the case of the Finder, for example, go to the Desktop (this is the default save directory for documents scanned this way) and right-click. Then go to the Import from iPhone option and choose to Scan documents.
3. Scan your document
Your iPhone should automatically wake up and open the camera. Stand in front of the document to be scanned and start shooting. iOS normally detects the edges of the document automatically, but it is possible to manually refine the framing after capturing the image.
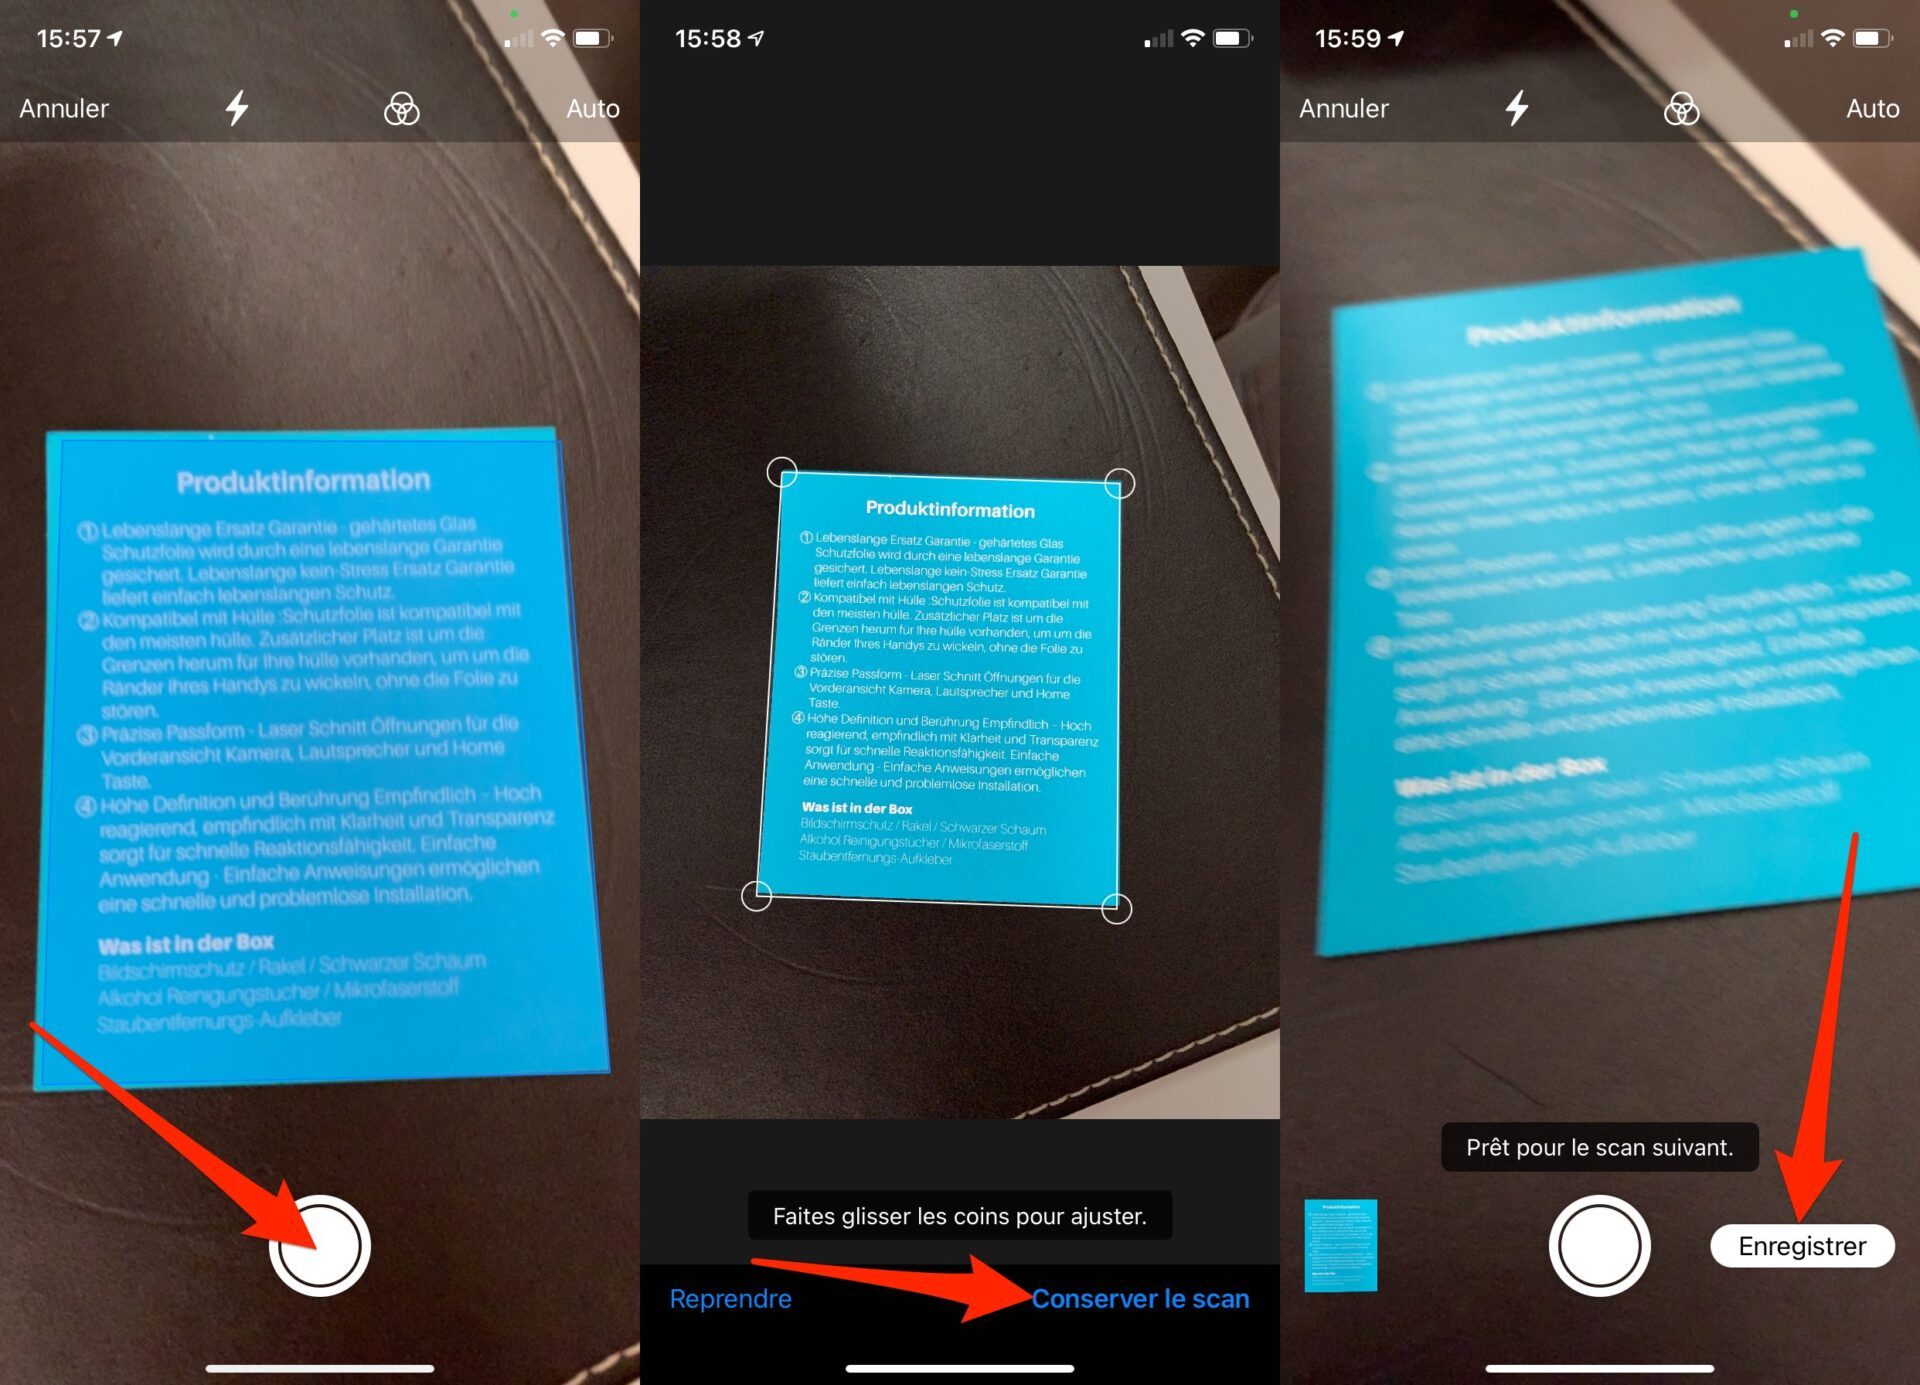
Tap Keep Scan and continue shooting if the document has multiple pages. When all items are scanned by the iPhone, tap the Save button. The document is then automatically saved in PDF format on the desktop of macOS.in the directory selected within the Finder.