
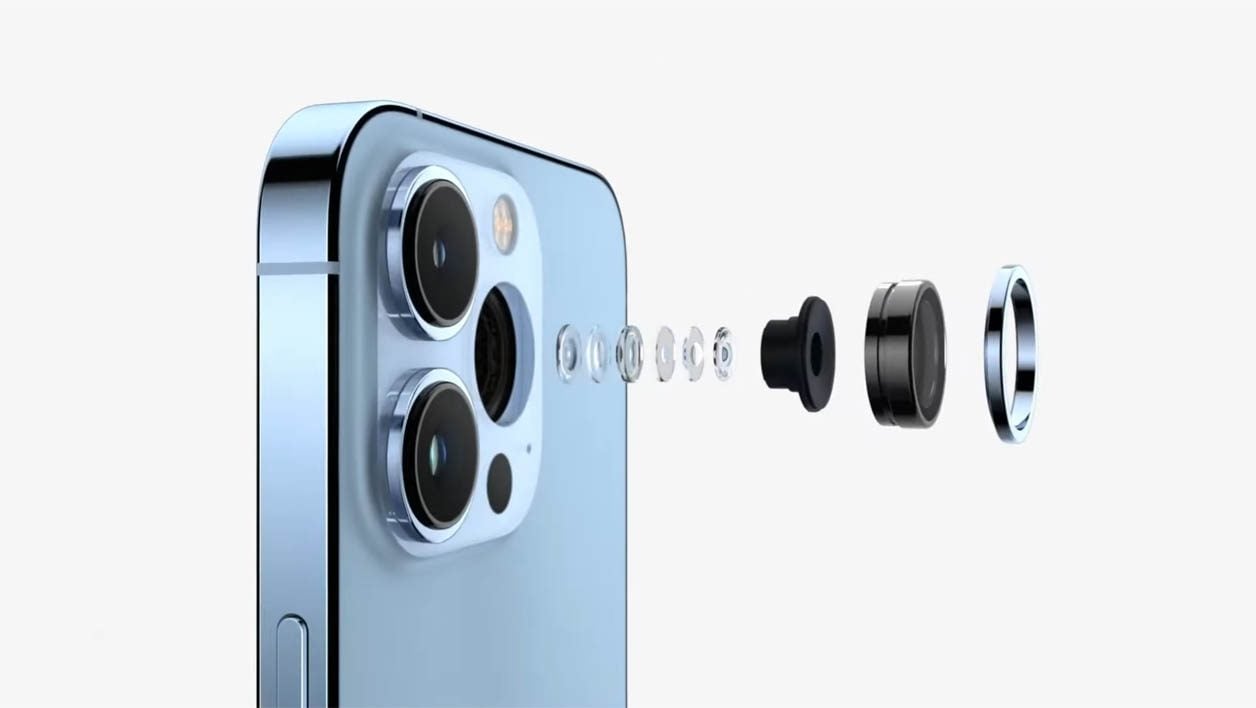
© Apple
Take photos with your iPhone by triggering your shots remotely, without touching the screen of the device.
The constant improvement of camera modules, the evolution of the power of software processing associated with smartphone photo sensors has enabled many users to abandon their old digital camera in favor of their smartphone. The iPhone, which is no exception to this rule, has become for many users their main camera.
Even if the use of a smartphone offers much less flexibility than what a dedicated box offers, it is quite possible to use certain accessories to capture images more comfortably. If it is possible, for example, to use a remote control acting as a trigger on an SLR camera, you can do the same with your iPhone. The Apple smartphone indeed offers several options to allow you to trigger a remote shot. Here’s how.
1. Use the self-timer
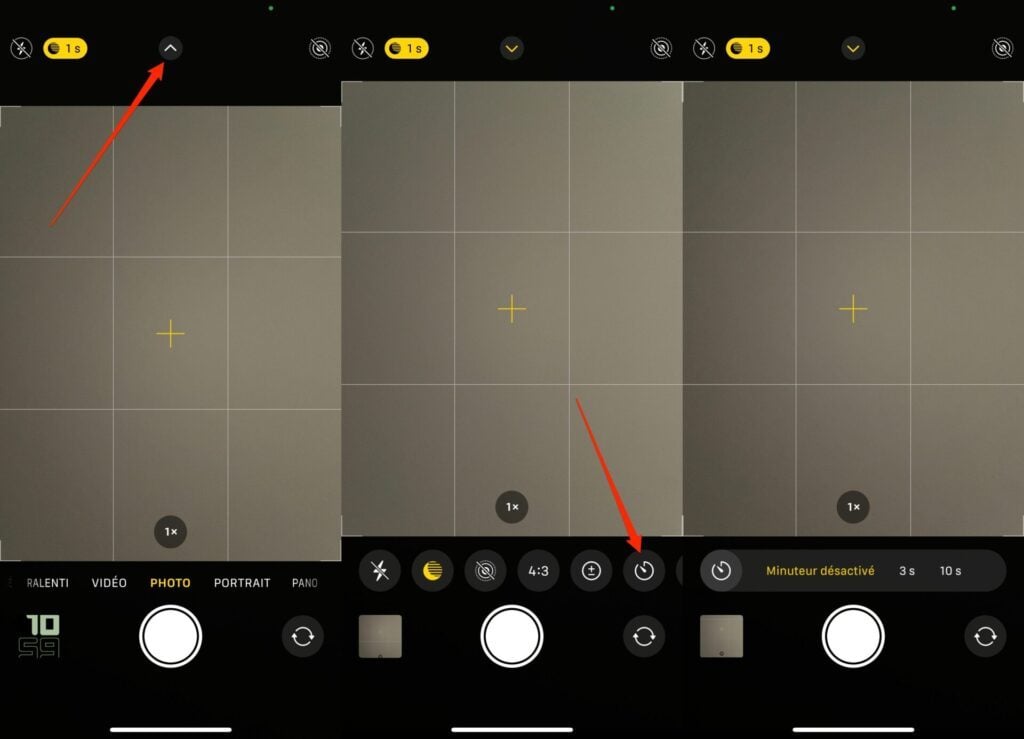
This is the most logical and probably the least expensive option if you don’t have any accessories. The option is however hidden in the optional camera settings of iOS. To find it, open the Camera and tap the small arrow in the top center of the screen, then select the penultimate icon with a self-timer.
You can then set the iOS “Timer” for a duration of 3 or 10 seconds. Once this duration is set, position your iPhone for the shot to be taken and press the shutter button. The countdown will thus start by flashing the flash of the device and displaying the time remaining before capturing the photo, on the screen.
2. Use the remote control of your wired headphones
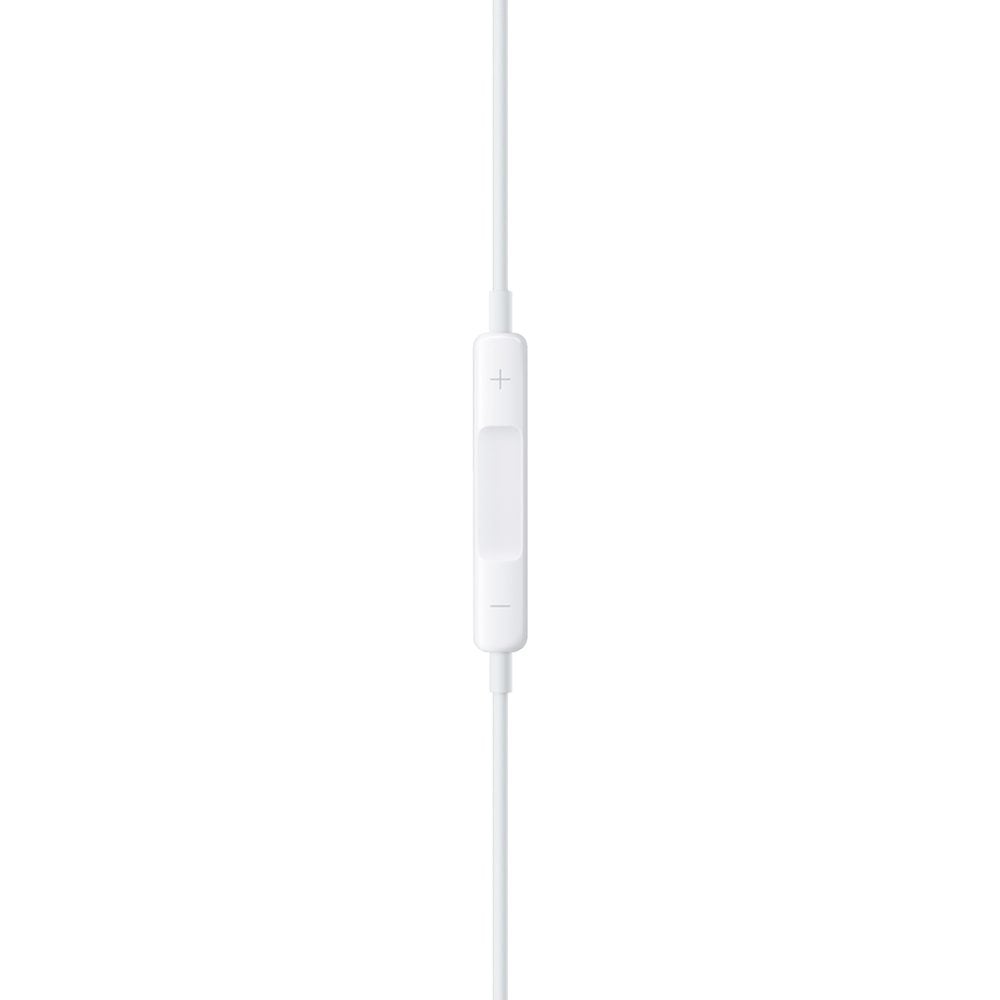
If you bought your iPhone new, a pair of Apple Earpods wired headphones would have come with it in the box. If you have kept them, know that you can use them as a remote trigger.
How ? By simply pressing the volume + or – button on the remote control to trigger the shot.
3. Use your Apple Watch
Do you own an Apple Watch? You can use it to trigger a shot with your iPhone’s camera right from your wrist. To do this, from your Apple Watch, tap the Camera icon.
This should automatically open your iPhone’s camera. All you have to do is position it to frame your image and then trigger the shot by pressing the appropriate button from the screen of your Apple Watch.
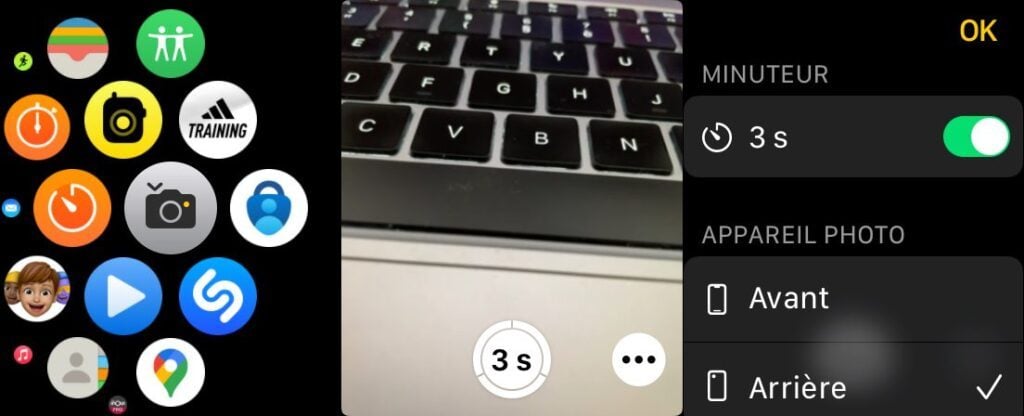
In addition, note that by pressing the option button represented by three small dots, displayed at the bottom right of your watch, you can activate/deactivate the timer, select the front or rear camera of your iPhone, or still manage the use of flash, Live photos and HDR mode.
4. Create a Siri Shortcut
Siri, the iOS voice assistant, does not natively take photos with the iPhone device. If you ask it, “Siri, take a picture,” it will just open the iOS Camera app but won’t take any snapshots.
However, it is possible to create a Siri Shortcut that will do the job. If you haven’t already, start with download the Shortcuts app on your iPhone. Then open the app and go to the Gallery tab (1). In the search engine displayed at the top of the screen, type “Say Cheese” and launch the query (2).
Then press the + button on the “Say Cheese” shortcut to add it to your shortcuts (3), in the My shortcuts tab. You can, if you wish, modify the name of the shortcut (to Frenchify it, for example), so that your request to Siri is easier to pronounce.
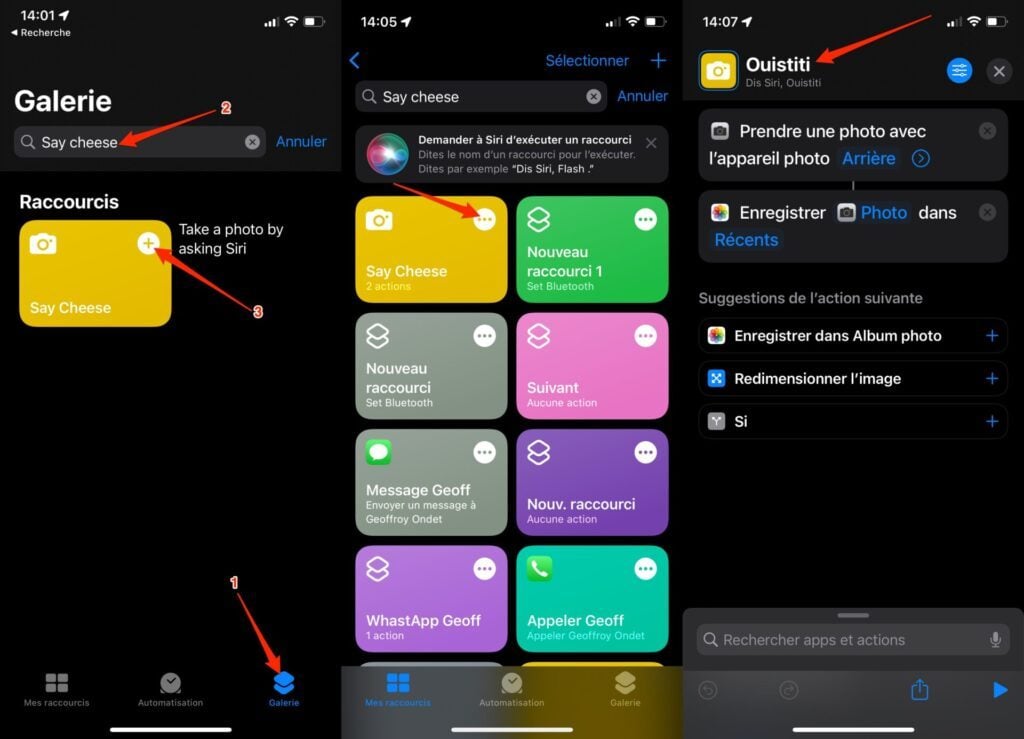
To do this, from the My Shortcuts tab, press the Say Cheese shortcut options button and directly change the title displayed at the top of the screen. Rename it for example “Marmoset”. You can then close the application.
To ask Siri to take a photo remotely, just say “Hey Siri, Marmoset”. The iPhone’s voice assistant will then perform the two actions that the shortcut entails, namely taking a photo with the iPhone’s rear camera, and saving the photo to the Recents album in the Photos app.
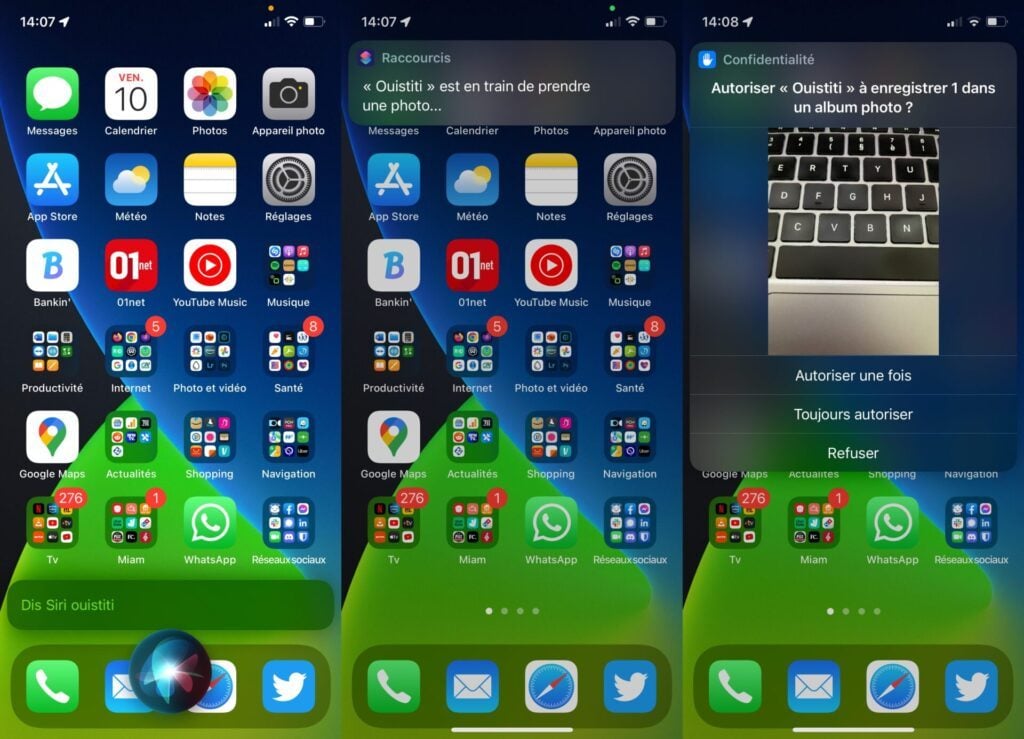
Once you’ve finished capturing your very first photo, a notification with a thumbnail of the image should appear. Choose Always Allow to have the photo automatically saved to your iPhone camera roll the next time you use this shortcut.