

© Apple
The first public beta of the next Mac operating system is now available. Here’s how to install it.
After offering several betas reserved for developers, Apple has just released the first public betas of all its operating systems. macOS Ventura, which is obviously part of it, can therefore be installed now by ordinary mortals.
However, even if the new features inaugurated in this new version catch your eye, installing a version of macOS still under development is not done lightly. Although relatively stable at this point, Apple’s next operating system is still potentially bug-prone. This detail should therefore be kept in mind if you decide to install it. Furthermore, it is very strongly recommended not to install this public beta on your main machine.
To test the new features of macOS Ventura safely, we can only recommend that you install it on a secondary machine. The procedure for accessing this public beta of macOS is relatively simple, but requires that you are enrolled in the Apple Beta Software Program. Here’s how.
1. Join the Developer Program
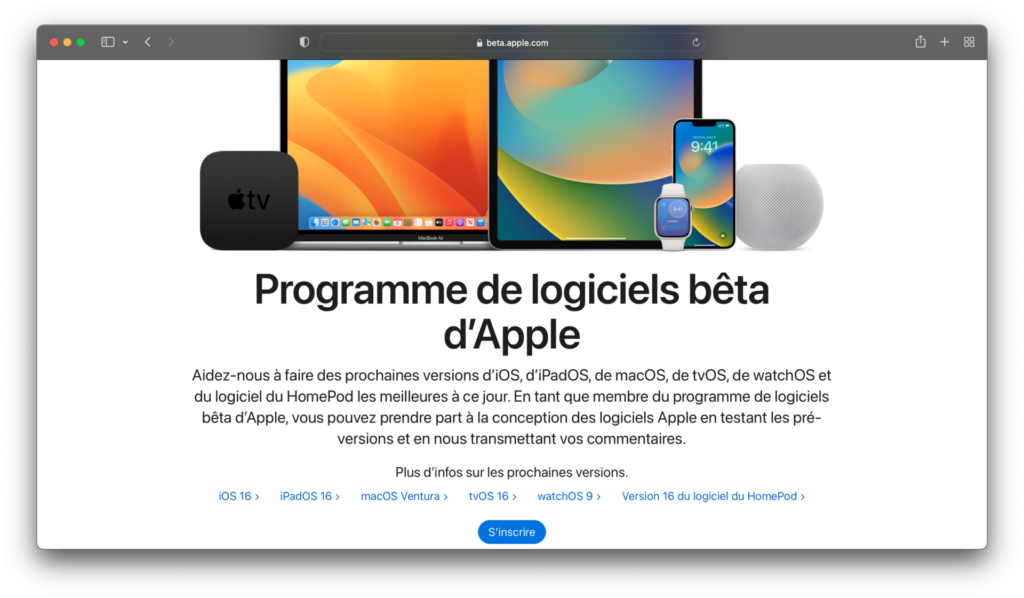
If you haven’t already, start by signing up for the Apple Developer Program. To do this, from your Mac, open Safari and go to the page dedicated to Apple Beta Software Program. Then click on the Sign Up button and sign in using your Apple ID.
2. Enroll your Mac
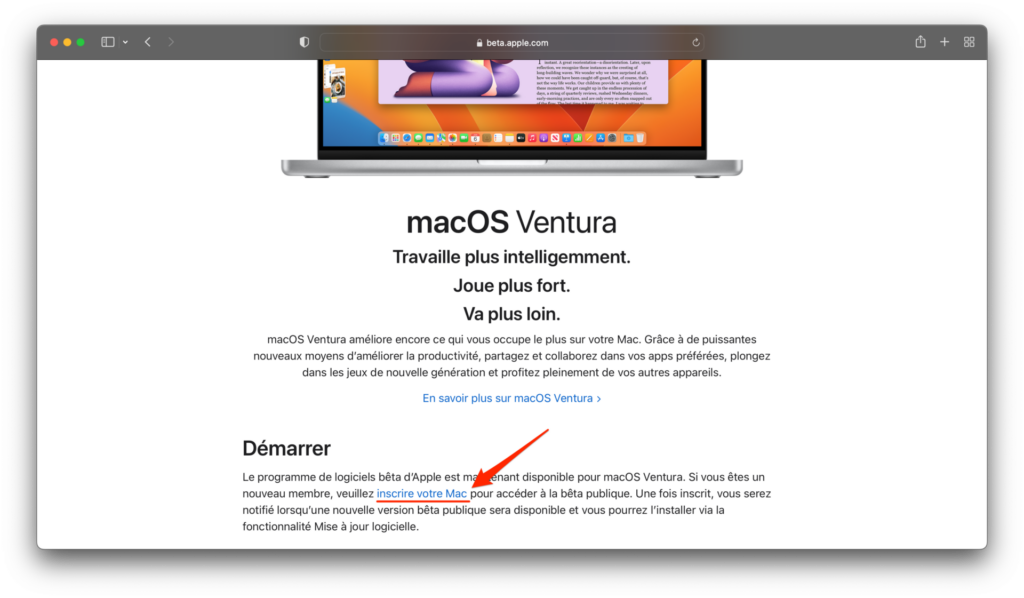
Scroll down to the Guide for Public Betas page (usually open by default on the macOS tab), then click Enroll your Mac.
3. Download the macOS Public Beta Access Utility
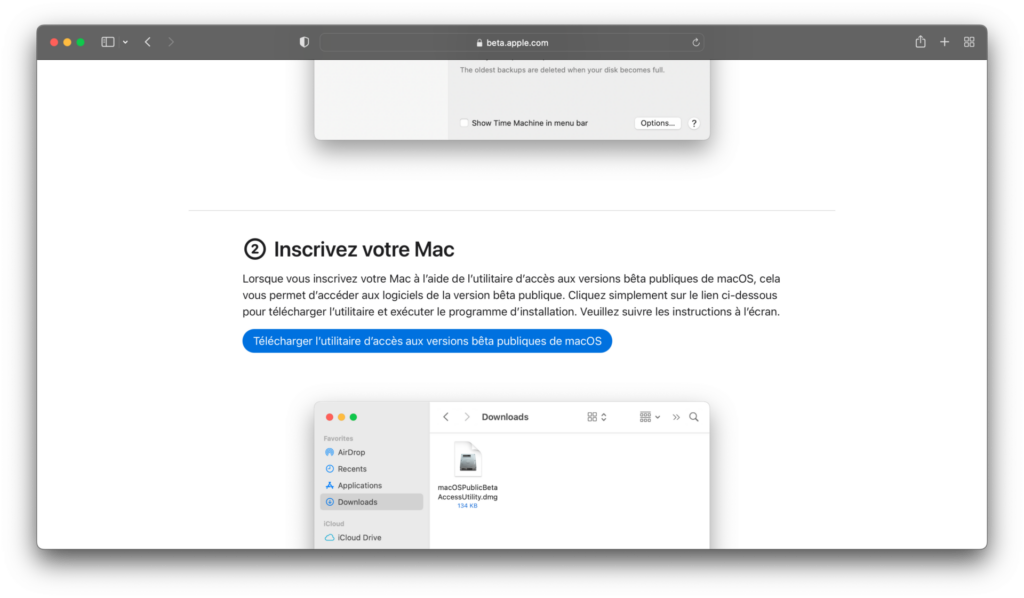
The Enroll your devices page you land on suggests you start with Backing up your Mac. Once all your data is safe, scroll down the page and click the Download macOS Public Beta Access Utility button.
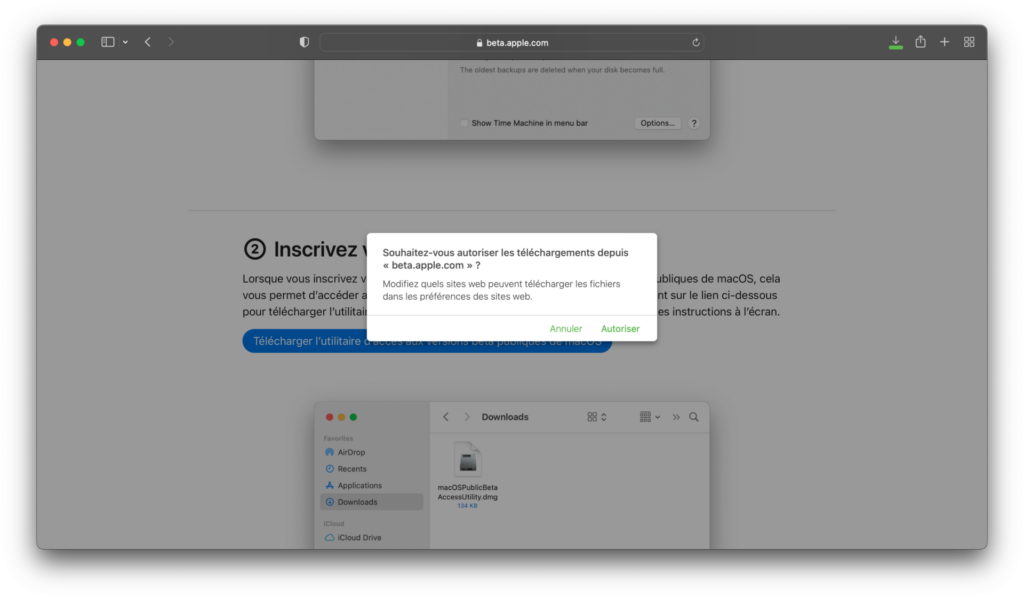
Then choose to Allow downloads from Apple’s website in the pop-up displayed on the screen.
4. Run the utility
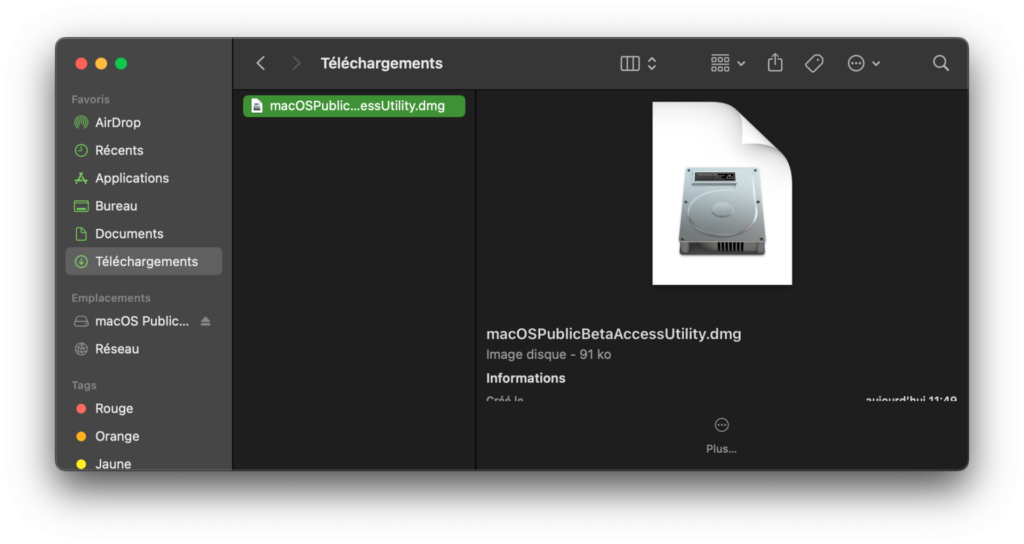
Open the directory where you just downloaded the DMG-formatted disk image from Apple’s utility and double-click it to mount the image.
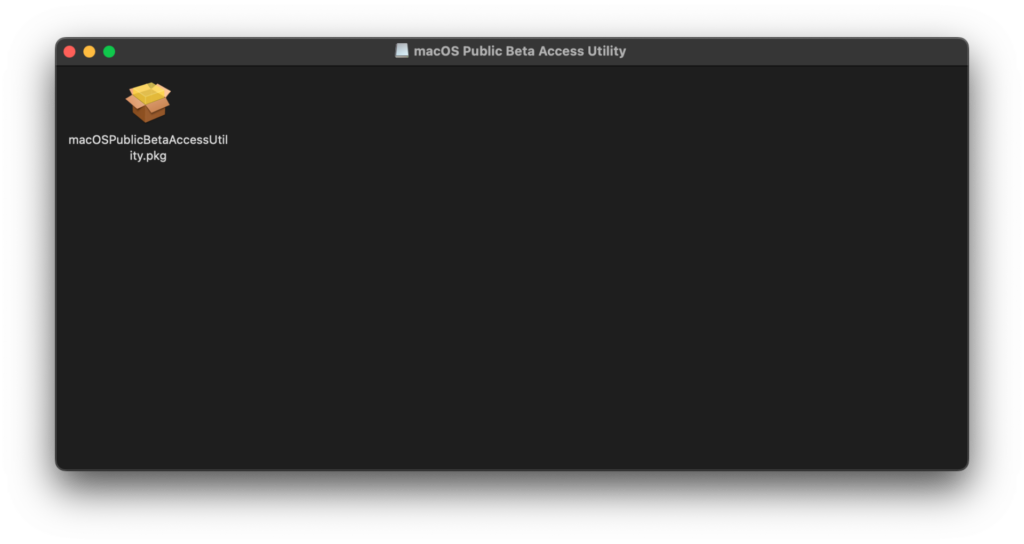
Then run the macOSPublicBetaAccessUtility.pkg installer file.
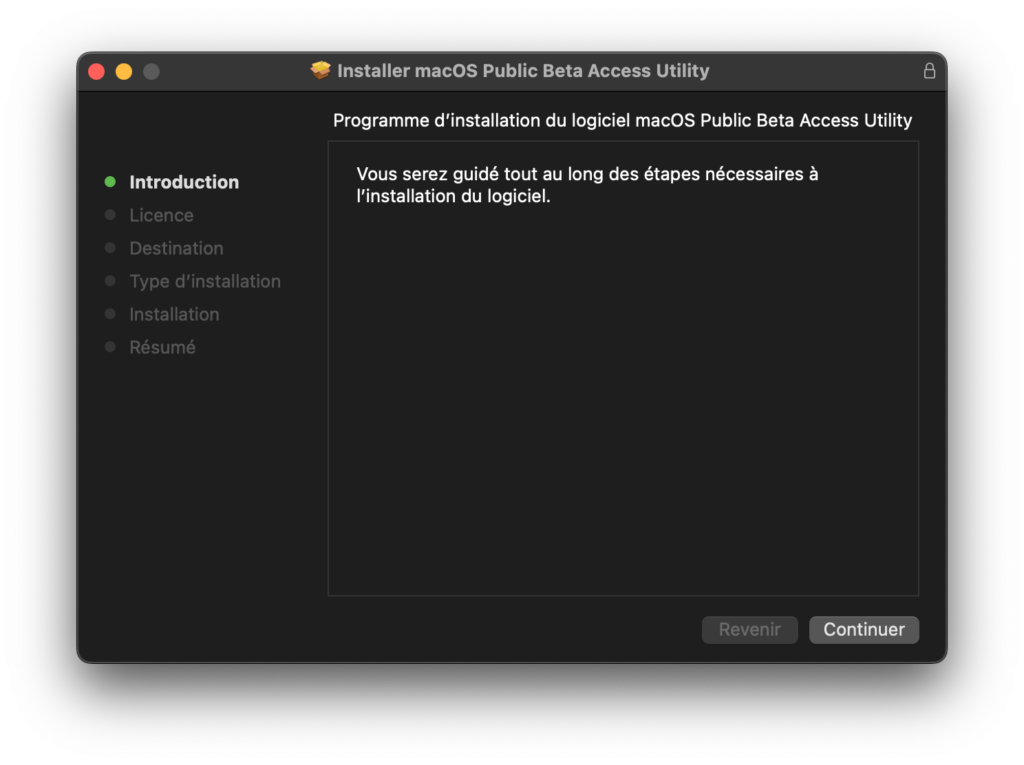
Follow the installation wizard instructions to complete the utility installation.
5. Open System Preferences
Now go to macOS System Preferences and go to the Updates & Software menu.
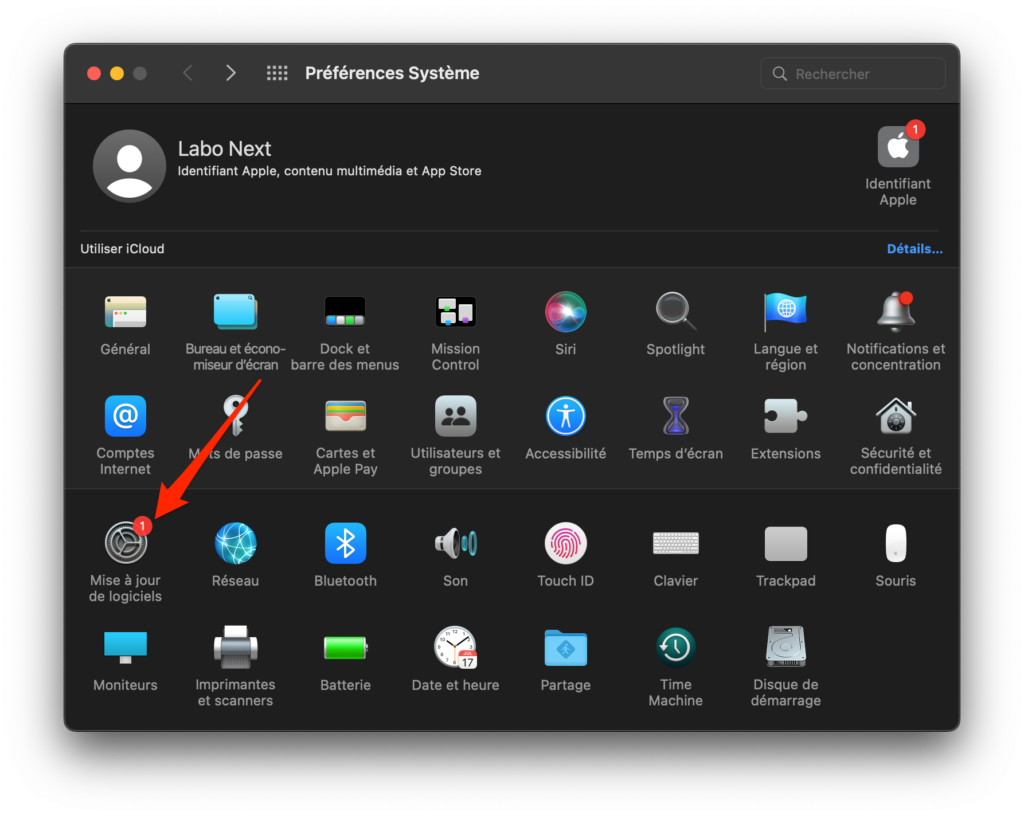
macOS Ventura 13 Beta should be available for download there. Click Upgrade Now and accept the terms of the license agreement to start downloading and installing the OS update.
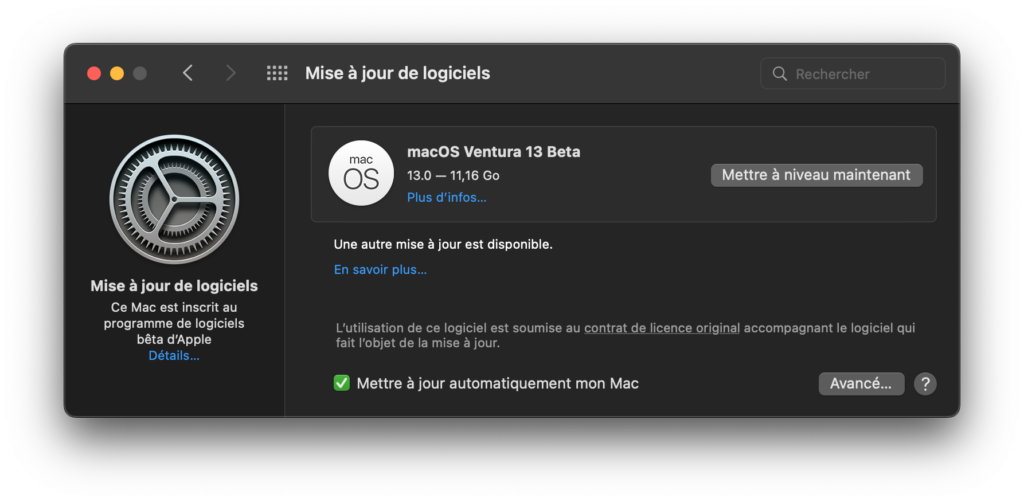
Wait for the update to finish downloading and installing. Your Mac will restart automatically after the macOS Ventura installation is complete.