Manually filling out PDF forms can be a time-consuming and tedious task, especially when it involves entering repetitive or error-prone information.
You’re probably already familiar with the autofill feature in Safari, which makes it easy to enter your contact or banking information. Since iOS 17.2, Apple has gone even further. This update now allows you to automatically fill out PDF forms directly on your iPhone, using the information stored in your contact card.
It is important to note that this feature requires correctly formatted PDFs with suitable text fields.
In this tutorial, we will see together how to automatically fill out a PDF form on your iPhone with at least iOS 17.2 in order to simplify the management of your PDF documents, provided that they are compatible.
Automatically fill out a PDF form on your iPhone
1. Open the PDF file with the Files app
To use autofill for the PDF file, make sure it is downloaded to your iPhone.
Once you find your PDF online, download it.
To find it, open the “Files” application, then “Explore”. By default, it is located in the “Downloads” folder. Tap this .pdf format file to open it.
2. Enable field detection
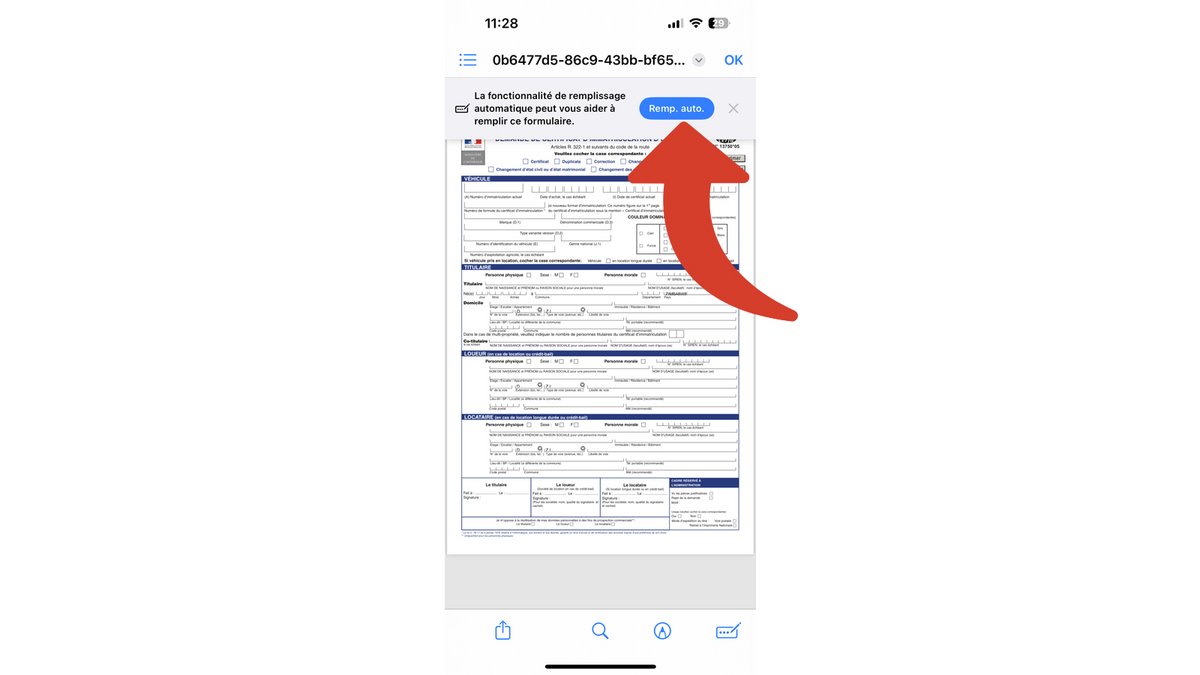
You may see a strip at the top of your PDF asking you to automatically fill in the fields with the “Fill” button. auto”.
If this banner doesn’t appear, don’t panic. Go to the bottom of your screen and tap the icon on the far right, representing a pen filling out a form. On the iPad, the icon is at the top of the screen.
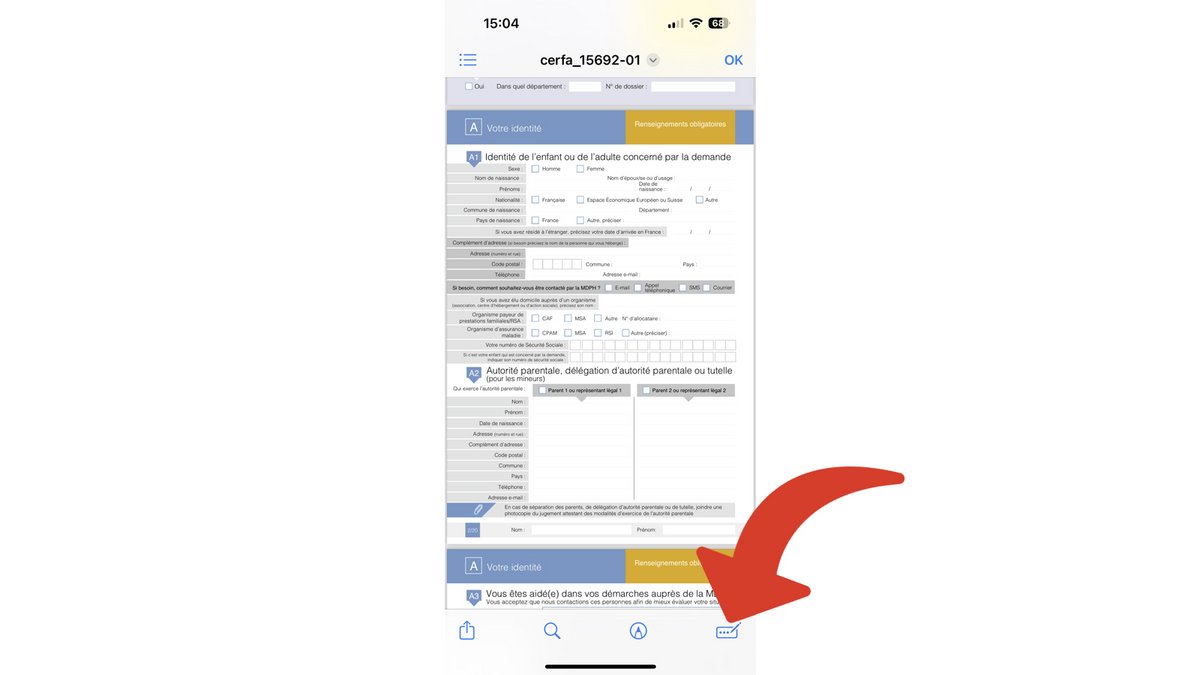
The cursor will be automatically placed on the first field to fill.
3. Choose the contact card
If the field to fill in is the name or the telephone number, your contact form is immediately offered. If it’s the right plug, tap it.
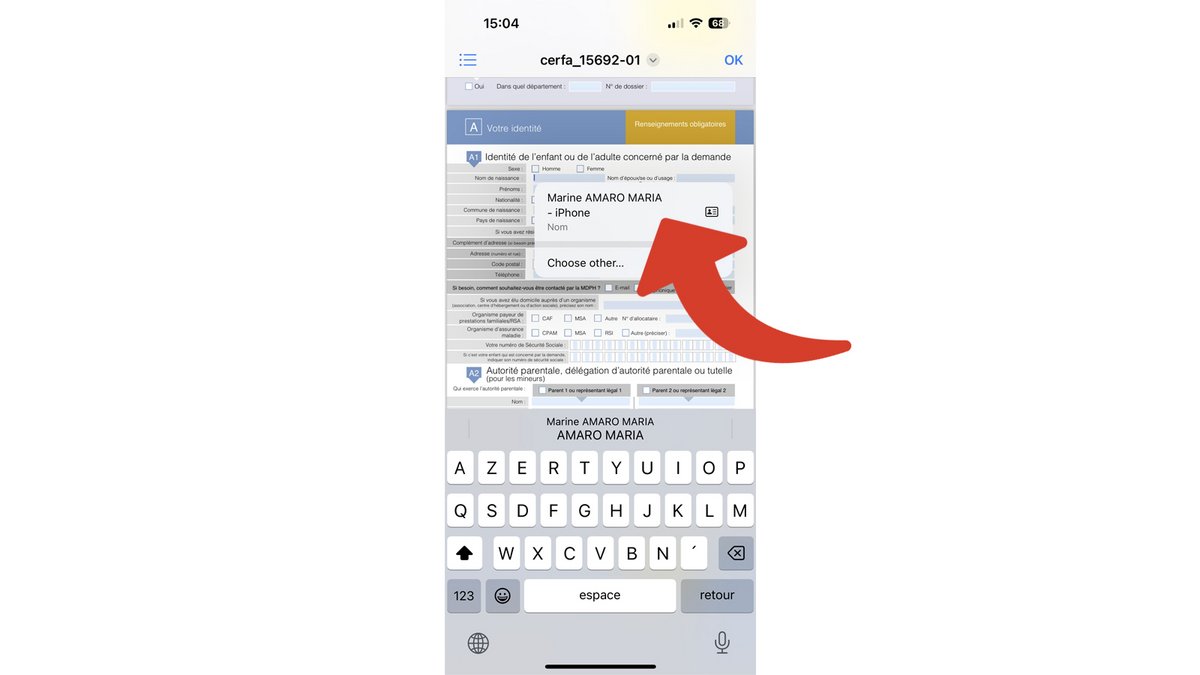
All text fields corresponding to the fields in your personal contact file (and which are correctly coded) will be automatically filled in. The same way as a form with Safari.
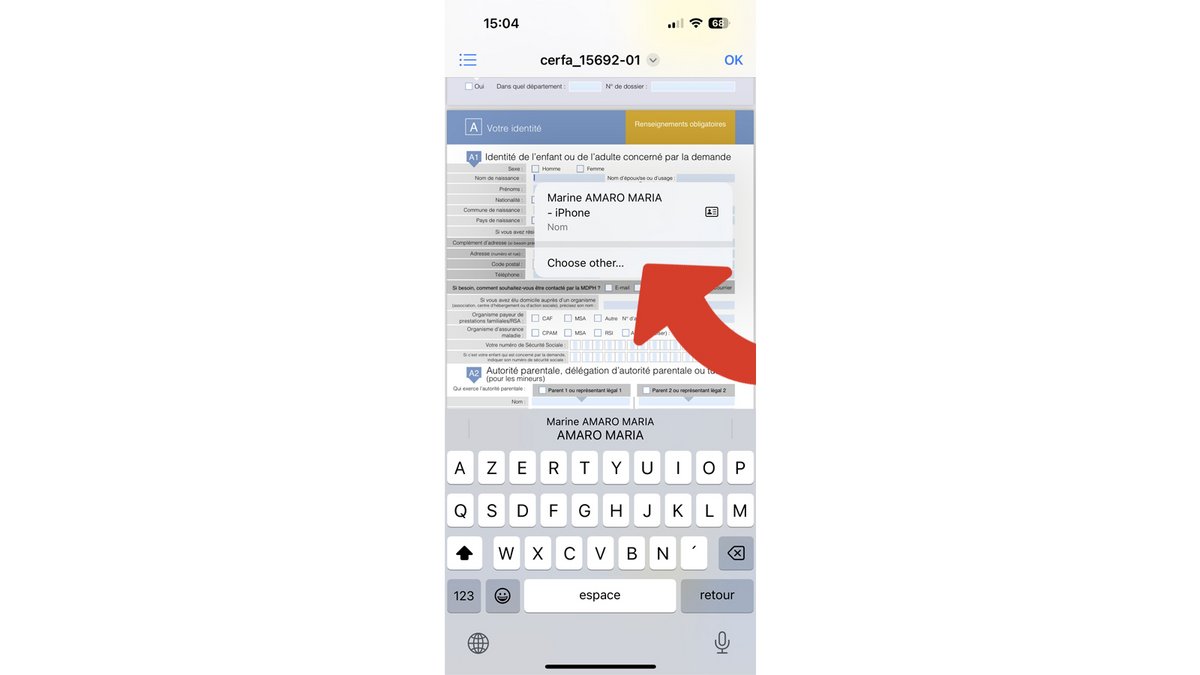
If you need to use another contact card, tap “Choose other”. Your contact list opens, select the desired contact.
Continue filling out a PDF form on your iPhone
Not all fields can be filled automatically, some items must be entered manually, the old fashioned way.
1. Accept a suggestion
You do not have to fill out all the fields for the same contact. If you tap the suggestion, it will only fill that text field. You will have the proposals for each compatible field. The information provided is that of your personal contact file.
Tap the suggestion at the top of the keyboard.
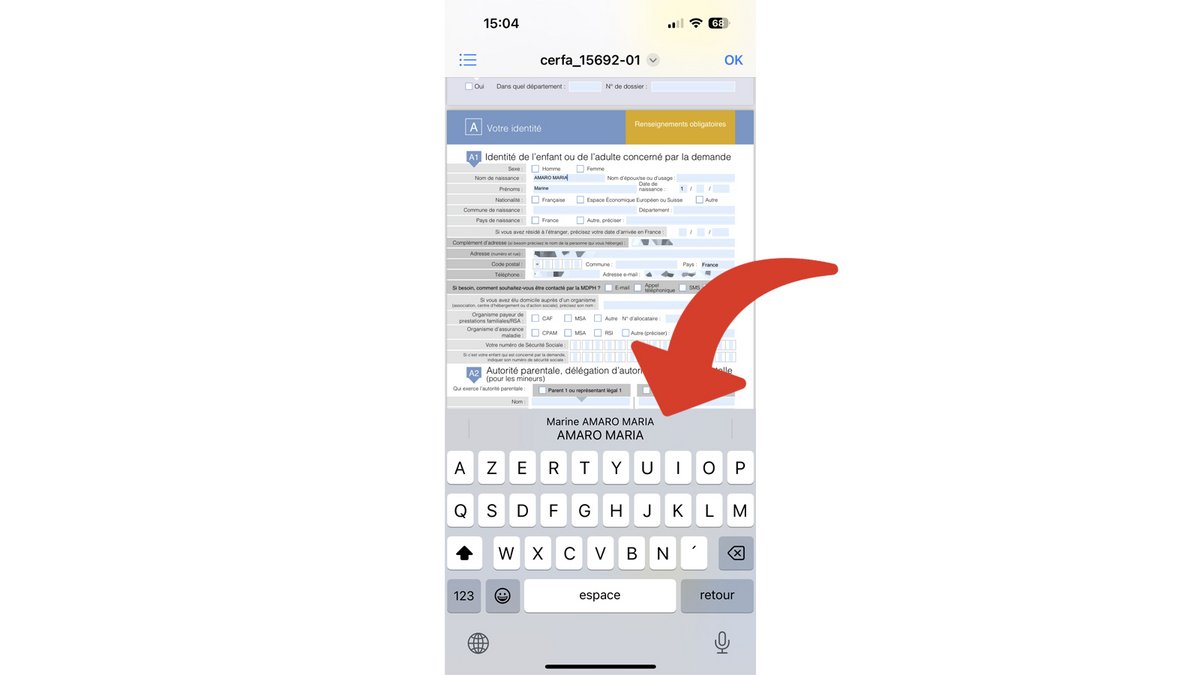
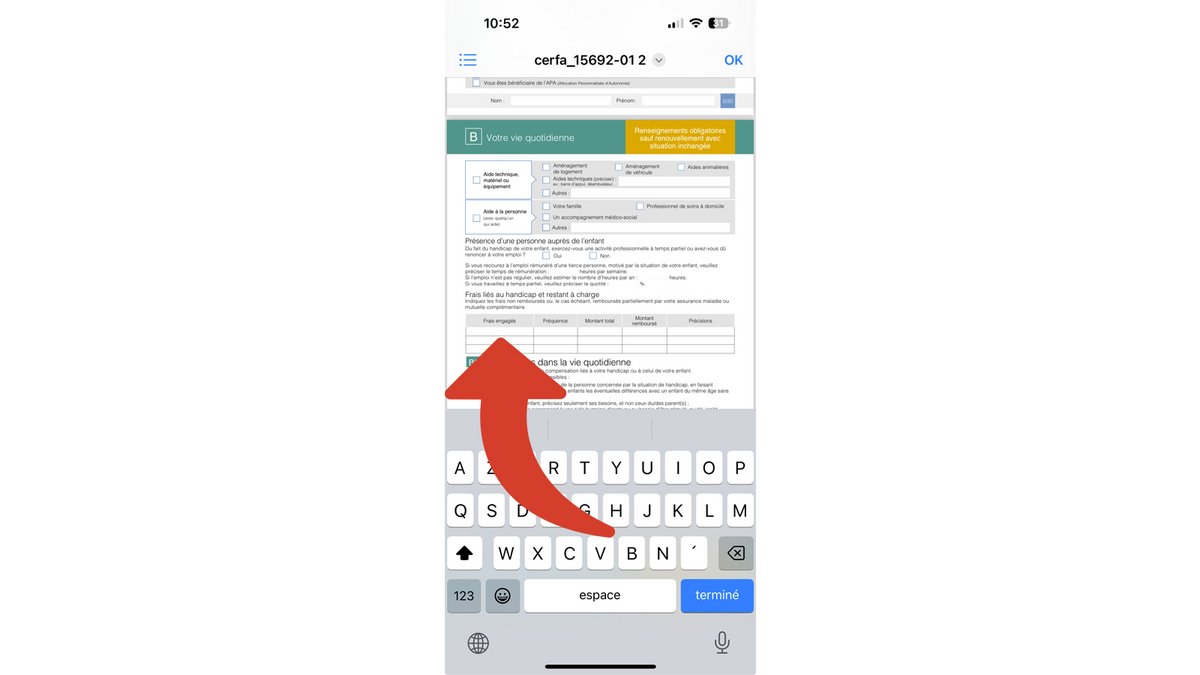
2. Fill in the other fields
To fill out all the fields in a PDF form, tap it and enter the requested information.
3. Insert your signature
In the same way that you can add a text box, mainly useful if the text fields are non-existent, you can add a signature.
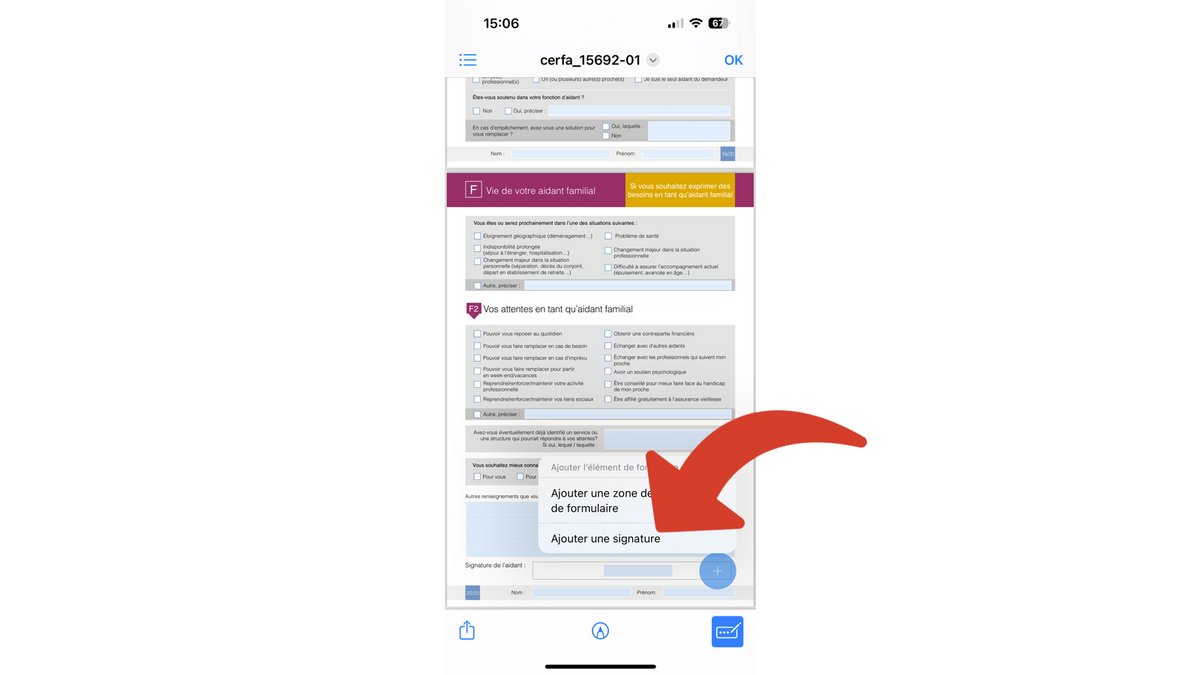
Press the big “+” button at the bottom right of your screen.
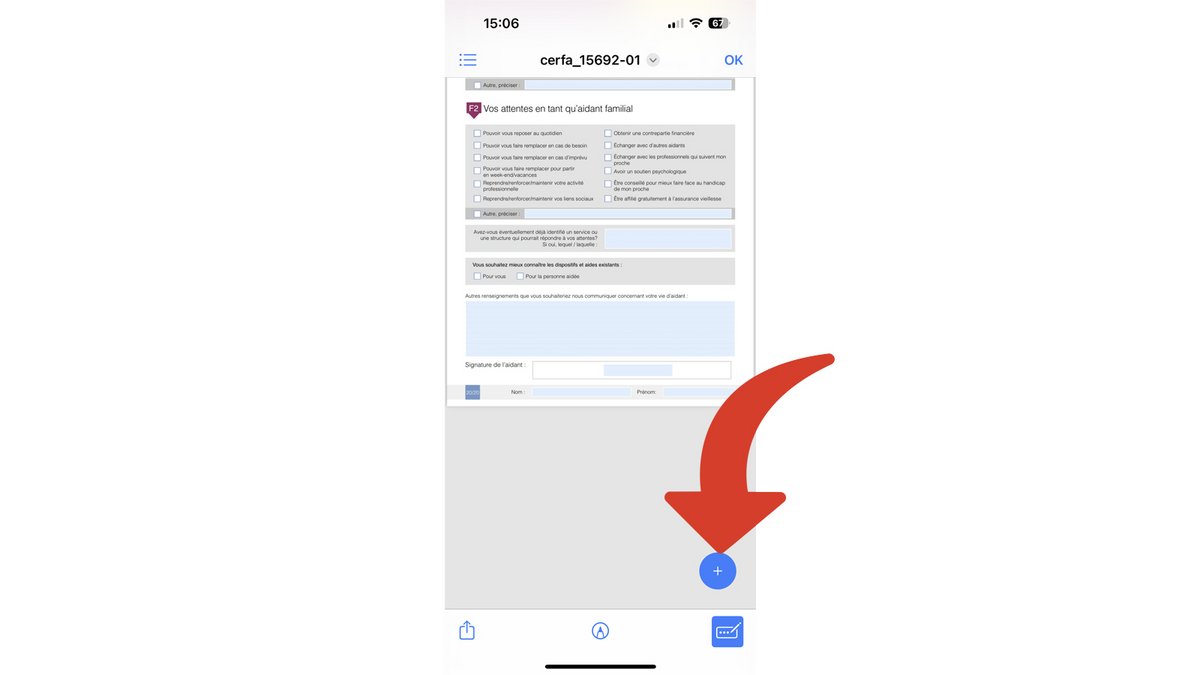
Choose “Add Signature”.
If you have already created a signature, select it.
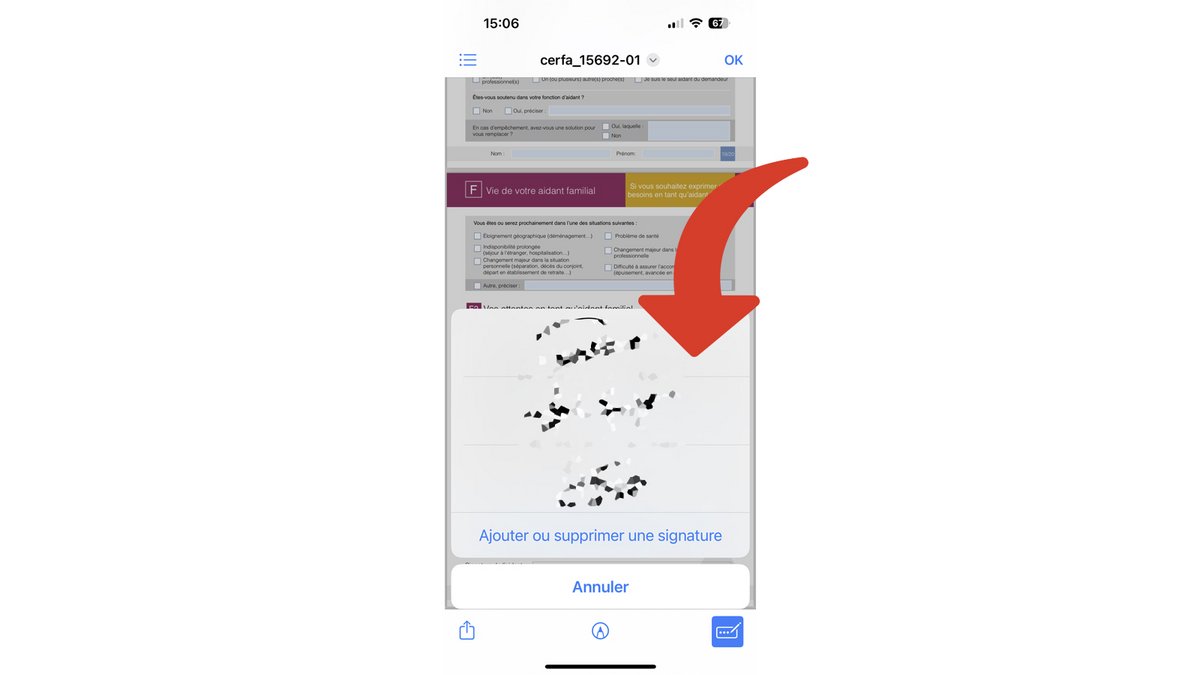
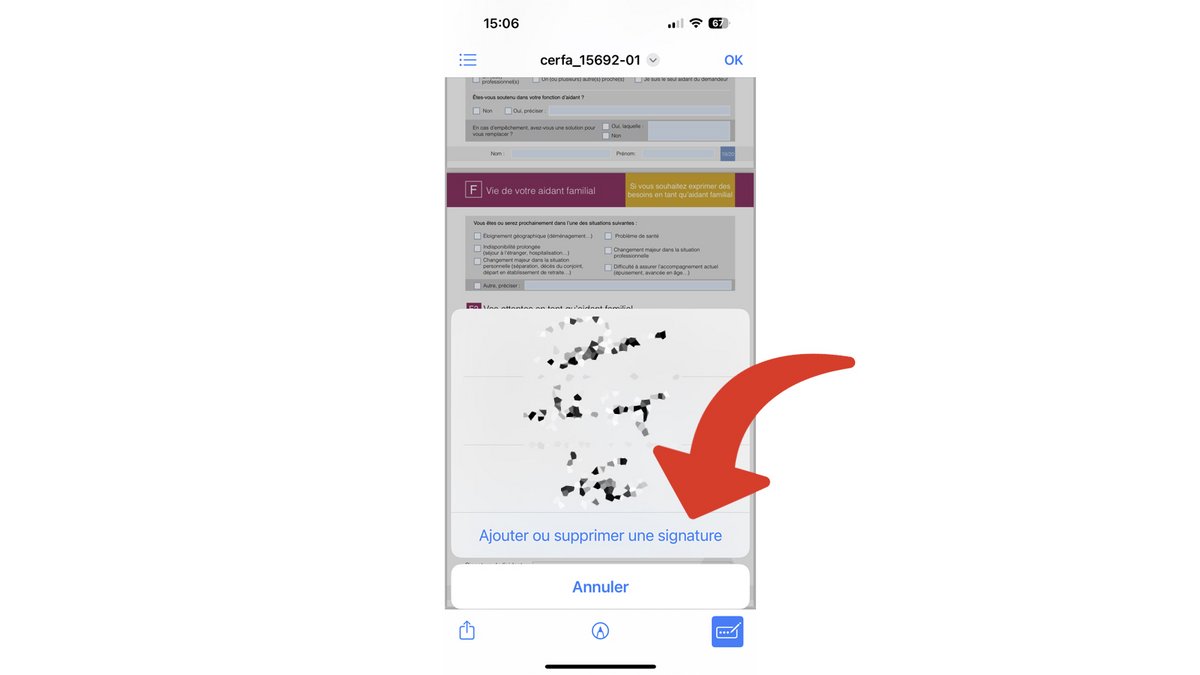
Otherwise, tap “Add or remove signature”.
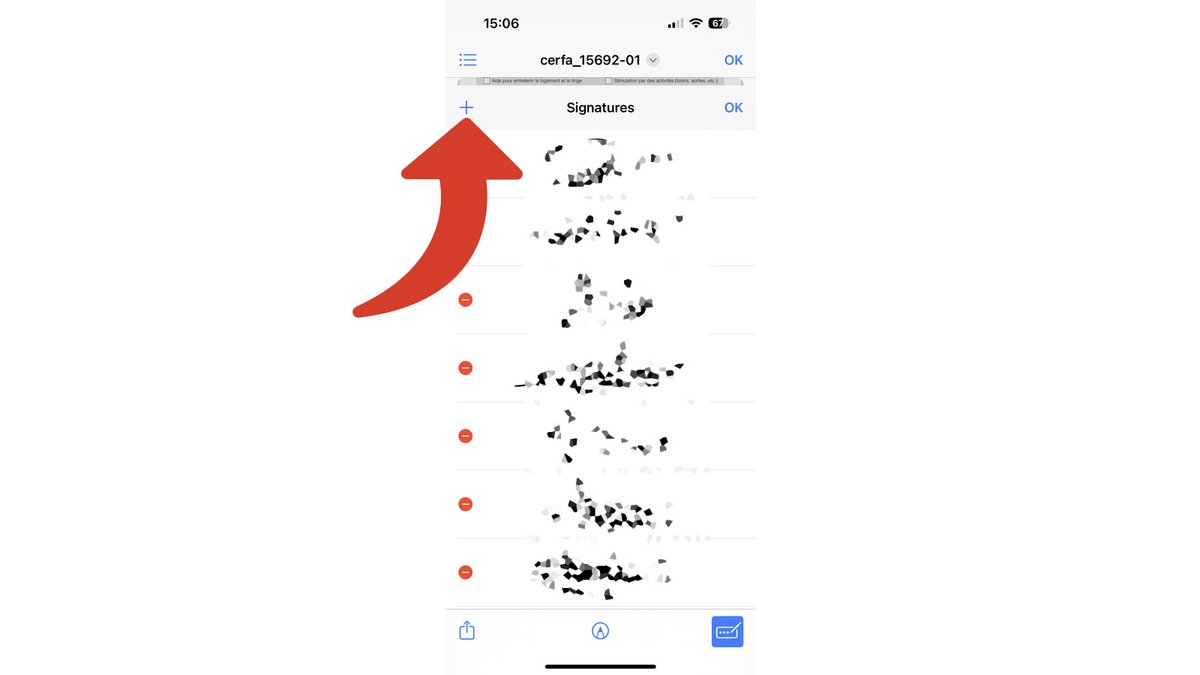
Tap the “+” at the top left.
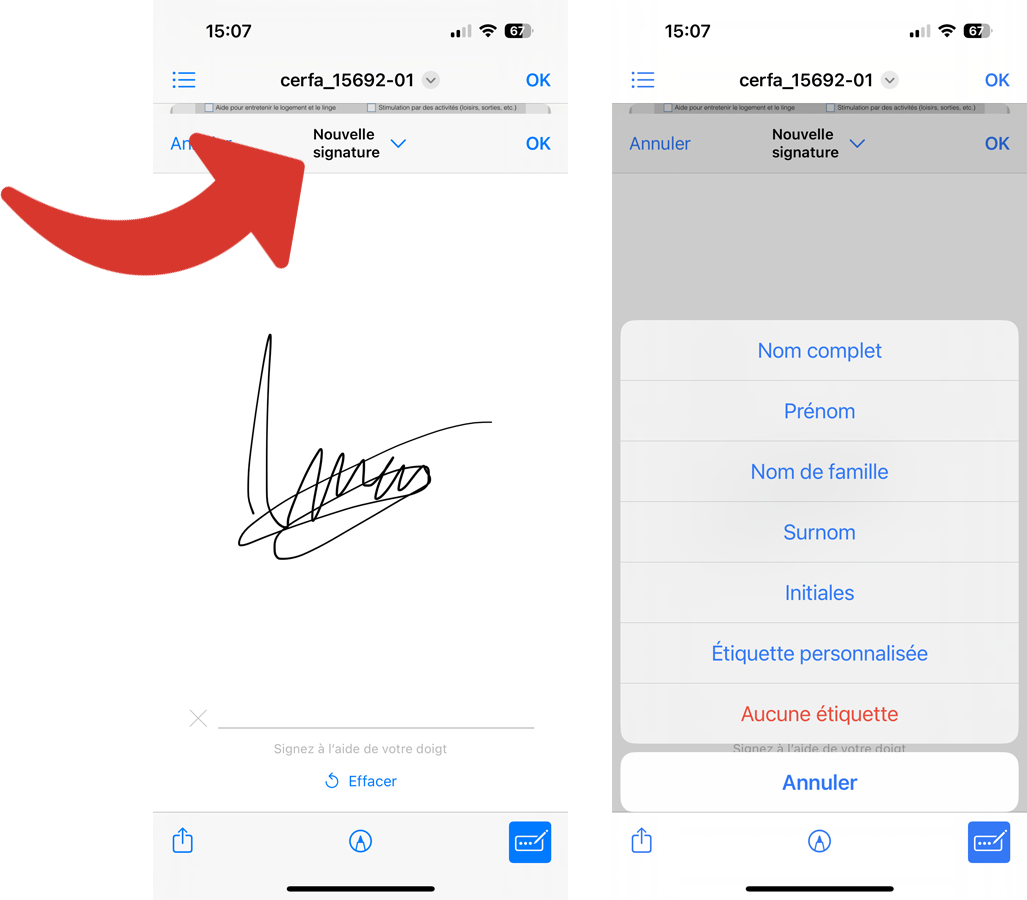
Scribble your signature on your iPhone screen with your finger.
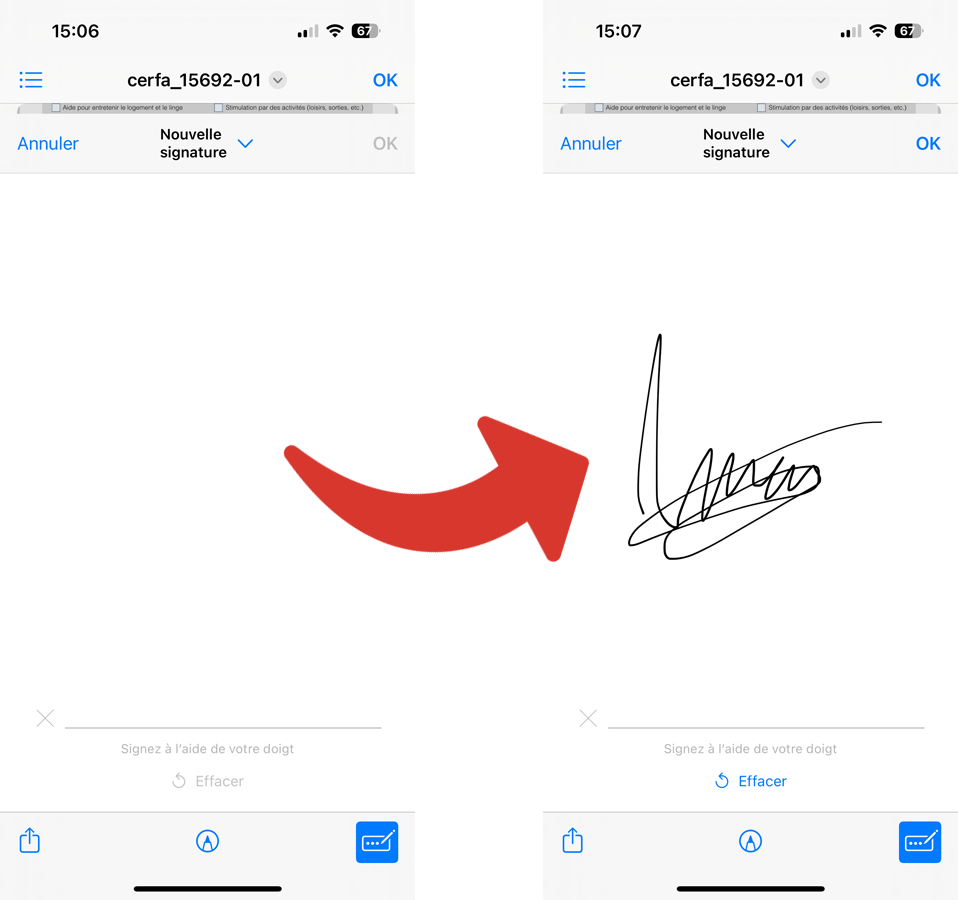
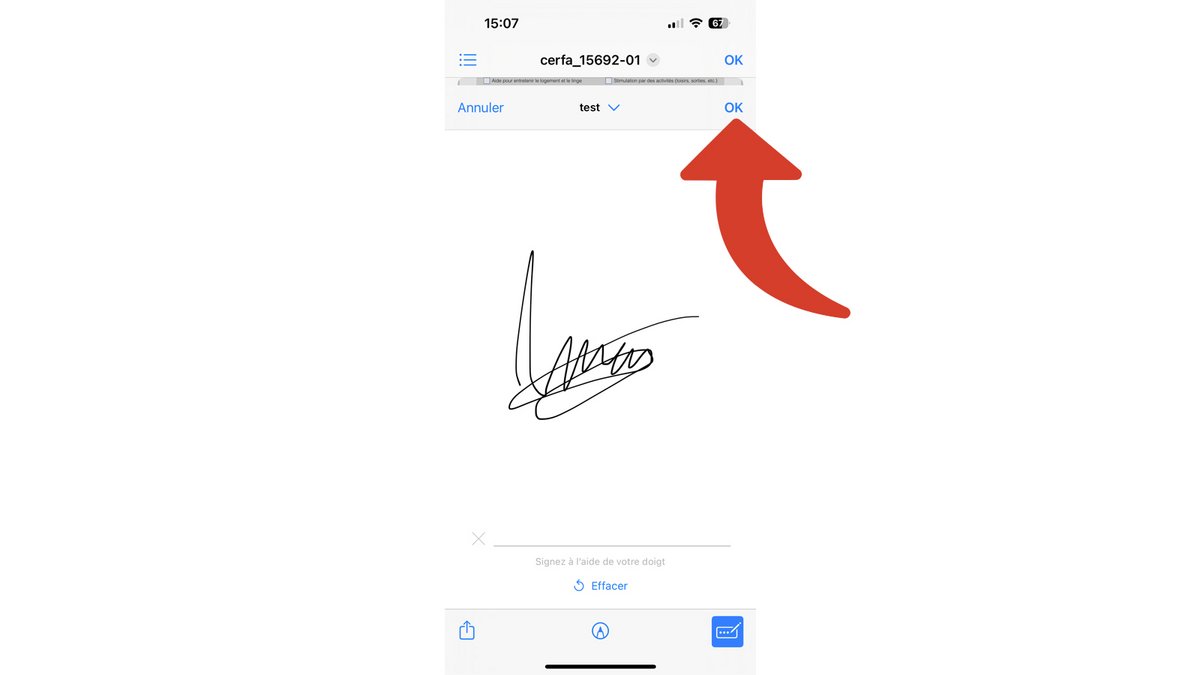
You can tap “New Signature”, at the top and middle and choose a label. Quite useful if you have to manage several.
Confirm with “OK” at the top right.
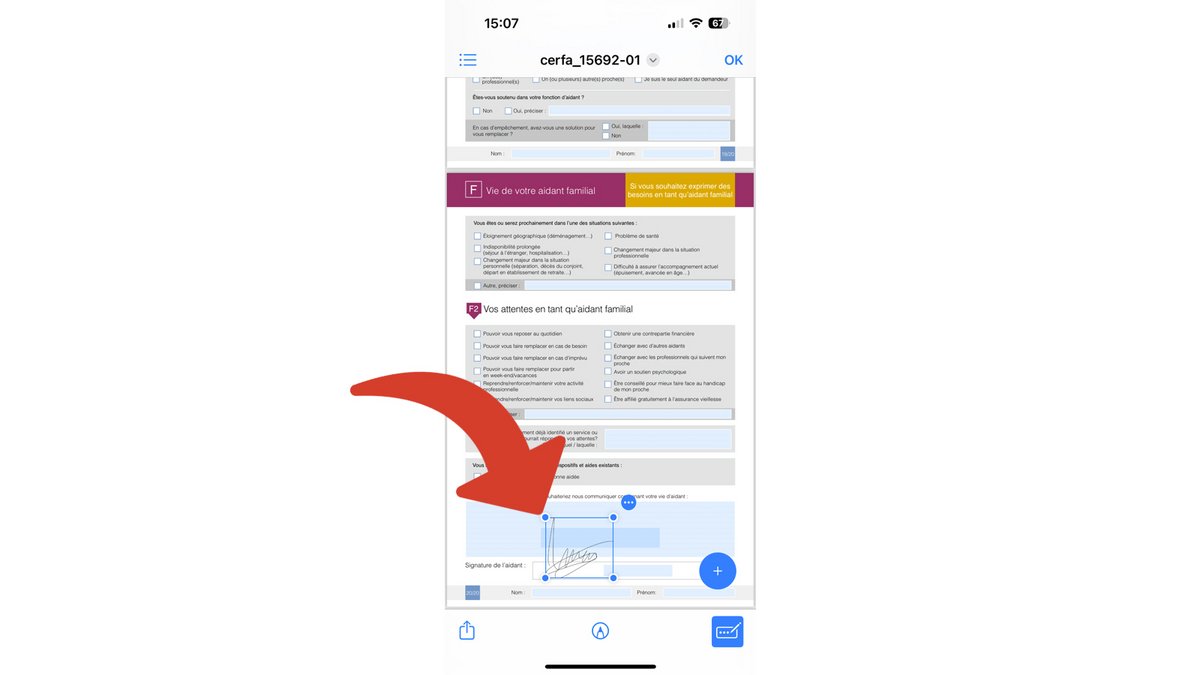
You can now freely move and resize it using the 4 corners.
You have all the cards in hand to complete your PDF completely, quickly and efficiently. To modify your default contact person file, go to “Settings”, “Safari”, “Autofill”. From there, make sure to activate “Contact details” and choose your contact card with “My info”. And if you also use a Mac, you might be interested to know how to enable autofill of your credit card on Safari.