With Photoshop, learn how to use a gradient transfer curve to apply chromatic effects inspired by duotones to an image.
We will discover together step by step all the steps to transform your photos with a Duotone effect.
How to create a Duotone effect with Photoshop?
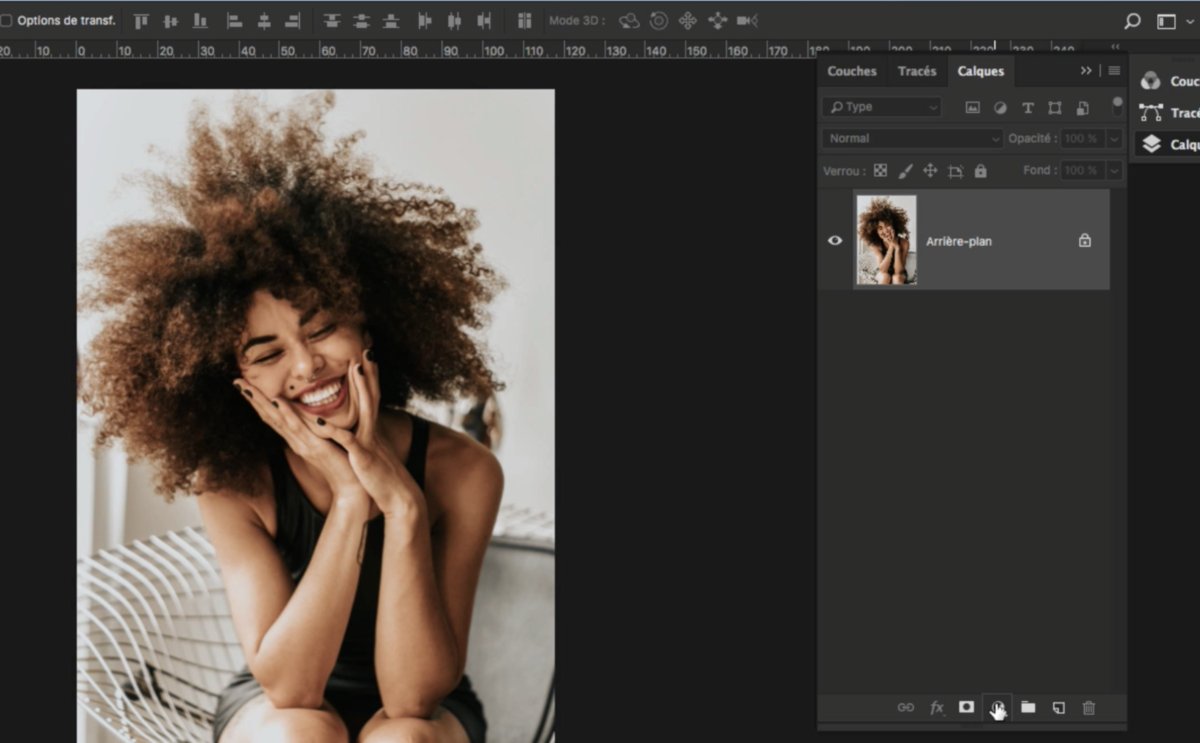
1. Open the document on which you want to create this effect
File > Open
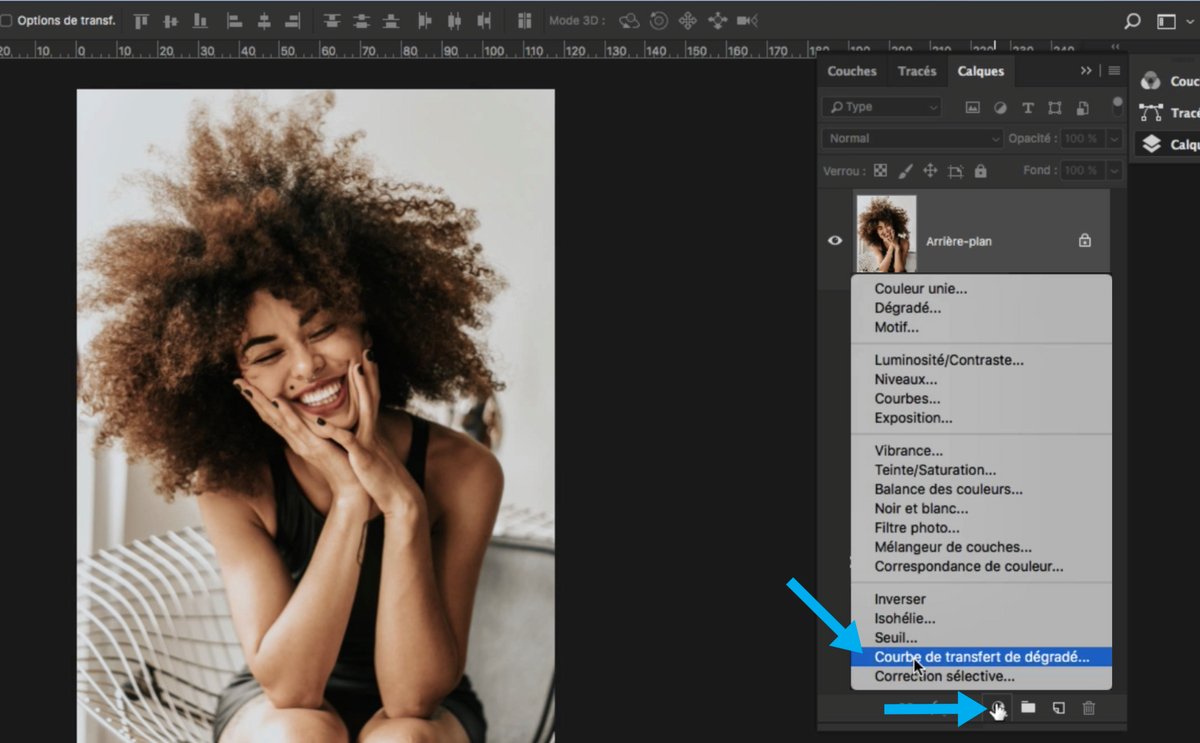
2. In the Layers panel, click the Create Fill or Adjustment Layer icon and choose the Gradient Transfer Curve option to open the Properties panel.
3. By default, the gradient that will be assigned is in Black and White, but we will see how to modify and configure it.
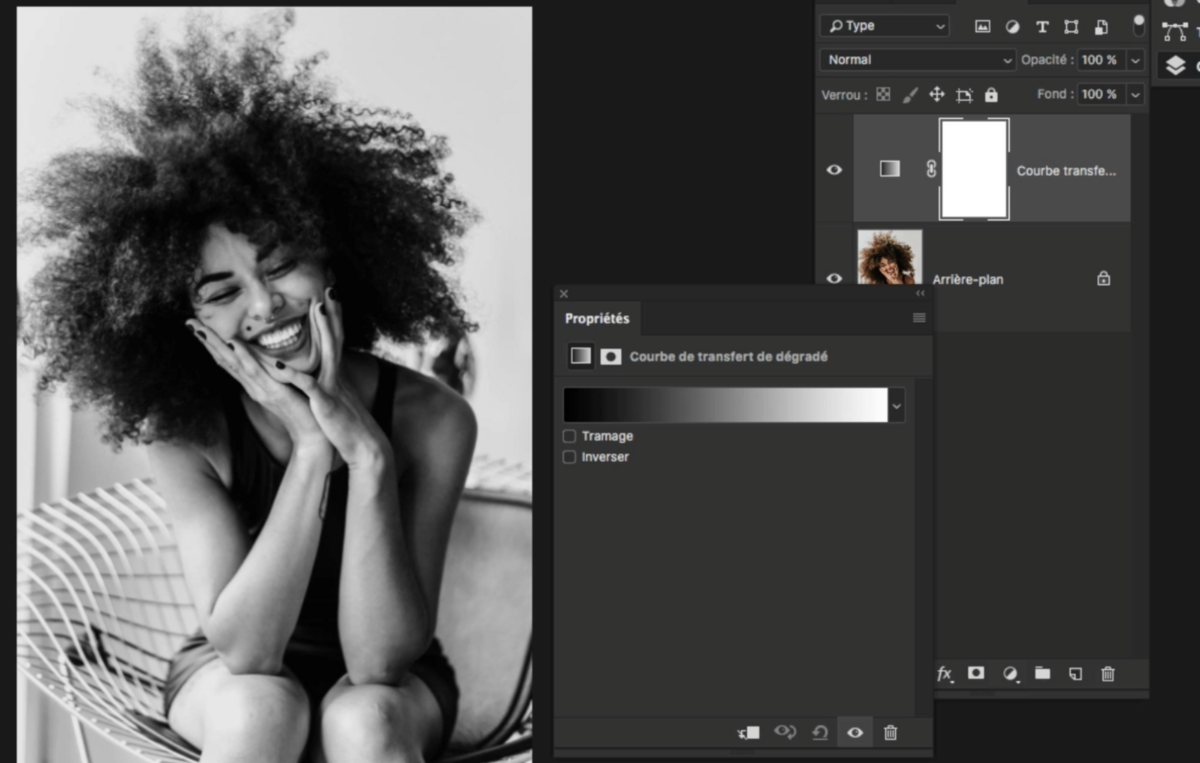
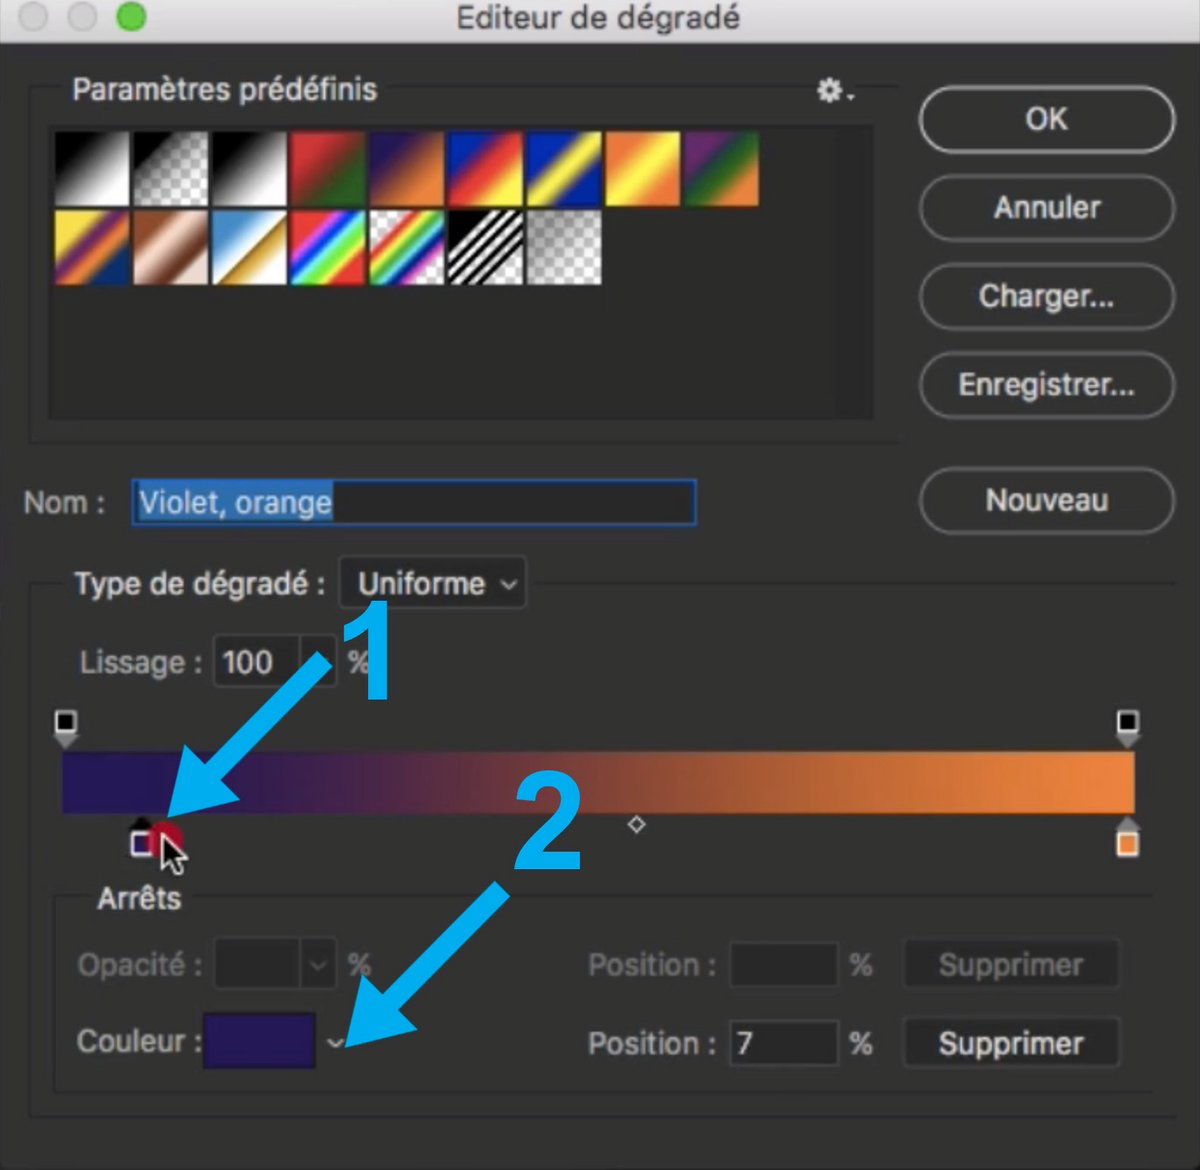
4. Click the Gradient Preview drop-down menu to open the Gradient Editor.
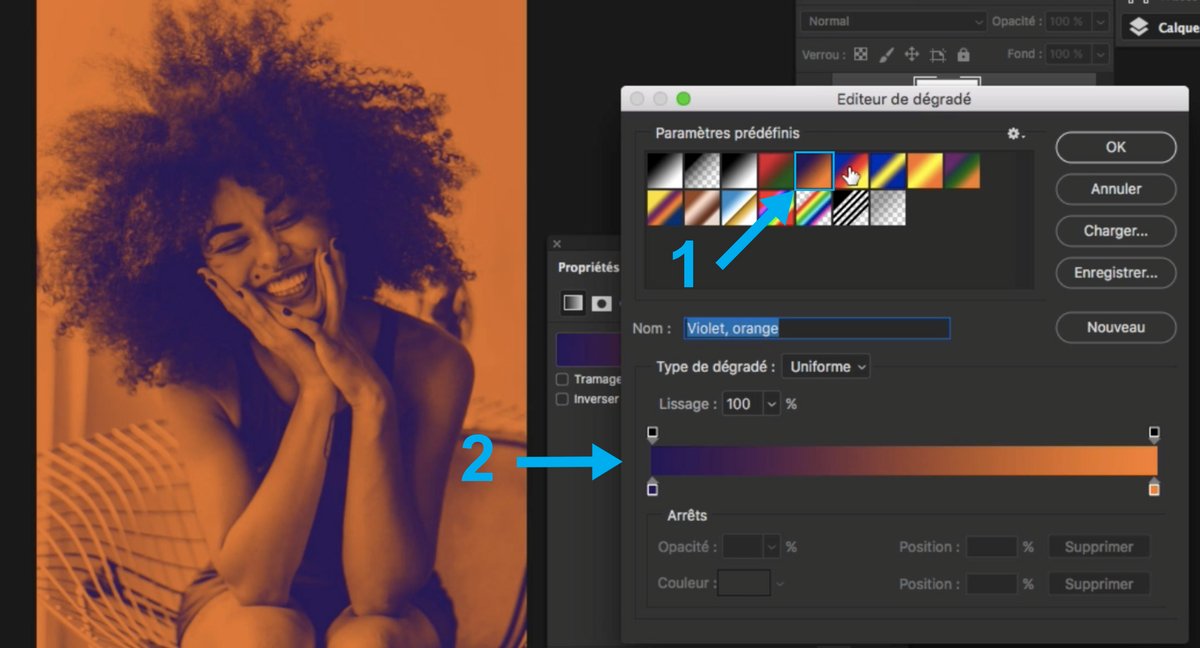
Choose the Violet, Orange (1) preset to start with a basic duotone.
(2) the selected gradient will appear like this.
5. To change colors, double click on a gradient step (1) to open the color picker and choose the desired shade. Click OK. Adjust each gradient step, if necessary.
(2) is the color that is assigned to this step.
6. Adjust the balance between colors by dragging the slider from right to left to increase or decrease the amount of a color in this gradient.
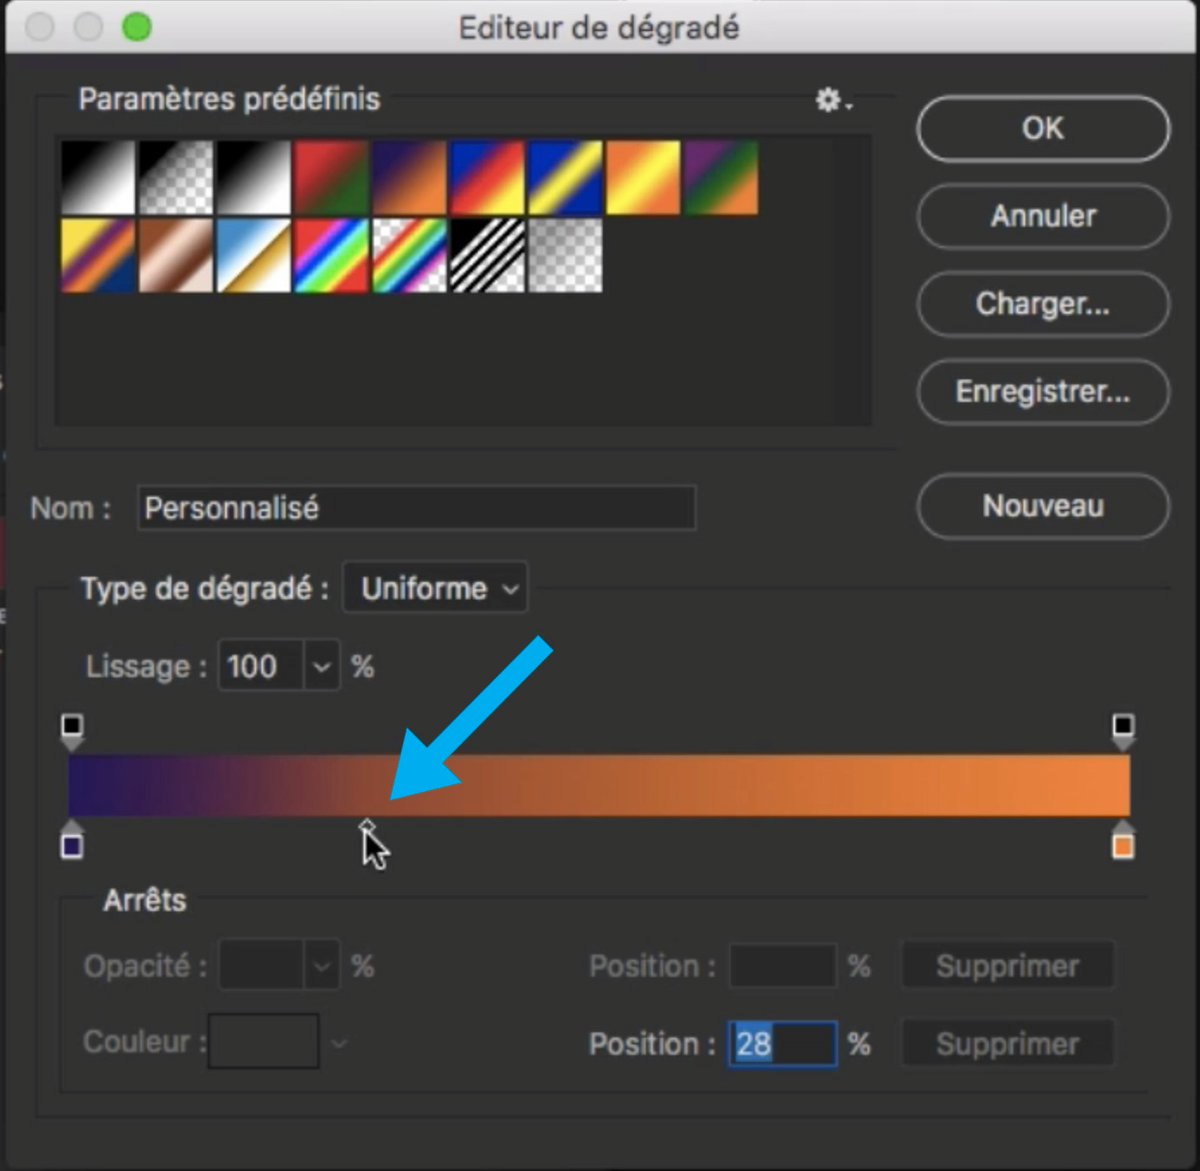
7. Add additional gradient steps to the range by clicking directly below the gradient. Modify the new steps, if necessary.
8. Click OK to validate
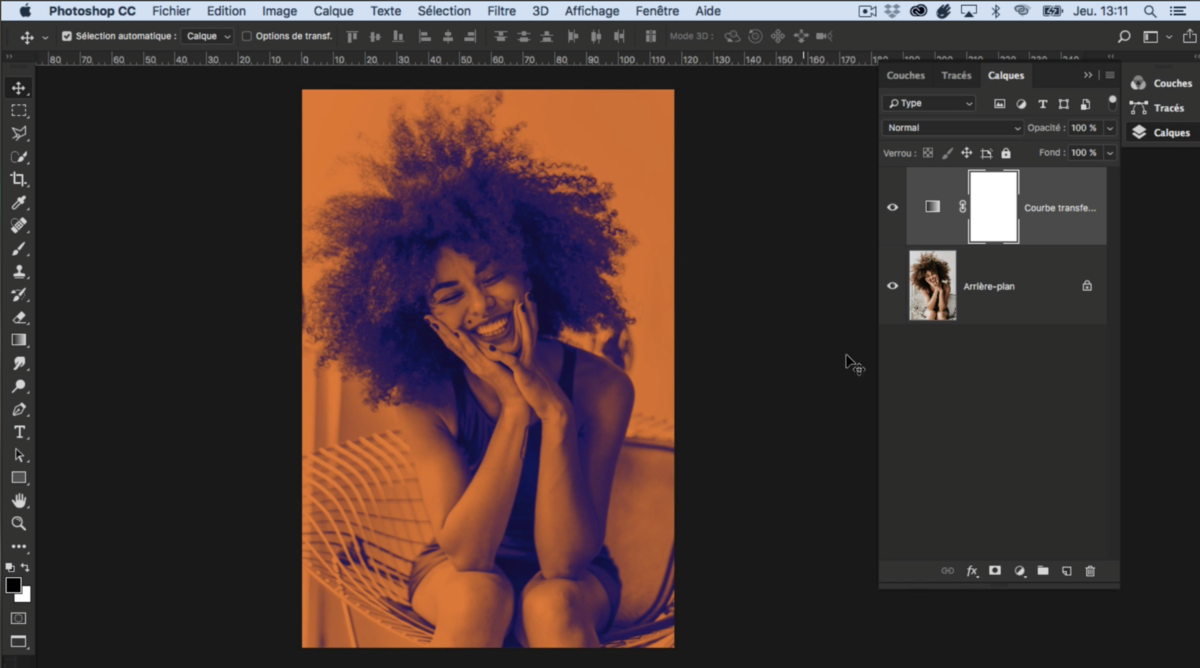
9. An adjustment layer is now available and you can double click on it to change the gradient settings as you want.
Here, you can do this same operation on any photo or creation and with other colors of course.
.