Are you working on portraits that you want to retouch and correct? You want to erase small skin imperfections but you don’t know how to do it in Photoshop?
It’s very simple, we are going to discover the Spot Corrector tool and see together all the steps to use it well.
How to Fix Skin Blemishes in Photoshop?
1. Open the image you want to work on.
File > Open
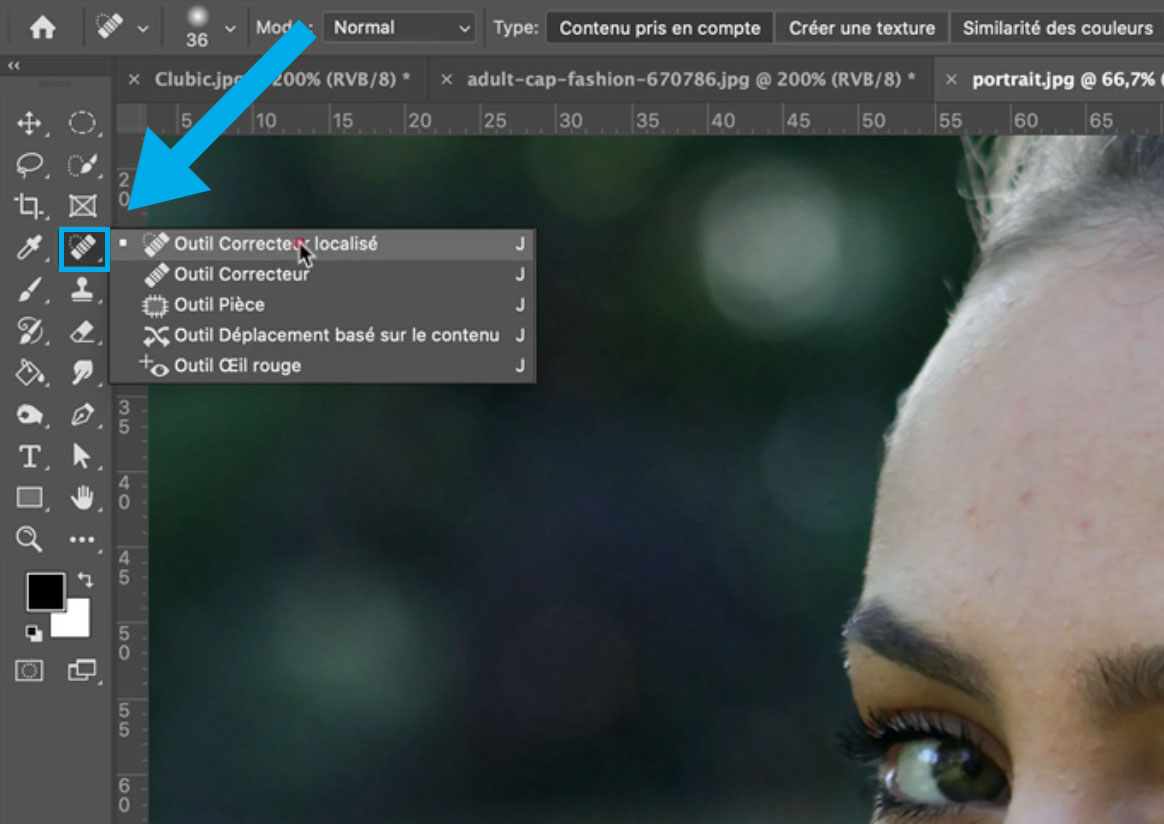
2. Go to the toolbar
Select the localized patch tool.
3. Once the tool has been selected, we will be able to configure it using the properties bar at the top of this window.
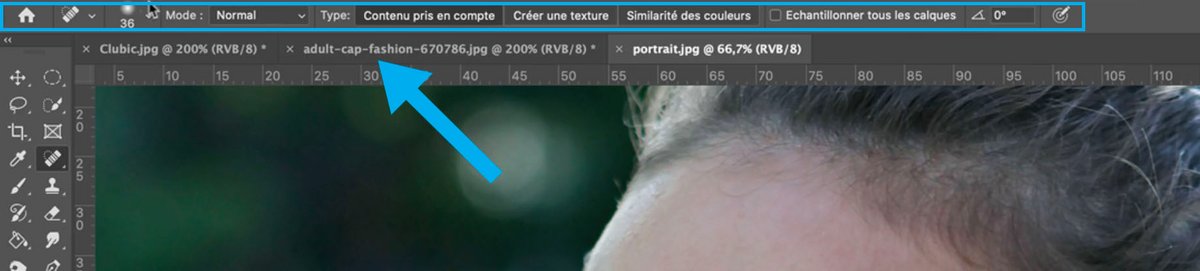
4. We are going to focus on the dimension parameters of the tool.
We can modify its diameter and hardness.
This will allow us to adapt the size of the tool to the area on which we want to intervene to correct the imperfections.
On the property bar, click the small triangle (next to the circle and numbers).

Go to the sliders to vary the Thickness (the size) and the Hardness (more or less blurry edge)
Choose a relatively small diameter.
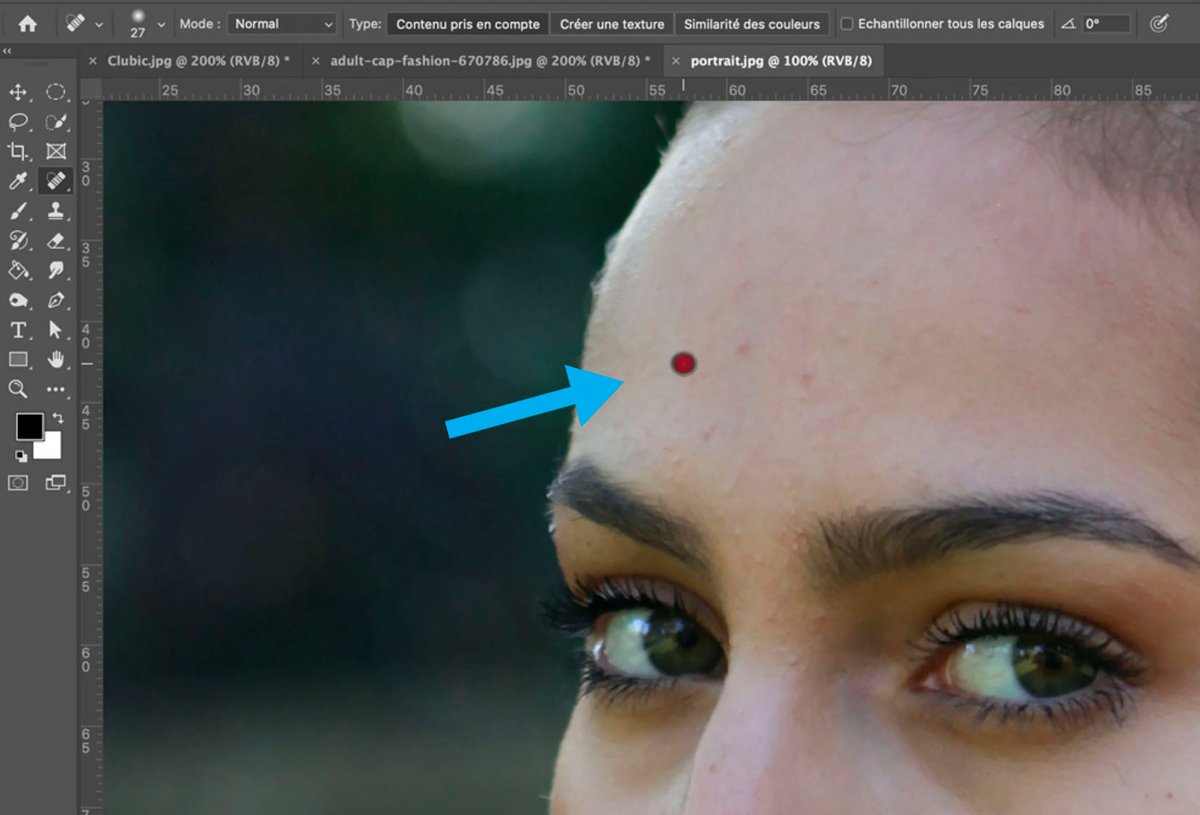
5. Your Healing Tool is selected > Go to the area to be corrected.
Click and move your mouse cursor slightly to “draw” a small area.
Release the mouse and the software will do the work and correct this imperfection.
6. Repeat the operation as many times as necessary.
Caution: Apply this tool to small repeated areas to make the result more realistic.
Tip: You can also use the Spot Healing Tool to remove unwanted elements from your photos.
.