Do you have a new Mac at home? Then macOS as an operating system can take some getting used to. Get the most out of your new computer with this Mac beginner’s guide.
Mac Beginner’s Guide: Tips for Your New Computer
Apple is renowned for its easy-to-understand software. Yet not everything is self-evident. In this guide, we’ll walk you through some essential first steps and explain terms you may not be familiar with. We also give tips for which apps are really worth your money, which settings you might want to adjust and what about accessories.
Mac beginner guide table of contents
- First steps
- Mac dictionary: you will come across these terms
- These apps are worth your money
- You adjust these settings
- You should know this about accessories
- The next step
First steps
There are a few first steps we recommend when getting started with your Mac. Of course updating macOS is important, but there are a few other things to keep in mind as well.
Update macOS to the latest version
A good start for your new Mac is to update the system. Updates will eventually be offered automatically, but it is wise to do this manually immediately to prevent any problems. To update your Mac, go to System Preferences and click Software Update. Your Mac will then automatically search for updates to install. You can also make macOS install updates automatically.

Claim your free apps
If you buy a Mac, Apple will give you a bunch of apps as a gift: iMovie, Keynote, Numbers, Pages and GarageBand. Updates for these apps should be ready immediately. Before you can install it, you must first claim these apps. If you don’t, a red dot will remain at the App Store (that means there are updates) and you don’t want that.
So take a look in the App Store at your Account (at the bottom of the menu). It says at the top that you have programs available. Click on ‘accept’ to claim it.
Give Safari a try
If you are used to a different operating system, you may be tempted to immediately install Google Chrome as a web browser and leave Safari on the left. Still, it’s smart to give Safari a real shot.
Google Chrome is not optimized for macOS at all. In practice, this means that the web browser demands a lot more from the hardware in your computer, which puts extra strain on the battery. Fortunately, Safari is also an excellent browser these days, with largely the same functionalities as Chrome.

Mac dictionary: you will come across these terms
If you haven’t worked with a Mac before, you will come across all kinds of terms that you probably don’t know yet. We help you on your way.
- Dock: The Dock is the bar of icons shown at the bottom by default. You click on an icon to open the corresponding program. The Dock can also be placed on the left or right side of the screen through the settings.
- Spotlight: Spotlight lets you search your Mac. You can reach Spotlight by clicking the magnifying glass icon in the top bar. This way you can find files, e-mails, photos and even search the internet.
- Finder: Do you want to specifically search for your files, of which you may not know the name? Then you open the Finder. This is the explorer with which you browse through your files, open them, throw them away or put them in a folder.
Launchpad: In this place you can see which programs are installed on your Mac. Every program can be opened directly from Launchpad. - Command: Macs have a keyboard button that other computers don’t. That’s the Command button. You can find these on both sides of the space bar. This button is mainly used for all kinds of shortcuts. Think Command + c for copy.
- Dmg file: Most of the time, you will simply download programs from the App Store. However, if you download a program from a website, it will be done via a dmg file. Dmg stands for ‘disk image’. You open it by clicking it twice. Then drag the program to the Applications folder.
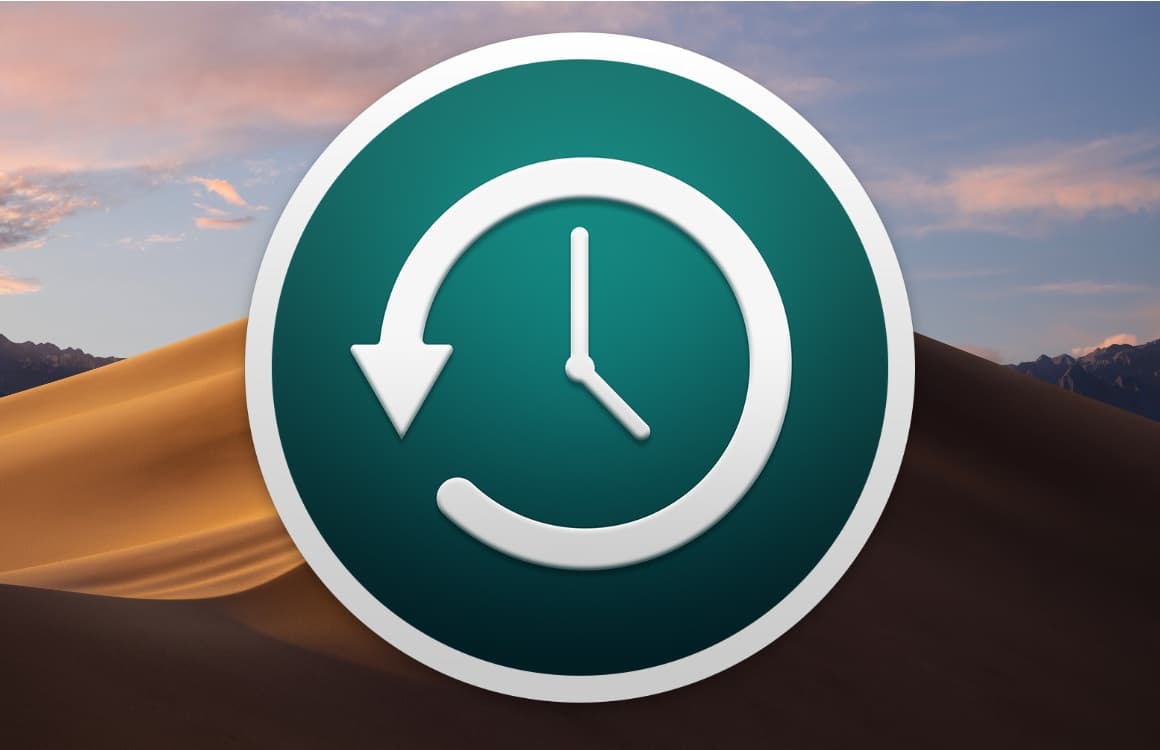
- Time Machine: Time Machine is a built-in feature on your Mac for backing up your files. To do this, you need to connect an external storage device and the Mac will automatically make a copy on a regular basis. Should something happen to your Mac, restore all files from this backup.
- Activity View: In this screen you can see all processes running on your Mac. This is the place you go when your system is suddenly very slow. In the Activities View you can see which program is demanding a lot from your processor or memory. You can immediately stop the wrongdoer. The activity of the network and the battery can also be seen here.
Which apps should I buy?
There are a lot of great apps available via the App Store. Many of these apps are free. For example, you can download an app from your favorite messaging app or the service where you listen to music. In addition, don’t forget to download a password manager for creating and saving secure passwords. In addition, the following paid apps are essential.
iA Writer
Do you regularly write texts on your Mac? Then you actually owe it to yourself to purchase iA Writer. This word processor is set up in a super minimalist way, so you can get to work completely focused. With an extra Focus Mode you even only place the piece of text you are working on in the foreground. That does not mean that the app does not have enough functions. They are only hidden.
Pixelmator Pro
You don’t need PhotoShop to edit images professionally. That’s what Pixelmator Pro comes in for. This app has almost everything you can expect from PhotoShop, but is still a lot more accessible because of the design. Many actions speak for themselves more than in Adobe software. For more information about this app, read our Pixelmator Pro review.
Which settings do I adjust?
By default, your Mac is set up in the way that Apple likes it. However, this is not ideal for every user. That is why here are a few tips for the settings of your computer.
Hide your Dock
You now have a bunch of apps installed and that’s why your Dock is probably full. We recommend to have this Dock automatically hidden. Otherwise it takes up unnecessary work space and that is a shame. If an app needs your attention, it will still jump into the picture. Even when your Dock is hidden. To auto-hide the Dock, go to system preferences. There, click on Dock and check the option ‘Show / hide automatically’.

Turn off automatic screen brightness
The brightness of your MacBook screen will automatically adjust to your environment. That is nice for both your eyes and the battery. However, the MacBook struggles with rapidly changing lighting conditions. For example if you are on a moving train.
Do you often sit on the train, or do you work in other circumstances where the light flickers? Then it is smart to switch off the automatic brightness. To do this, go to the System Preferences and click on Displays. Uncheck ‘Adjust brightness automatically’. You can then manually set the brightness up or down via the buttons on the keyboard.
Set the keyboard language to US
If you use the default settings of your Mac, the keyboard is set to Dutch. This means that, for example, when typing special characters on letters, such as a dash or an umlaut, you have a shortcut must use. It is much more convenient if you can just type an apostrophe and an ‘e’ before an é, or quotation marks and an ‘o’ for an ö. Which can!
You can set your keyboard language to US, without affecting the language of your Mac or the spell checker. To do that, go to system preferences and tap on ‘Keyboard’. Under Input sources, make sure that the left bar only shows ‘US (international) – PC’.

Of course, give scrolling a try
Scrolling is different on macOS than on other systems. Actually, it is just the other way around than you may be used to. If you scroll up, the screen you are in will go down. So instead of scrolling you are more dragging. You can change this in the System Preferences. Click on ‘Trackpad’ and uncheck ‘Scroll direction: natural’ in the heading ‘Scrolling and zooming’.
Still, we recommend giving the natural scroll direction a chance. You get so used to it. Then it turns out that this works very well and logically. Do you not like it? Then you can always switch. In addition, don’t forget that you can do a lot of useful gestures with the trackpad. You can also find this under ‘Trackpad’ in the System Preferences, but under the ‘More movements’ tab.
What accessories do I need?
With a Mac you basically have everything you need to get started, but there are of course accessories that can increase the ease of use.
First of all, it is of course smart to buy a cover with a MacBook. While modern MacBooks are rugged devices, a case protects the exterior from damage, protects the device from impact and prevents dirt from getting in.

If you want to connect your MacBook to an external screen, you need a cable. Before you buy a cable, take a good look at which connection your MacBook has and what kind of screen you want to connect it to. Modern MacBooks have a USB-C connection for this.
Because Apple is installing fewer and fewer connections in its MacBook, it may be necessary to buy an adapter. You place this in one of the USB-C ports, after which you have access to all kinds of new possibilities. Think of an HDMI port and a standard USB port. Then it is much easier to connect other accessories. Think of a mouse and keyboard.
Take the next step
Do you want to take the next step now? Then dive into our macOS tips. For example, how to install macOS apps outside of the App Store or how to make a backup with Time Machine.