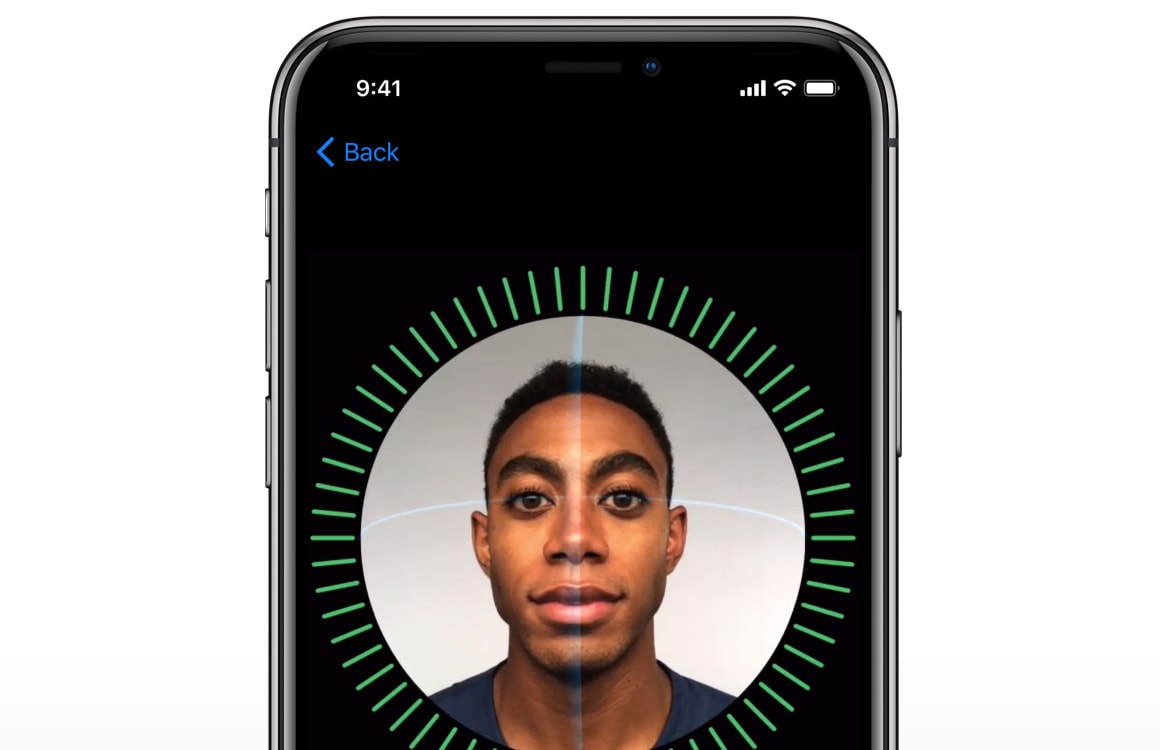
One of the first things you do with your new iPhone is set up Face ID or Touch ID. In this tip we show you how it works step by step.
Set up Face ID on your iPhone
Since the iPhone X, iPhone XS, iPhone XS Max and iPhone XR do not have a home button, the installation process looks different from what you are used to. With Face ID you can unlock your device, approve payments, log in securely to apps and more. To do this, you have to set up the scanner once.

Before setting up Face ID, it is important that you do not cover the front camera of the device and that your face is uncovered. So take off your hat and don’t put on a scarf. You can continue to wear glasses or contact lenses, as the camera can see through them. Tip: For best results, hold the iPhone about an arm’s length from your face.
- Open the Settings app;
- Go to ‘Face ID and access code’;
- Enter your access code to change the settings;
- Tap on ‘Set up Face ID’ and keep your face straight in front of the front camera;
- Place your head in the circle that appears on the screen;
- Move your head slowly in a circle, so that the circle on your screen turns green;
- After the first scan, tap ‘Next’;
- Turn your head again to fill the circle a second time;
- The scan is now complete and you can use Face ID.
The next time you want to use the iPhone, pick up the device or tap the screen to activate it. After that, look at the screen and Face ID will do the rest. This way you can also approve payments and log in to the App Store and other apps.
Set up Touch ID

If you have an iPhone with Touch ID, such as the iPhone 8 (Plus) or an older refurbished iPhone, you can secure your device with a fingerprint. You can also unlock the device, make payments and log in to your banking app, for example. Follow the steps below to set up Touch ID.
- On your iPhone, go to the Settings app and tap ‘Touch ID and passcode’;
- Enter your access code and then choose ‘Add fingerprint’;
- Follow the steps and put your finger on the Touch ID fingerprint scanner each time. Once your finger is fully registered, the process is complete.
Conveniently, you can use multiple fingers for Touch ID, allowing you to unlock your iPhone with both hands. To register another finger, simply follow the steps above again.
Looking for more helpful iPhone tips?
The iPhone is a device with an enormous amount of applications, if you know where to look. We’ll cover many more useful features in our iPhone beginners guide.
- Bought a new iPhone? This way you transfer all data securely (27-10-2020)
- 5 tips to organize your iPhone home screen and keep it tidy (14-4-2020)
- 8 tips to get the most out of the iPhone’s default Camera app (28-11-2019)
- 3D Touch explained: this is how it works, and everything you need to know (1/30/2019)
- Step-by-step plan: This way you protect your privacy on an iPhone extra well (28-1-2019)
- 10 alternatives that are better than Apple’s default apps (23-1-2019)
- The 8 iPhone Settings Everyone Should Adjust (1/18/2019)
- Siri Beginner’s Guide: You need to know about Apple’s smart voice assistant (1/17/2019)
- Video: 9 must-have iOS apps that should be on every iPhone (1/16/2019)
- Fast charging iPhones: this is how it works and you need this (14-1-2019)