The camera software GCam on Google phones is greatly appreciated. The Google app has all kinds of handy gadgets that can provide the most beautiful photos. You can also install that camera app on other smartphones, but that takes some doing.
Before you start downloading the apk file, you should check some things first. So you need to know if your phone Camera2API supports. The camera app will not work without that underlying technology. The API is already activated on some devices. You can check this by downloading the Camera2 API Probe app from the Google Play Store. Thanks to the API (which stands for Application Programming Interface), your smartphone may gain access to many more camera options. You have more control over the ISO values and autofocus, you can shoot files in the raw format (and edit it better later) and much more.
After installing and opening the Camera2 API Probe from Google Play, you give the necessary permissions and you can immediately check the status. The screen now shows a long list of technical data. The more green check marks you see, the better in this case. There are a number of things you should pay attention to. Take the Camera ID. The number 0 stands for the camera sensors on the back, while the number 1 shows exactly what the selfie camera has to offer.


Hardware Support Level
The next important part is the Hardware Support Level. That is immediately under Camera ID. There are four different levels and each level indicates what a device can handle, as you can read in the official documentation from Google.
The four levels are: Level_3, Full, Limited and Legacy. Each device has its own level. The device that we use in this test is quite new, namely the OnePlus 8T. The data shows that this unit has the Level_3 level. But what exactly does that mean?
Level_3: The camera manufacturer has added additional features to the camera hardware, such as yuv encoding (which is a color coding system), the ability to shoot raw photos and much more. This is the best level.
Full: The smartphone in question supports many important functions of the Camera2 API.
Limited: The phone only supports some of those functionalities.
Legacy: This means that your smartphones only support the Camera1 API and therefore work with outdated systems.
Once you’ve figured out which level your phone supports, you’re not there yet. Because sometimes the app indicates that you support Camera2 API, but then the manufacturer throws a spanner in the works by blocking this with software. You then have to manually activate the api by rooting the phone, which gives you access to the central systems of the smartphone.
Activate via rooting
Rooting is all well and good, because you get access to a lot of possibilities, but you can also do a lot of damage. So only do this if you know what you are doing. If you have root access (access to the root), install the app BuildProp Editor. Once you have done that, you will again have to grant the permissions requested by the app.
Then you have to edit the build.prop file by pasting the following sentence at the very bottom (you can copy this): persist.camera.HAL3.enabled = 1. Now save the file and reboot the device. You can also choose to arrange this via the Magisk Module. Download the Camera2API enabler from XDA Developers and install the package through the Magisk Manager. This way you can activate the necessary api, without having to dig into the system files manually. However, no guarantee is given on the operation.
Install GCam
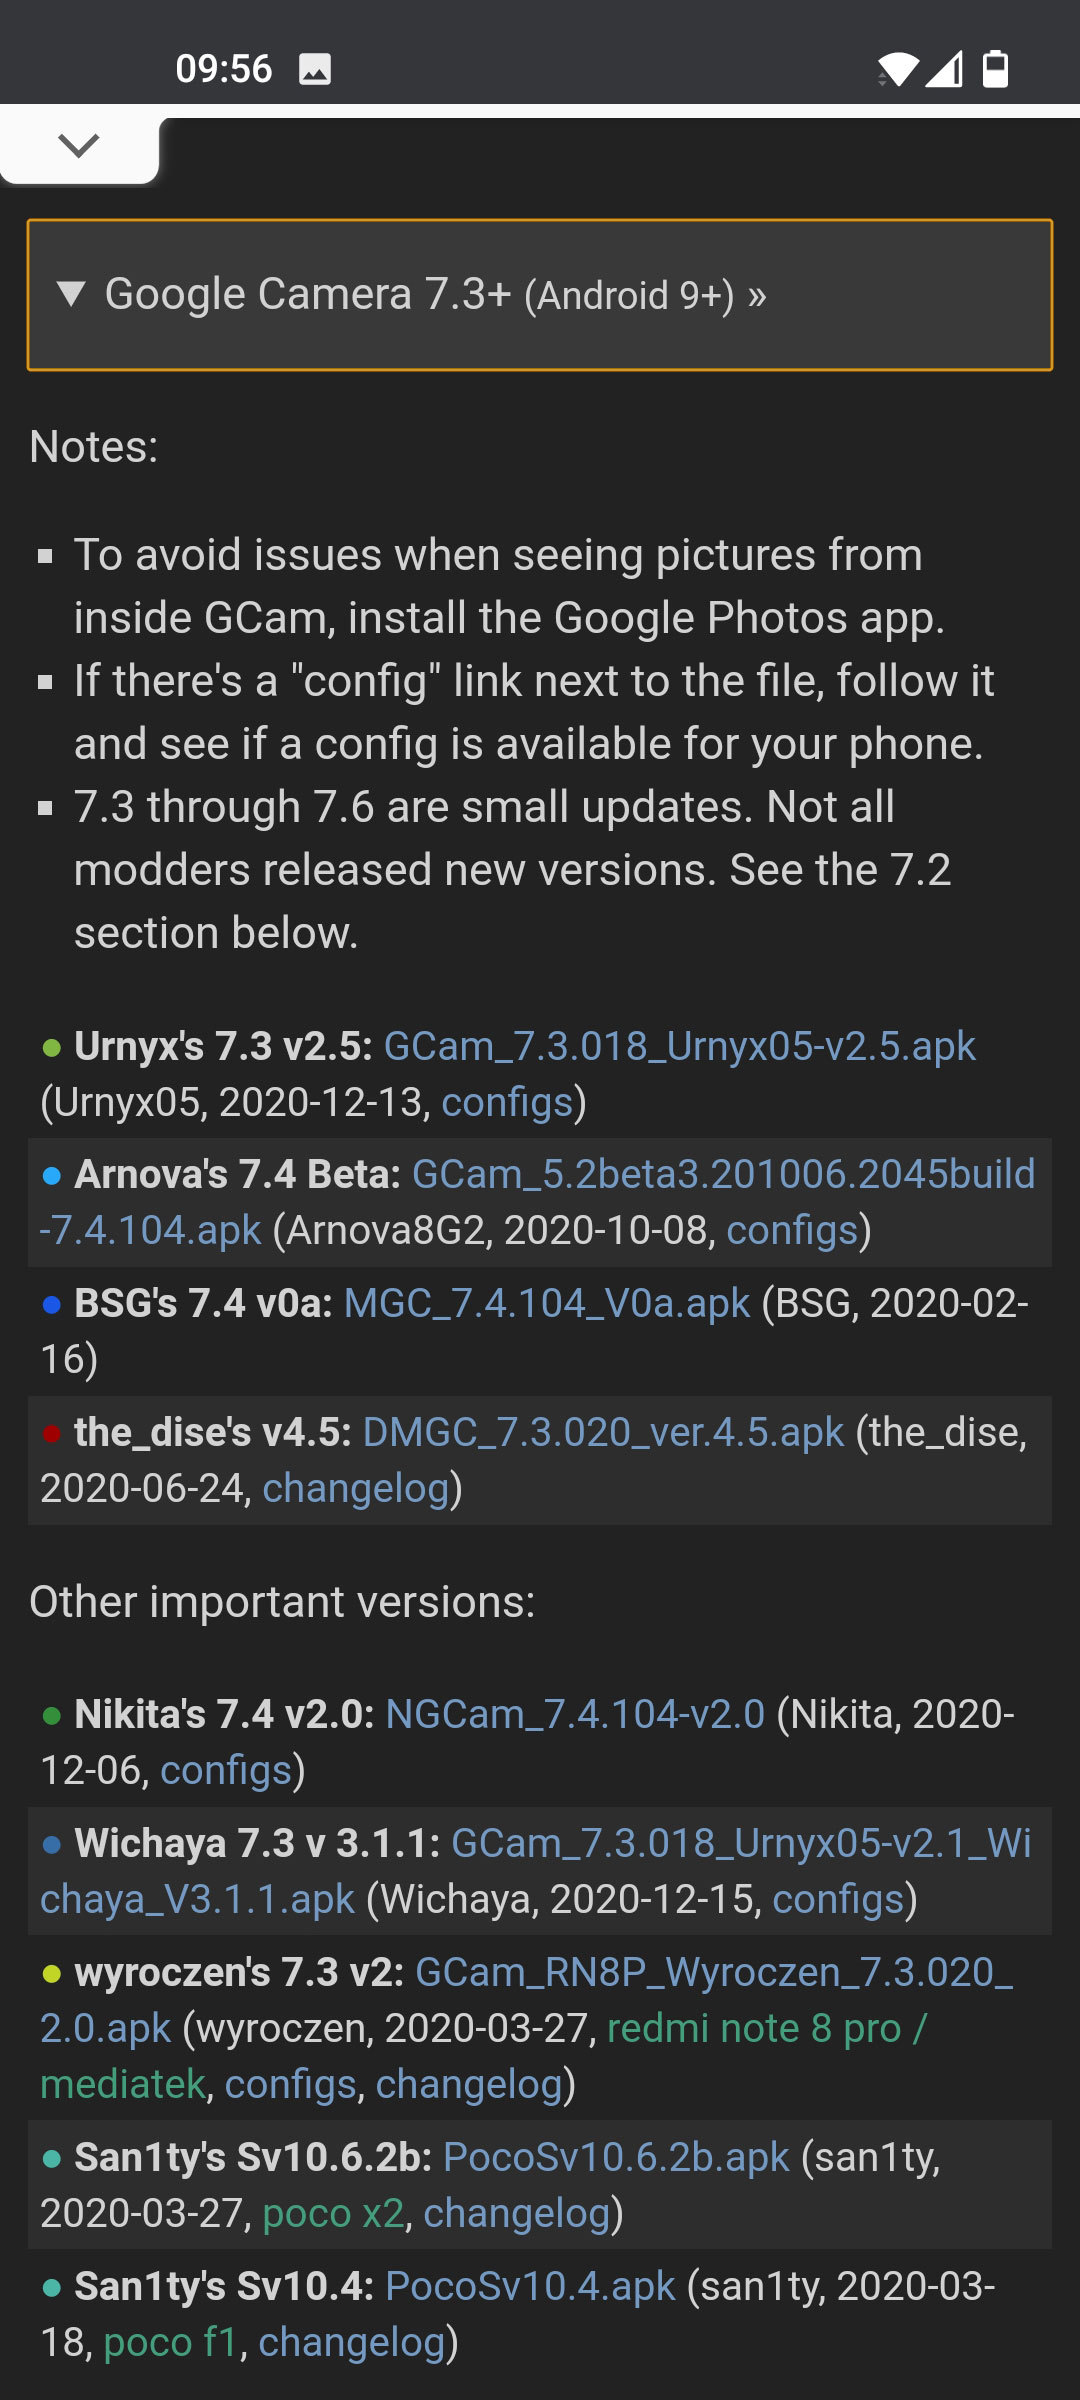
Chances are, however, that you do not need to root and that you can proceed to install the correct software. And that can be quite difficult. The apk file from Gcam, or Google Camera, does not just work on every phone. On this website you will see a list of available ports. When it comes from Arnova, it’s usually okay – the community agrees that this mud delivers good quality. Basically it is quite trial and error to see which installation file works exactly, so don’t just give up if it doesn’t go right first time.
It can therefore be quite difficult to find out which version works for you. On the suggestions page you will see a list of Android version. You can use this initially as a guideline, so that you can at least get started. When you open a cup, there is often a comment that you should take into account. For example, version 6 or higher does not always work well on devices with Android 10 and it is therefore better to use GCam version 7 or higher right away. You will automatically come across those kinds of useful tips, so that you will soon find your way on the download page.


In some cases you will also see a link under the term ‘configs’. If we again use Arnova as an example for the beta of version 7.4.x, you will see a complete list of smartphones on that page. In principle, these are the devices on which the software works. So if you have one of those models, it is best to download that version. It may also be that your devices are more modern, then you look for the most recent version that belongs to the manufacturer. For our OnePlus 8T, for example, we downloaded the OnePlus 8/8 Pro update and that works fine.


Possible help
Again, nothing guarantees success, so there is a good chance that you will run into specific problems that simply cannot be solved. If we go back to the aforementioned configs page and click on a smartphone, it is possible to download a special file. It is an XML file. Such files help to structure data. Download the necessary file so we can implement it.
You should have a new folder on your smartphone after installing the GCam, called GCam. In it you will find a folder called Configs. It is intended that the XML file ends up there. Copy the file there and open GCam again. Now tap twice on the black area next to the camera button (with which you take a picture), choose the config file you want to load and then tap Restore. Sometimes you have to do this twice. When GCam then restarts, you will know that it was successful and the file has been modified.
Using GCam
Then it is finally time to use the camera software! Then it is time for the next obstacle. The number of options that the GCam offers differs per telephone. Not every phone supports the extra settings for high dynamic range (HDR) as standard. In addition, it is also not the case that you have standard access to the exposure options, so many photos are probably taken with basic settings. If you miss settings, it can be a good idea to download and import an XML file. If you still miss functions after that, you should really root your phone.


Overall, however, the GCam takes better photos than your smartphone’s default photo camera app. Compared to the OnePlus camera app, we see, for example, that GCam makes images that are much more lifelike. OnePlus cameras can sometimes make photos appear saturated in colors. That sometimes produces beautiful snapshots, especially with a lot of light. But when it gets a bit dark, you soon run into the limitations of the software. GCam solves that problem by simply offering more functions and options.
At first you may think that some of the colors are a bit faded. But those are the colors as they are received. In principle GCam does not edit them, unless you use a hdr mode. It is also noticeable that there is more detail in the shadow, selfies with a bokeh effect do it a lot better in evening mode. Environments are a bit lighter in the evening, or in dark places, but that means you see a lot more detail. Before you achieve this effect, you probably have to tinker with the settings. But once it works, you can take good pictures even with the cheaper cameras on smartphones.
OnePlus 8T camera without GCam (during the day)


OnePlus 8T camera with GCam (daytime)


OnePlus 8T camera without GCam (night)


OnePlus 8T camera with GCam (night)


.