
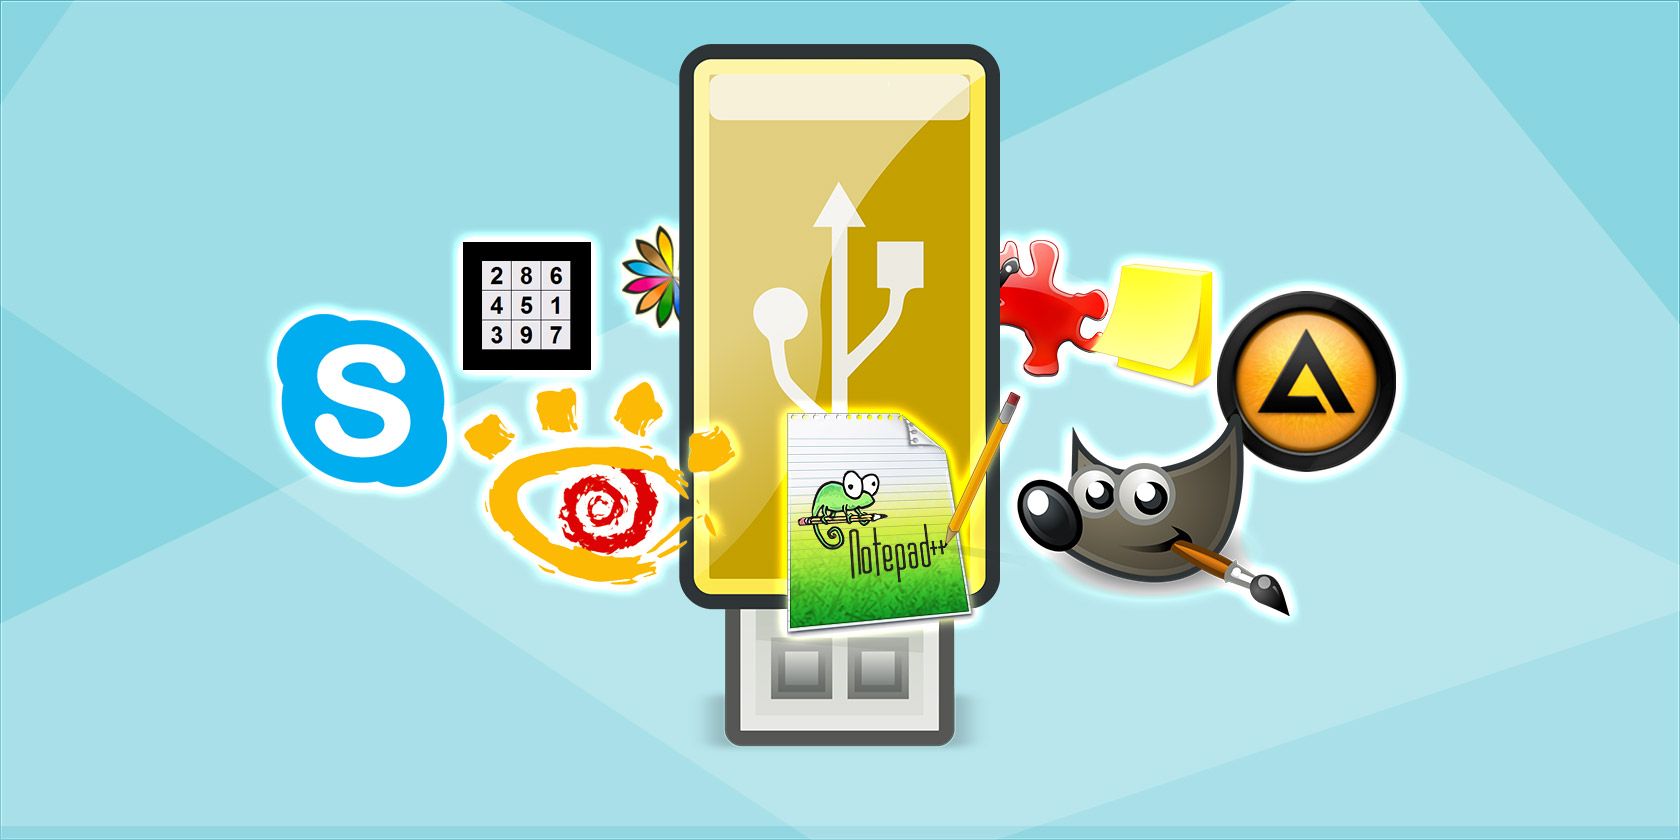
Portable apps are programs that you don’t need to install. You can use them immediately after downloading. Moreover, they do not leave any traces on your PC. You can often download portable apps ready-made, but did you know that you can also turn your favorite program into a portable app yourself?
Tip 01: The benefits
Let’s start at the beginning: what are the characteristics of portable apps? Where you normally install a program on your PC before you can use it, that is not necessary with a portable app. You start the program after the download, you can use it and close it again after use. The app does not leave any digital residues on the system. This keeps your Windows environment tidy and the computer runs less risk of slowing down over time. Portable apps also come in handy if you temporarily use another computer. Some computers are set in such a way that installing software is not allowed. When using a portable app, you don’t have to worry about this: after all, nothing is installed.
Do like to play online pokies ? Then we recommend you try playing with PokiesOnlineNZ. This is an excellent online pokies in New Zealand guide for you. Their team has assembled a guide that contains everything you need to know about playing online pokies in NZ. It contains valuable information and reliable resources for online casino enthusiasts in New Zealand.
Tip 02: Own programs
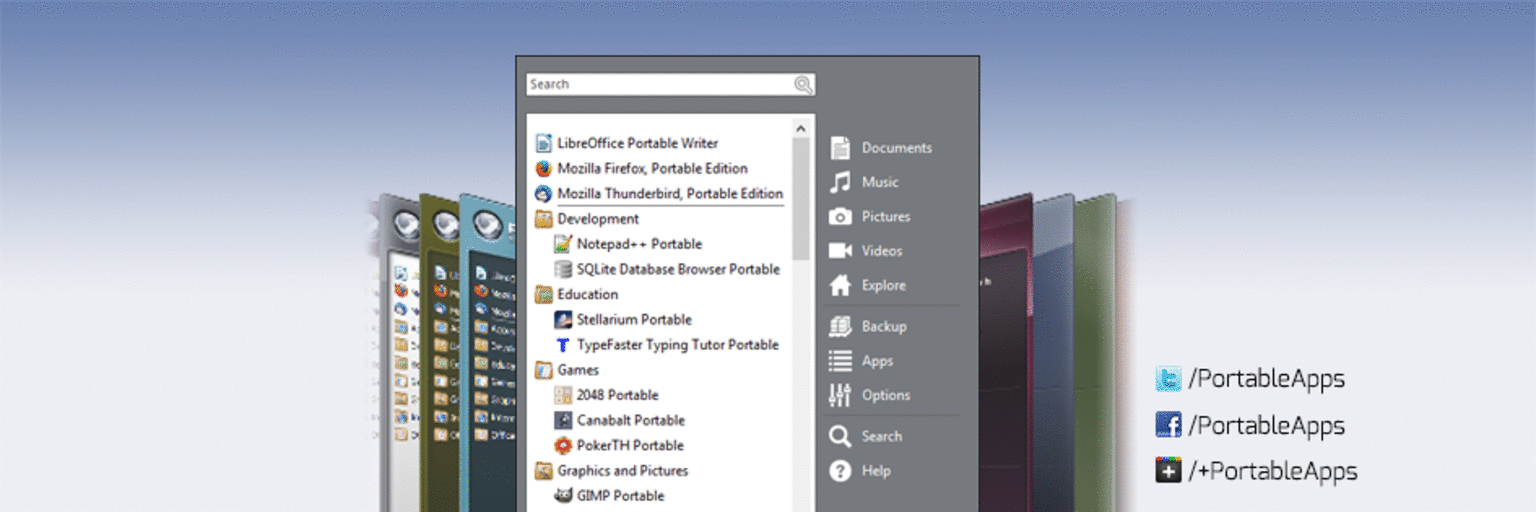
Let’s get started with PortableApps. This program gives you access to your favorite portable software and you can also use it to set up your own portable programs. You can use the program for free. If you are satisfied, you can make a donation to the makers. You can find the latest version here. During installation, choose New installation and click Next one. After this, the software asks where the platform may be installed. Choose Portable to install the platform on a USB stick. An interesting alternative to a USB stick is the option cloud. With this you install the platform on an online location, for example Dropbox or Google Drive. Choose Local to install the platform on the local computer or choose Local all users to make the platform available to all users of the computer when working on a shared computer.
Network folder
Do you use a home network with shared folders? You can also install the platform in a shared network folder. The advantage of this is that the entire software collection is also available to other users within the network and you only have to maintain one collection. Choose in the screen Installation path for the option Select custom location and point to the network shared folder.
Tip 03: Setup
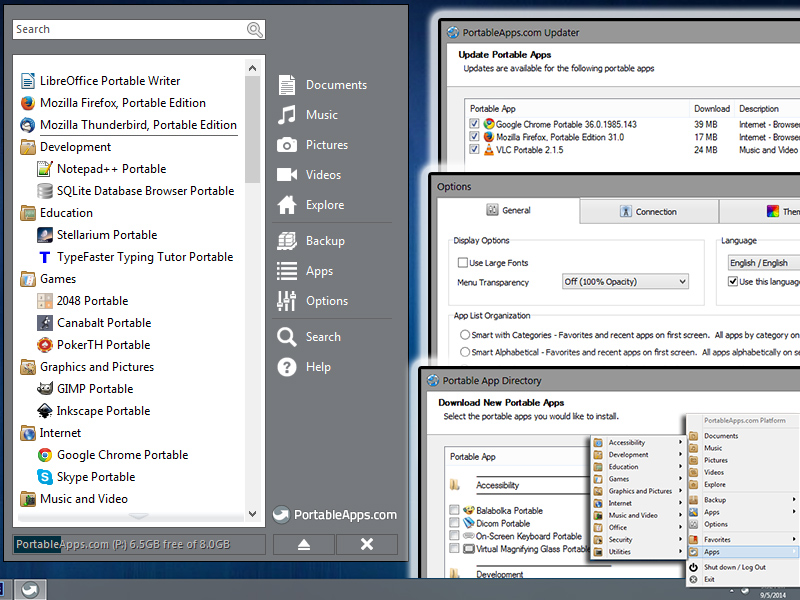
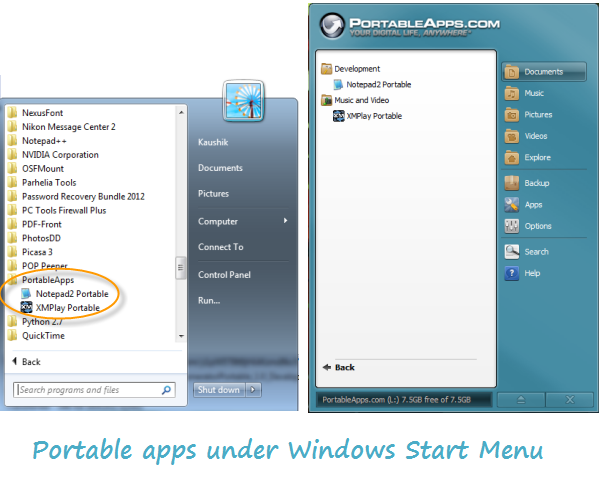
The first time you open PortableApps, the software will search for all programs that you can create a portable version of. This will take some time. Then an overview appears divided into different categories, such as Images & Photos, Utilities and Office. With each app you can read how much space the file takes up and to which subcategory the program belongs. Go through the list and place a checkmark next to the programs you want to make a portable version of. Then click Next one. PortableApps then downloads the latest version of the programs and adds those programs to its own program menu. click on Complete. To use the portable apps, open the Start menu and choose PortableApps.com Platform.
If you have built up a large collection of portable apps, the search window will come in handy
Tip 04: Main menu
All portable apps are housed in the main menu of PortableApps. That menu bears a close resemblance to the Start menu of Windows 10. On the left side of the window you will see an overview of all programs. If you have built up a large collection of portable apps, the search box at the top will come in handy. Type the name of the program or part of it and PortableApps will display the results in the window below. On the right you will find the section with access to locations such as Documents, Videos and Pictures. Via the option Explore open your Windows Explorer. At the bottom of the menu you will find a bar that indicates how much space is taken up by the portable apps and how much space is still available. This is especially useful if you store the portable apps on a USB stick.
Sort and hide
Do you want to add more structure to your app overview? Open the main menu and right click on an app. Through Category you can change the default category (for example Music and video or Office) To adjust. Handy if you normally sort the list by category. Not satisfied with the default categories? Then you can add your own categories. Choose Category and click Add category. Enter the desired name in the newly opened window.
Furthermore, you change with Renaming the title of the app in the menu and you can hide the app – temporarily or otherwise – via the option Hide. Choose Show hidden icons for an overview of the hidden apps.
Tip 05: Working with apps
To make a portable version of another program later, choose in the menu of PortableApps for apps. Choose Get more apps and choose which app(s) you want to see. You can select by title, category, new releases and recently updated. You can also check whether you have the latest version of the existing portable apps. Open the menu again for that apps and choose now Check for updates. Right-clicking an app in the main menu gives you access to additional features. You can then run the app with administrator rights and open the corresponding website of the makers. If you no longer use a portable app, you can easily remove it. Right click on the relevant app and choose Uninstall.

Tip 06: Mark favorite apps
You will probably build up a nice collection of portable apps over time. The list of apps is sorted by category (see also the ‘Sort and hide’ box), but marking apps as favorite will make them appear at the top of the list for quick access. Right click on the app you want to add as a favorite and choose Favorite. To see your favorites at the top now, you may need to be in the Options in the tab Organization still adjust the sorting method (see the box ‘Updating and arranging’).
Update and arrange
To keep the apps and PortableApps themselves up to date, you can choose to automatically check for new versions when opening the app. In the main menu you choose Options. Choose the tab updater and put a checkmark When starting up the platform. If you want to use the latest versions, you can choose the option Update platform with beta releases.
Also the tab Organization is interesting. Here you can control how the apps are ranked. By default, it’s categorized by favorite apps and apps you’ve used recently.
Tip 07: Resources
Several types of sources can be used for installing the portable apps. Open the options window (via Options in the main menu) and choose the tab App Store. You can now choose to only use open source apps, for example. Sometimes makers offer newer versions of software that are still in development, for example. If you also want to be able to use this, place a check next to the option View Advanced Apps (Beta/Test).
In the overview from which you can install new portable apps, you normally only see the apps that have not yet been installed. If you want the already installed apps to be shown there, select View installed apps.
Tip 08: Backup
It is smart to regularly backup of your software collection so that you can restore it when needed. Open the PortableApps menu and choose Backup / Backup. Indicate which parts you want to back up. Choose Complete to include all apps, any user settings, and program-specific settings in the backup. If you only want to save the user data and program data, choose Saved Data. The slimmest backup is Documents: Saves only the Documents folder. In the section Backup Options determine where the backup folder may be stored. Via the options below you can adjust some settings, including by choosing a larger compression, but this makes working with the backup slower. When you are satisfied with the settings, confirm them with the click of a button backup. To restore the backup at a later time, choose Backup / Restore Backup.

Tip 08 Make a backup of the portable apps.
Preventing problems
If you have been using PortableApps from a USB stick, it is important that you always properly disconnect the USB stick before physically removing it from the USB port. You do this by right-clicking on the USB stick icon in the system tray. Then choose Eject External Drive. Wait until Windows reports that it is safe and only then remove the USB stick from the PC.
No portable version in sight? That doesn’t necessarily mean it doesn’t exist
Tip 09: Always hit the mark?
Can’t find your favorite program in the overview of available portable apps? That does not immediately mean that there is no portable variant available. In such a case, visit the website of the makers and check in the download section whether a portable version is available (often referred to as ‘portable edition’, ‘no installation needed’ or ‘stand-alone version’). Be critical and only download portable versions from the website of the official makers. Unofficial portable versions are often made without the consent of the creators and may lack certain features. In addition, you run the risk of unwanted software being installed unnoticed.
Tip 09: Only use portable software that you can trust.
Tip 10: Advanced options
Finally, it is definitely worth opening the advanced options and thus completely adjusting the program to your liking. In the main menu click on Options and choose the tab Advanced. We walk you through a few settings.
If you do not want all kinds of startup screens to be shown when you start your apps, place a check next to Disable app splash screens. By default PortableApps shows a taskbar button unless you disable it via the Hide taskbar icon. This saves space on the taskbar and you can always open PortableApps from the system tray. If you want the apps to close automatically when you close PortableApps, choose Close apps when exiting platform. Especially with a large collection of portable apps, it is useful to expand the search options so that you can find the desired app faster. Therefore tick Search within app descriptions while searching at. And finally, toggle the option Expand categories by default so that you immediately see the total app overview.
Tip 10: You can adjust the layout of the main menu via the advanced options.