
You can now also use Google Maps to plan a cycling route. But how exactly does it work?
Step 1: to the cycle route planner
- Go to the website maps.google.nl
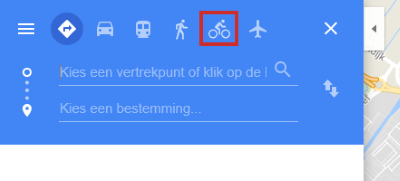
- You see a map of the Netherlands. Hover over the search bar and click in the box that opens Directions.

- Under ‘Directions’ you will see different icons: a car, bus, man, bicycle and an airplane. Click on the image of the bicycle.
Step 2: enter start and end point
You will see two type fields. The top one is for the departure point, the bottom one for the destination.
- click on Choose a departure point or click on the map and type your starting point. This can be a home address, but also just a place of residence, for example. You can also click on the departure point on the map. The address is automatically entered in the field.
- click on Choose a destination or click on the map and type your destination. Here too you can click on the location on the map.
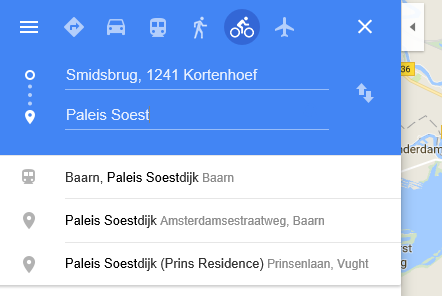
Google Maps recognizes many points and gives you suggestions on what to click as you type. When Google Maps doesn’t recognize your location right away, the site will display locations you may mean. Here you have to make a choice by clicking on one.
Step 3: cycling around
Of course you can also just cycle a nice round from your home. Then the start and end point are the same, but you need another farthest point. If you want to include an extra destination in your route, click on the plus sign under the destination (iOS) or on the three dots at the top right.
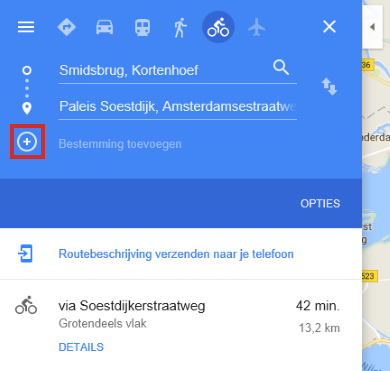
At ‘Choose a destination or click on the map’ you can now type in the starting point of your cycling route again, so that you can return there. 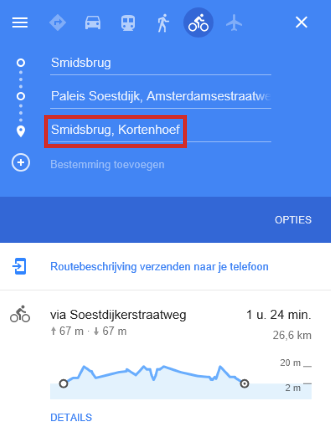
Step 4: to the directions
When you have entered the locations as desired, you can view the suggested route. The cycling routes are still under development. It is possible that not all available bicycle paths are used yet.
- On the map you can see the route in a blue line.
- You can zoom in further on the route by clicking the plus sign at the bottom right of the screen.
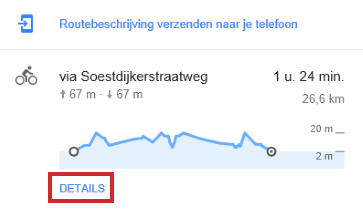
- To see the textual description of the route, click on Details.
- You can now see the entire description of the route.
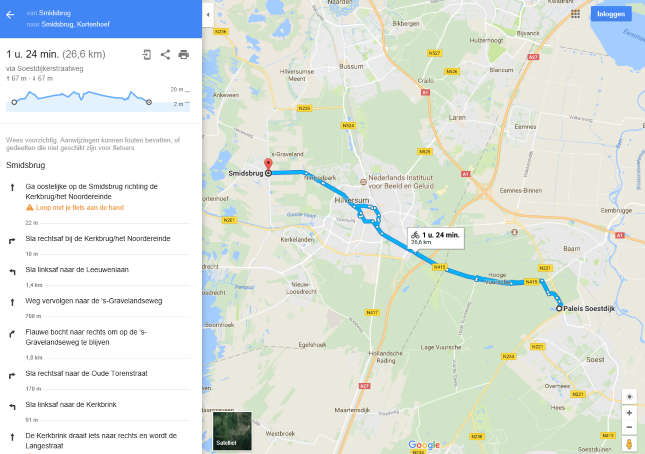
- If you want to zoom in on the map on the corresponding part of the route, click on the relevant signpost in the description.
Step 5: Using the Directions
If you want to be able to travel with this route description, you must be able to take it with you. You do this by printing the route description.
- Click on the image of the printer above the described directions
 . You will be presented with two options: ‘Print with cards’ and ‘Print text only’. With ‘Print with maps’ you will see a map or photo of the location at various points. This can be useful if you are unfamiliar somewhere, but a long route will consume a lot of paper.
 - In the window that opens, you can set various things, depending on your printer.
- Everything to your liking? Then click on Print.
If you want to know more about using Google Maps, read the article ‘Google Maps’.
Use an offline map from Google Maps on your smartphone while on the road, so that you can keep an eye on where you are without an internet connection via GPS. Read the tip ‘Navigating by bike’ for this.