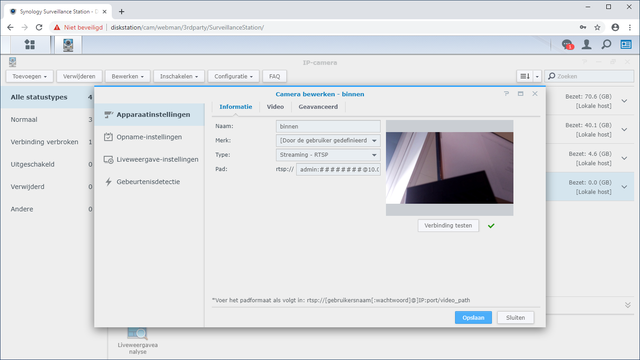
An ip camera does not have to cost a lot. With a Raspberry Pi Zero W and camera module you can relatively easily create a good and particularly compact camera, and thereby set up an rtsp streaming server, for example. In this article you can read how you do that, and how you can then use the camera in Surveillance Station on a Synology or QNAP nas.
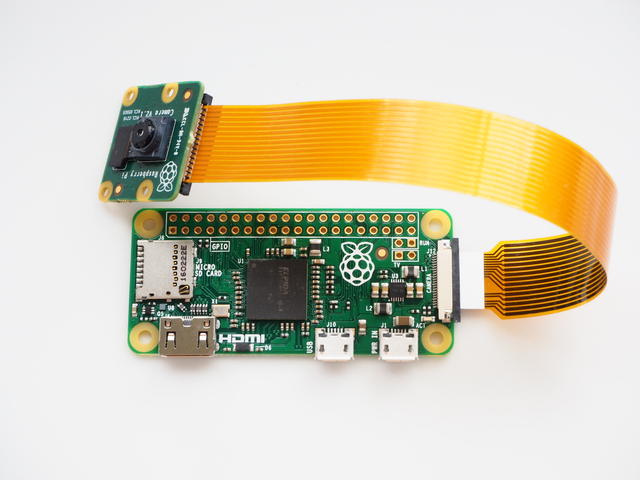
You can of course buy a cheap IP camera with all the trimmings in China, but they are generally poorly secured and difficult to set up. It is not immediately cheaper if you build it yourself, but you are more flexible and above all it is fun and educational. We use a Raspberry Pi Zero W (around 11 euros) together with the official 8megapixel camera module v2 (29.95 euros). It has a great Sony IMX219 sensor. There is also a NoIR variant available that gives a better view at twilight. If you combine these with infrared LEDs, you also have good night images (in grayscale). Those who want to save something can find affordable alternatives in China starting at around 8 euros. You also need a micro-sd card for the software and a power adapter with micro-usb that can preferably deliver a minimum of 1.2 amps.
01 Which software?
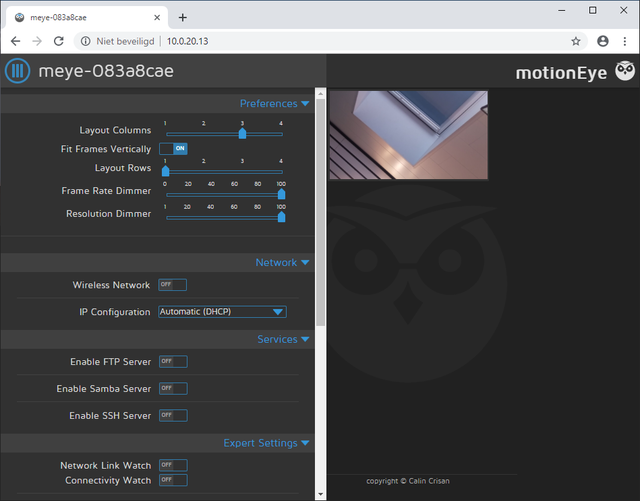
There are many methods to stream from a Raspberry Pi Zero W. In addition to the camera module, most methods also support a usb camera or webcam that you connect to the Pi Zero W via a usb-on-the-go cable. Whichever method you choose: given the relatively limited processing power, it is wise to leave the motion detection to the video surveillance software such as Surveillance Station. A well-known option is motionEyeOS that has a nice web interface for configuring the camera. A disadvantage is the relatively large delay, even with the option Fast Network Camera which you also have lost many other options. We therefore choose to set up a manual stream.
02 Installation of Raspbian
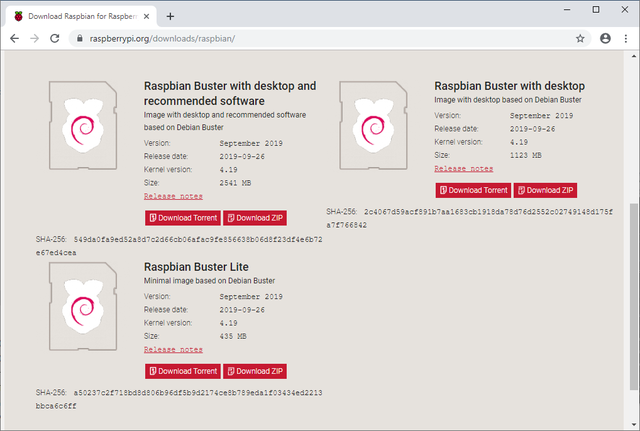
We start with the installation of Raspbian Buster Lite. Get the most recent version on. Unpack the archive after download and use balenaEtcher to put the img file on a micro sd card. Before you start the Pi with the micro-sd card, add it to the root (including the file, among other things) kernel.img is called a text file wpa_supplicant.conf with the rules below. Put it in there ssid the name of your Wi-Fi network and fill in psk enter the password. Create an empty file in the same folder ssh so that you can log in via a shell after starting.
country = NL
update_config = 1
ctrl_interface = / var / run / wpa_supplicant
network = {
scan_ssid = 1
ss
psk = “your password”
}
After the Pi Zero W has started, you can find out the IP address assigned by your router’s dhcp server via the router’s configuration pages (if all goes well). Log in to that IP address via ssh with a program like PuTTY and use the standard username pi and the corresponding password raspberry. Then preferably change the login details.
03 Install the rtsp server
Make sure the Pi is up-to-date with the commands:
sudo apt-get update
sudo apt-get dist-upgrade
With sudo raspi-config open the Pi configuration page. Activate via Interfacing Options the camera module. You activate the video-for-linux kernel driver with:
sudo modprobe bcm2835-v4l2
Check that you have one / dev / video0 have with:
sudo ls -la / dev / vid *
Install the git and cmake tools with:
sudo apt install git cmake
After this you can compile the rtsp server with the following commands and make it available, which supports h.264, among others:
git clone https://github.com/mpromonet/v4l2rtspserver.git
cd v4l2rtspserver
cmake.
make
sudo make install
04 Start the rtsp stream
For example, you start a stream from the folder v4l2rtspserver with:
./v4l2rtspserver -F 10 -W 1920 -H 1080
After starting the rtsp server you can read any error messages and a link to the stream in the form rtsp: // ipaddress: 8554 / unicast. You can use this in VLC player for example to connect to the camera, but also in Surveillance Station as we show later. With the option -U user: password enter a user and password to protect the stream. The link to the rtsp stream will then take the form rtsp: // user: password @ ipaddress: 8554 / unicast. Nice is that the processor load remains very limited, the gpu does most of the work.
05 Starting the server automatically
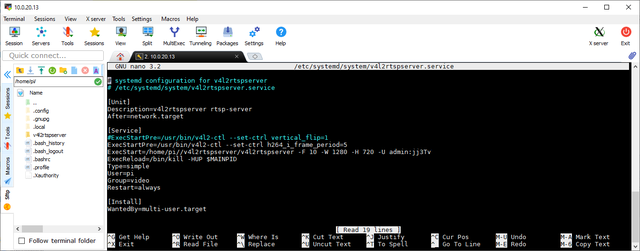
We want the rtsp server to be started automatically after switching on the Pi. For this, create a simple script with:
sudo nano /etc/systemd/system/v4l2rtspserver.service
The following lines are added:
[Unit]
Description = v4l2rtspserver rtsp server
After = network.target
[Service]
ExecStartPre = / usr / bin / v4l2-ctl –set-ctrl vertical_flip = 1
ExecStartPre = / usr / bin / v4l2-ctl –set-ctrl h264_i_frame_period = 5
ExecStart = / home / pi / v4l2rtspserver / v4l2rtspserver -F 10 -W 1280 -H 720
ExecReload = / bin / kill -HUP $ MAINPID
Type = simple
User = pi
Group = video
Restart = always
[Install]
WantedBy = multi-user.target
Check behind ExecStart the location of v4l2rtspserver. There are some options that you can experiment with (such as vertical_flip for image rotation). Make the script active with:
sudo systemctl enable v4l2rtspserver
And start the script with:
sudo systemctl starts v4l2rtspserver
Add camera image to Surveillance Station
You can easily use the camera image in Surveillance Station by manually specifying a camera. With this software, the delay of the image appears to be quite limited. Where that is about two seconds with VLC player, the delay in Surveillance Station is only about one second. That seems a lot, but many other methods for streaming from a Raspberry Pi often have an even greater delay of four seconds or more.
