Whether it’s because of average performance or to check if it’s time to reapply thermal paste, do you need to know the temperature of your processor? If Windows 11 does not allow it directly, fortunately it does not remain too complicated.
If Microsoft has made progress in easily displaying a lot of information about your PC (System Information, Task Manager, Settings, etc.), Windows 11 is still unable to directly display the processor temperature (CPU). It will therefore be necessary to use a third-party solution. There are various software programs capable of providing this information, but for this tutorial, we have chosen the very simple, portable and free Core Temp.
How to Check CPU Temperature in Windows 11
1. Download Core Temp
So let’s start by downloading Core Temp. To do this, head to the Core Temps download page on Clubic.
2. Install Core Temp
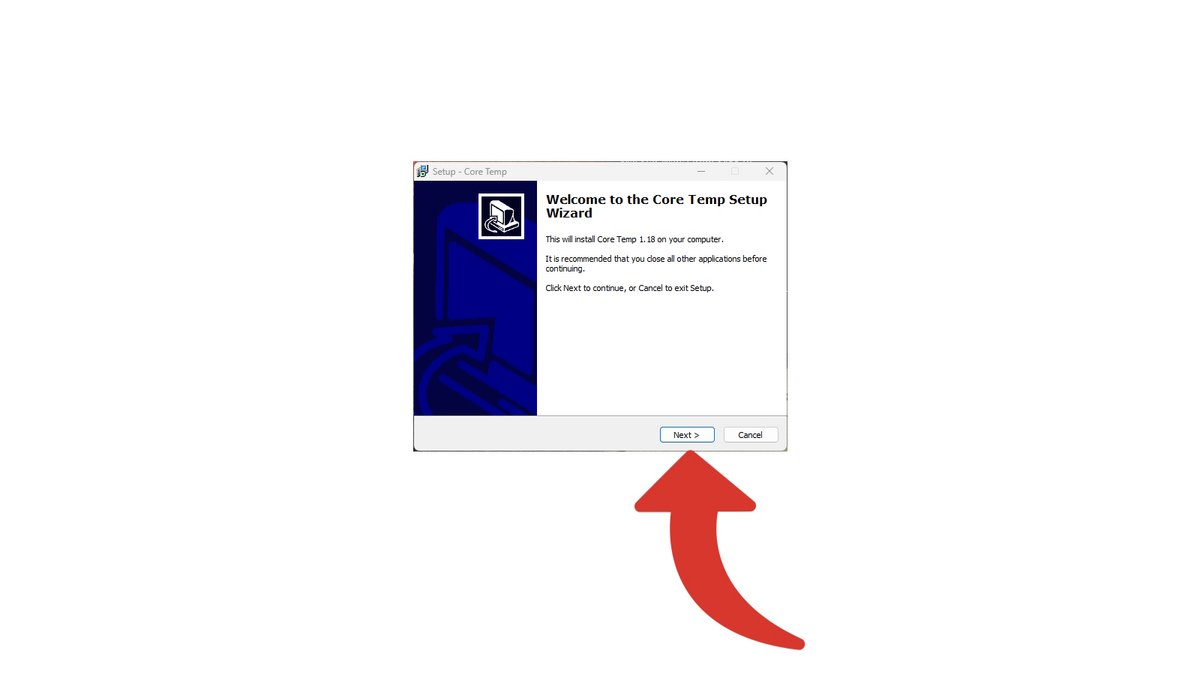
Run the downloaded executable. Follow the installation steps by clicking “Next” several times and accepting the License Agreement.

You can also choose the folder where to install Core Temp with the “Browse” button.

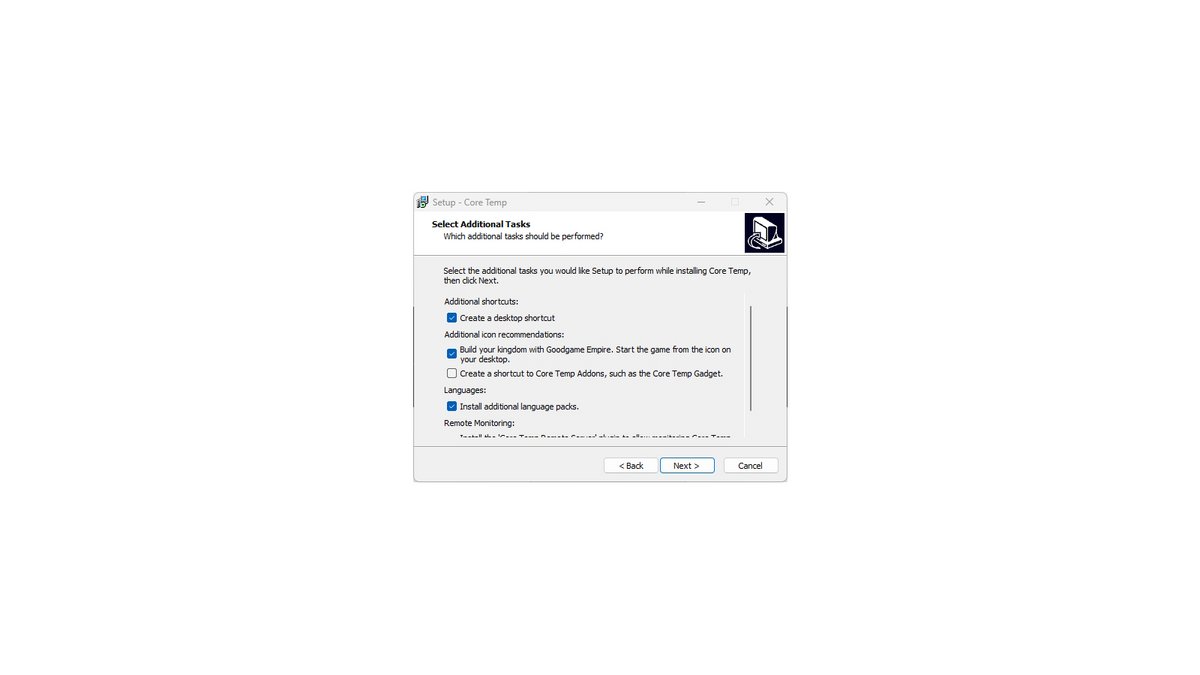
Finally, it is possible to check or uncheck a few options before validating the installation: creation of an icon on the desktop (and game icons, etc.), additional languages and remote management. Then, click “Install”.

3. Launch Core Temp and observe your CPU temperature
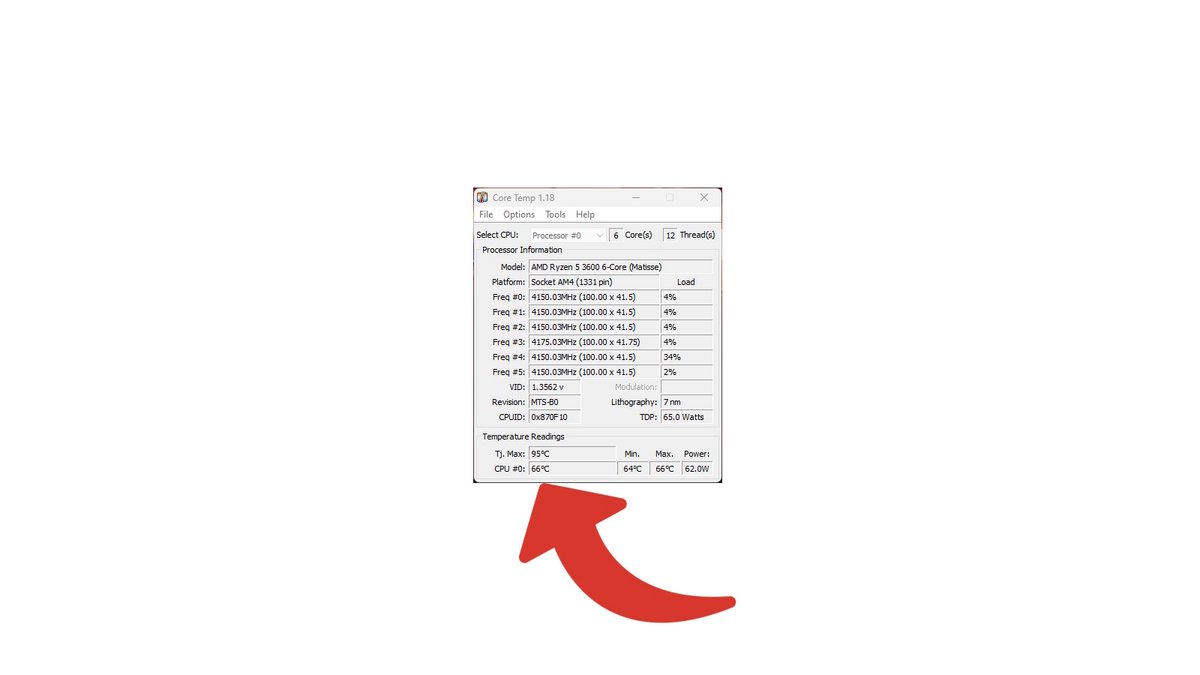
All that remains is to launch Core Temp. The current temperature as well as minimum and maximum are displayed at the bottom. The software also shows various data like the load and frequency of each core, and offers several options and features for advanced users.

That’s it, you can now know the temperature of your processor in a few seconds! And it would also be time to review the heat dissipation of yours truly… 64°C seems quite high for an inactive PC.
Download
8
Windows 11
- Successful graphic redesign of the interface
- Improved Snap
- Effective anchor groups
Download
8
Download
8
Download
Core Temp
- An accurate diagnostic tool
- Free
Download
Download

