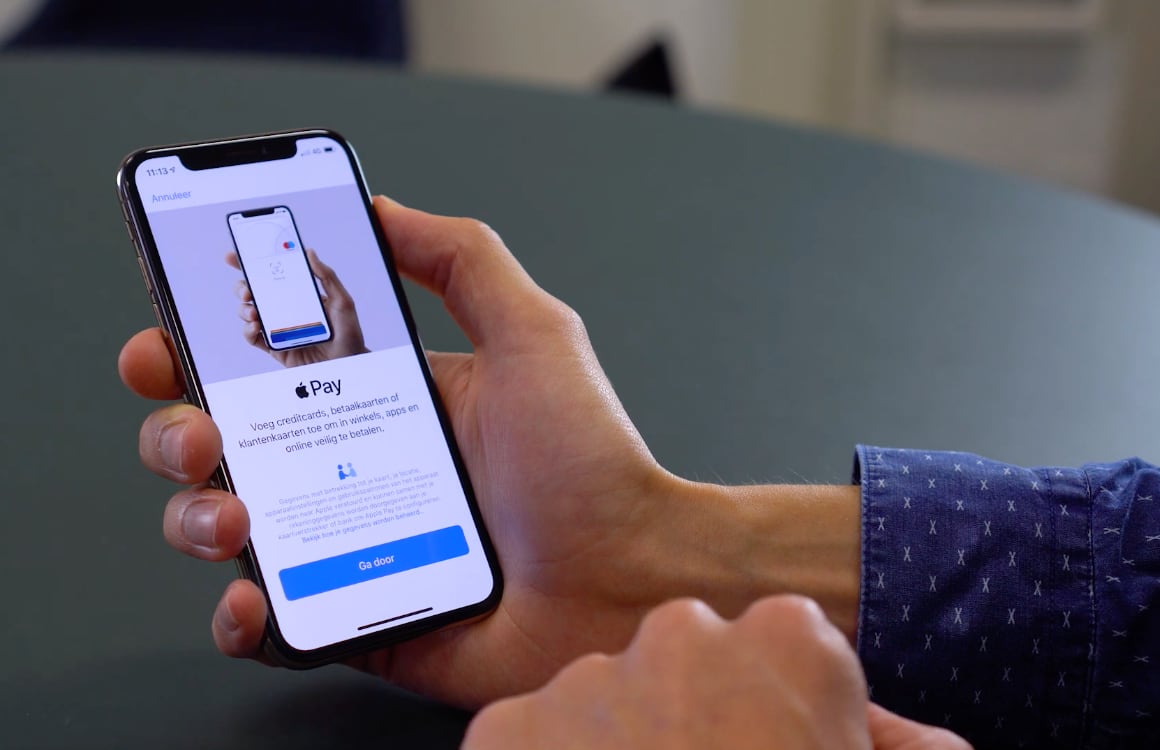
Now that Apple Pay is available for multiple banks, you can also register different debit cards. We show you how this works and how to choose a primary debit card.
Apple Pay: register multiple cards
We had to wait a long time for it, but Apple Pay has now been available for several banks in the Netherlands for a while. Many people have multiple bank accounts, which are sometimes with different banks. This is useful, for example, if you have a personal account with one bank and a joint account with another.
Fortunately, you can easily use multiple payment cards on both your iPhone and Apple Watch. Not sure how to activate your first debit card? Then check out our comprehensive guide in which we explain this to you step by step.
Also read: Activate a debit card with Apple Pay on your iPhone, Apple Watch and Mac

If you already have a debit card in Apple Pay, now is the time to add a second one. You do this first on your iPhone via the steps below.
- Open the Wallet app;
- Tap the plus sign in the top right corner;
- Follow the steps on the screen and choose the right bank;
- Apple Pay is now set up on your iPhone.
After the pass is active on your iPhone, you can easily register it via the Apple Watch app on your iPhone.
- Open the Apple Watch app;
- Tap ‘Wallet and Apple Pay’;
- Tap on ‘Add card’;
- Follow the steps on the screen to pair the pass with your watch.
You now have two different payment cards in Apple Pay. As soon as you start paying with your iPhone or Apple Watch, you can switch between the passes by tapping the pass on your iPhone, or by swiping the screen on your Apple Watch.

Set an Apple Pay default card
You probably use one debit card more often than the other and for that reason you can set a default card. This is the card that appears first on the screen by default, which makes paying just that little bit easier and faster. This is how you set this default card on your iPhone.
- Open the Settings app;
- Go to ‘Wallet and Apple Pay’;
- Choose ‘Standard card’;
- Select the pass that should appear first.
Once you’ve done this, you can do the same on the Apple Watch. This allows you to set the debit card that appears first on your screen, so that you no longer have to swipe.
- Open the Apple Watch app;
- Choose ‘Wallet and Apple Pay’;
- Choose ‘Standard card’;
- Select the pass that should appear on your watch first.
Looking for more tips about Apple Pay? In the overview below, we have listed all kinds of handy tricks so that you can get the most out of Apple’s contactless payment service.
Get the most out of Apple Pay with our tips
- Tip: This is how you correct errors in the payment overview of Apple Pay
- Tip: Turn off Apple Pay notifications on iPhone, Apple Watch and Mac
- How to return a purchase via Apple Pay
- This is how you change billing and shipping information in Apple Pay
- This way you block Apple Pay when your Apple device is stolen
- How secure is Apple Pay? 5 questions and answers about the payment service