
There are several ways to take and edit a screenshot on your Windows computer. In this workshop we will get started with the Snipping Tool.
Niels Brouwer
 |
In this workshop we work with Windows 10 Home. With the program Snipping Toolalso Snipping Tool, it is possible to take pictures of your computer screen. This can be a recording of your entire screen, of a part that you select yourself, such as a text passage or photo detail, or of an active window. The clippings that you make with Snipping Tool can be edited immediately in this program. The Snipping Tool is one of the desktop accessories in Windows.
THE CUTTING PROGRAM
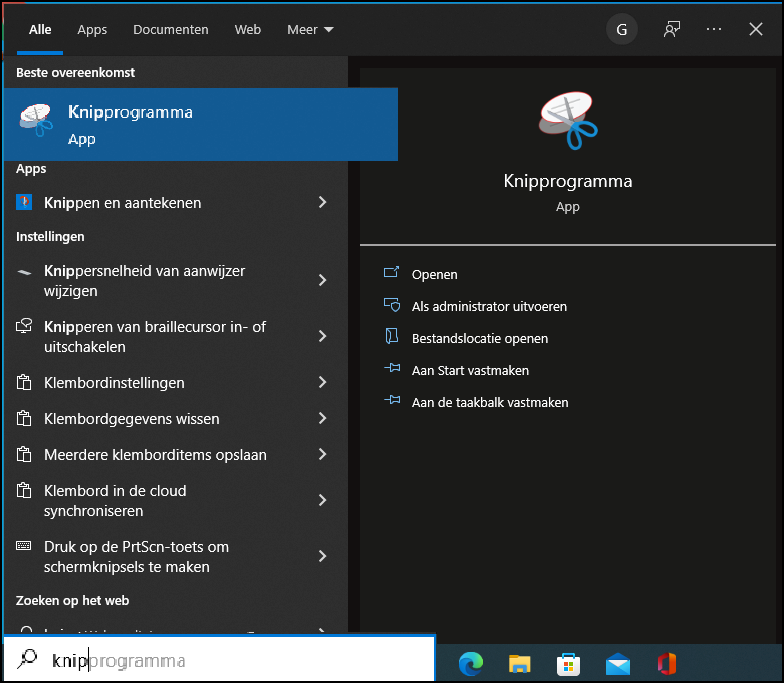
start it Snipping Tool by clicking the Windows logo at the bottom of your screen or the magnifying glass next to the Windows logo. Type in ‘cut’ and it Snipping Tool appears at the top of the menu. Click on this and you will now see a notification that the Snipping Tool will be ‘moving soon’. In Windows 11, that has indeed happened, but as long as you look up this program here via the Windows search function, you can easily find it. If you Snipping Tool opened, you will see next to the button New the option Mode stand. Here you can choose whether to capture a free-form, rectangular, window, or full-screen snip. With the option Delaywhich you see next to it, you can set a delay (except for the mode Full screen† This is useful if you want to quickly perform an action or, for example, want to see a system message before the image is created. You can choose from 1 to 5 seconds (in Windows 11 that is 3, 5 or 10 seconds).
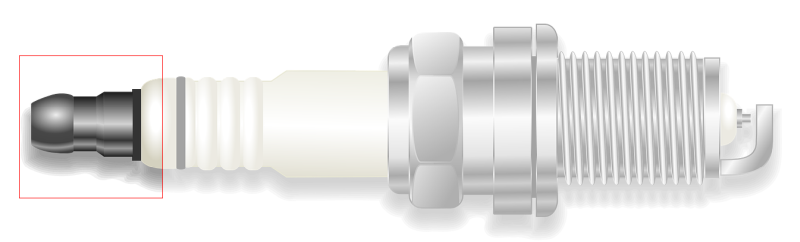
To create a new snip, click New left in the menu. The screen is dimmed. In mode Rectangular Cutout you select by dragging the part of which you want to take a screenshot, in the other modes a mouse click is sufficient. The selection you make becomes clear and when you release the mouse, a window immediately opens with your screenshot. In this window you will see several options to edit and save the snip. Use the key combination Ctrl + Sclick in the menu on the floppy diskicon or choose from the menu for Save as†
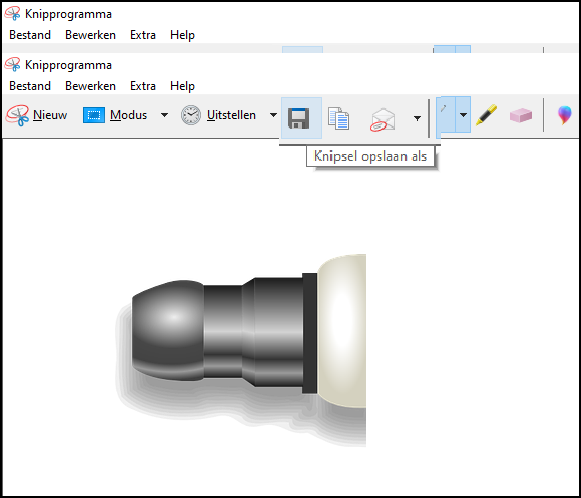 |
| With ‘Rectangular Cutout’ you can easily select a photo detail by dragging with the mouse |
EDIT
Now you can choose how you want to edit the screenshot if you want. With Pen you can draw or write on your clipping. Click the down arrow to choose between a red, blue or black pen. By default, this is set to blue. You also have the option custom pen and To adjust…. You can set the color, size and type of line here.
if you’re on To adjust… click opens a new small window and you can create a custom pen. If you click on the down arrow in the color bar, you will see that you have a lot more choice in colors. In addition, you can determine the desired thickness of the pen and what kind of nib you want: a sharp or round one. When you click OK, you have created a custom pen and can use it by clicking custom pen to click.
MARK AND SEND
Next Pen is the Highlighter† Allows you to highlight areas in your screenshot in yellow. In addition, see a Eraser-icon. This will remove any edits you have made. Handy, because the well-known Ctrl + Zkey combination to undo actions does not work here. Select the eraser and click on a marker or pen line to remove it. You will also see a drop on the far right of the ribbon. This is the icon for Paint 3D. If you click on this, the clipping will open in that program and you can edit it further with stickers, 2D and 3D shapes, etc. Microsoft has now ‘phased out’ Paint 3D, you will no longer encounter this in Windows 11.
You can also copy your screenshot. In the ribbon, to the right of the save function, there is a two-page icon. Click this to copy the screenshot and paste it wherever you want with the key combination Ctrl + V†
Finally, you can also email the screenshot directly to someone. To do this, click on the icon with the envelope. You can choose whether you want to paste the screenshot in the text field of the email or send it as an attachment. As soon as you have clicked on one of the two via the arrow next to the icon, your e-mail program opens and you can add the recipient.
Other screenshot optionsIn Windows 10 Home, the options to take screenshots are fragmented to say the least. In the Start menu you will find next to the desk accessory Snipping Tool also the app Cut and mark† However, this one is somewhat more limited in its possibilities. |