You won’t easily take really bad photos with your iPhone, but you can always do better, and these 7 iPhone tips will certainly help you with that!
7 iPhone tips for better photos
You may wonder why your iPhone photos aren’t as beautiful as those beautiful #ShotoniPhonephotos that you come across online. This is mainly because they are heavily edited before being shared. Many photographers use Adobe Lightroom for this, but you can also achieve a lot with the Photos app on your iPhone. These 7 iPhone tips are a good first step!
1. Automatic portraits
Taking photos with your iPhone is often spontaneous and not very prepared. If you want to quickly photograph a friend, you may not immediately think about switching to portrait mode. Fortunately, newer iPhones can automatically capture depth data under certain conditions. So even if you take a photo with the normal shooting mode, you will still get a portrait mode effect. You enable this as follows:
- Open the Settings app;
- Tap ‘Camera’;
- Turn on Portraits in Photo Mode.

Now when you take a close-up of a person, cat or dog, you can activate the depth effect in the ‘Portrait’ tab of the standard photo editor. In addition, you can change the subject by tapping anywhere on the photo, adjust the strength of the depth effect and add a lighting effect.
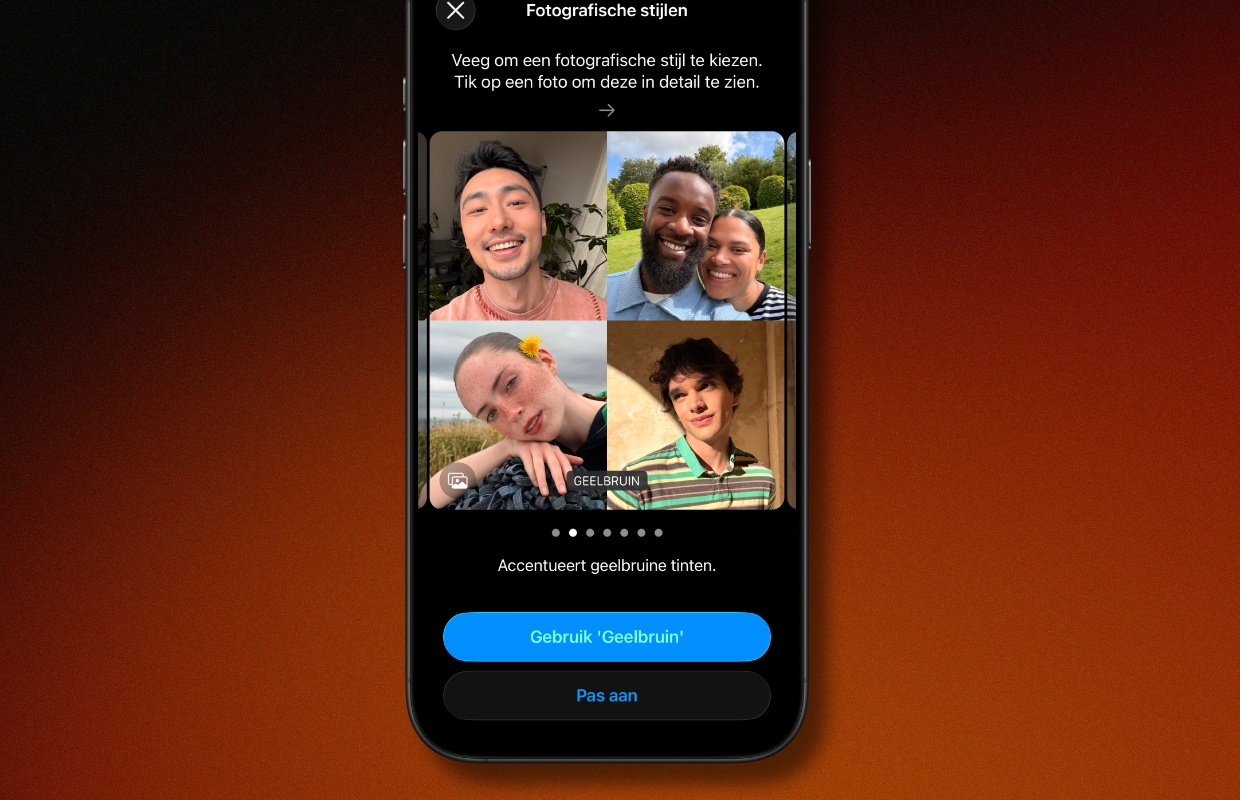
2. Photographic styles
Photographic Styles are filters that you can apply to photos taken with recent iPhone models. You can adjust the color, tone and palette of a particular image, among other things. In addition to the standard style, you can choose from 15 unique effects, ranging from subtle to dramatic. Once you’ve chosen a style, you can tap it to customize it even further.
If you usually use the same filter, you can set a default photographic style that will be applied to all future photos. You set this as follows:
- Open the Settings app;
- Tap ‘Camera’;
- Tap ‘Photographic Styles’;
- Choose 1 of 7 styles or tap ‘Customize’ to personalize your photos yourself.
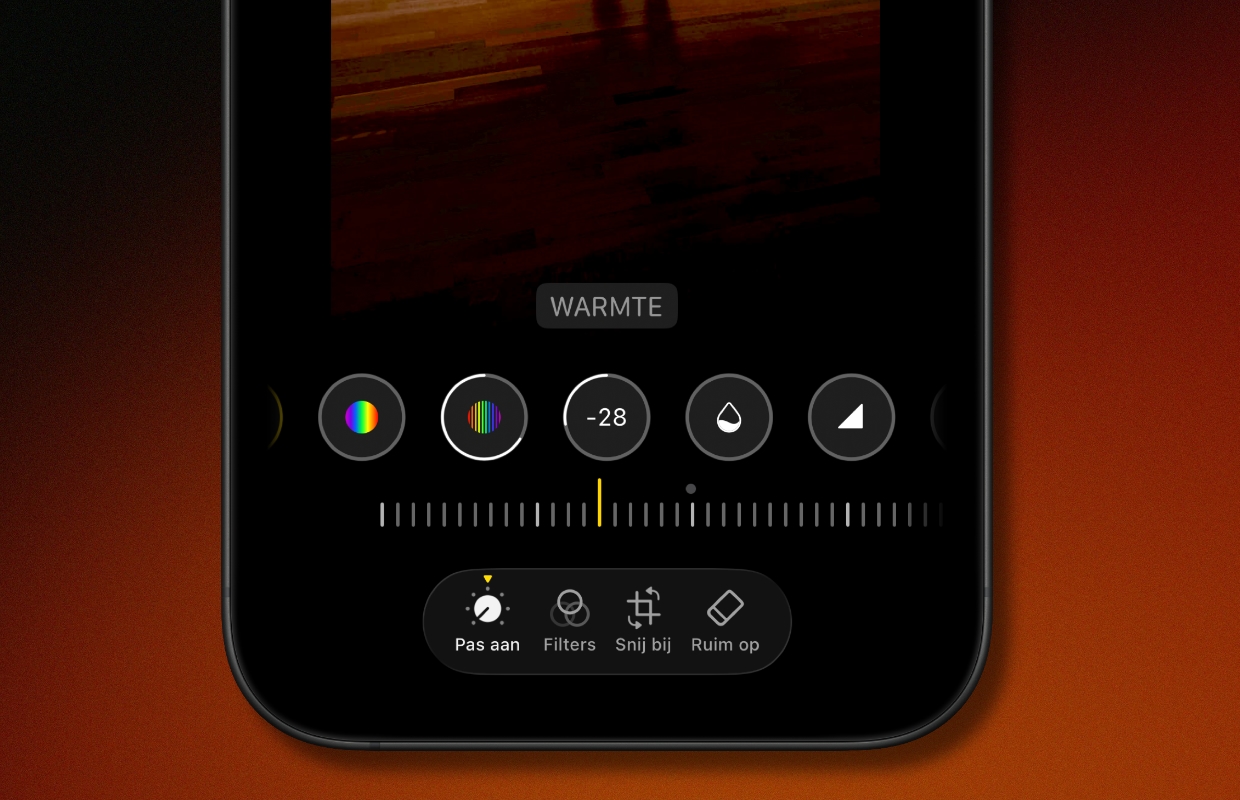
3. Adjustments
The Adjust tab in the standard photo editor lets you further adjust exposure, highlights, brightness, contrast, saturation, warmth, noise reduction, and more. Drag each slider in either direction to see how it affects your photo in real time and determine the best setting.
For example, you can first lower the highlights to emphasize details, then increase the shadows and lower the contrast to reveal hidden elements. Then increase saturation and vibrancy to add more color to dull photos. However, what works best varies from photo to photo. You can also tap the magic wand to see what the app automatically makes of it.
4. Live Photos effects
Most photos you take with your iPhone are Live Photos. This means you record 1.5 seconds of video before and after each photo. You can also view a short clip of the captured moment when you long press the photo. But there are even more possibilities.
When viewing a compatible image, you can tap the Live label in the top left corner to view the available effects. For example, you can choose ‘Long exposure’. The individual frames are then combined into an artistic photo with movement.

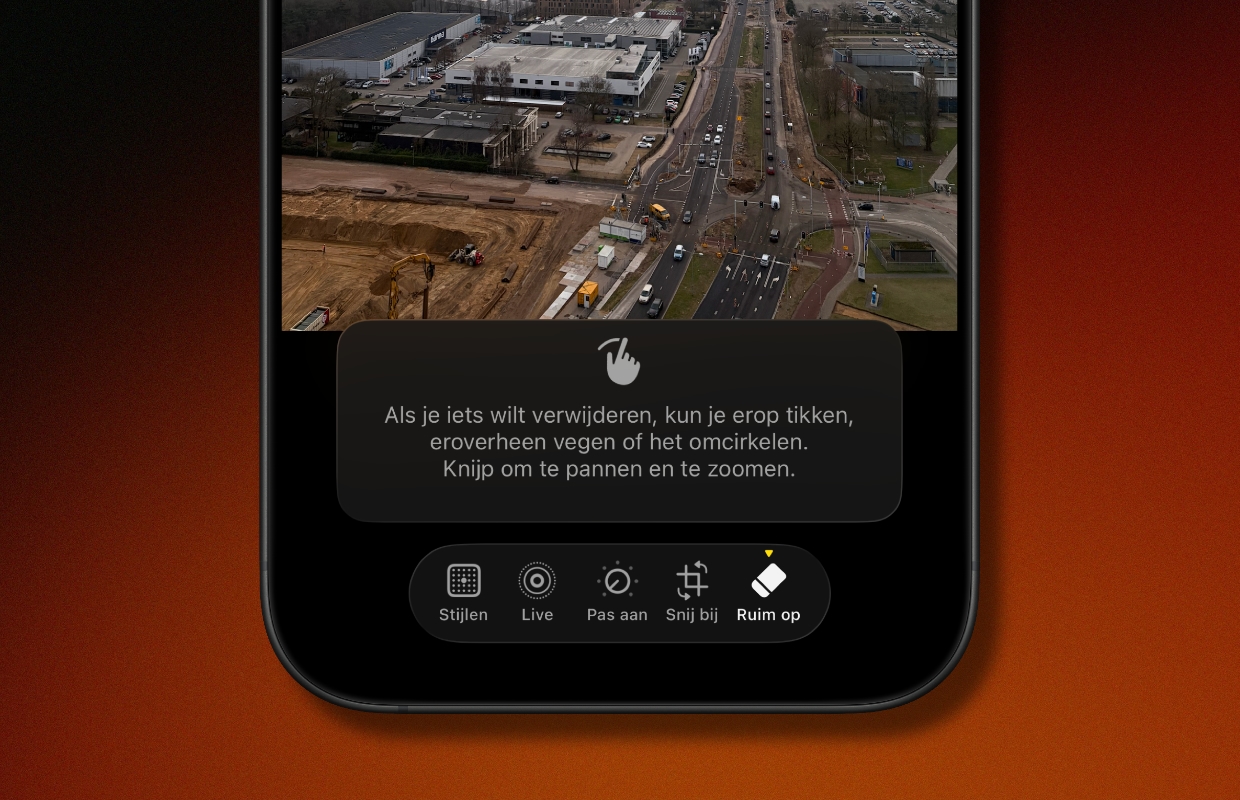
5. Tidy up
Professional photographers often use cloning functions to hide blemishes and dust particles or to remove unwanted people or objects in the background. The Photos app has an AI utility that basically does the same thing. Go to the ‘Clean up’ tab in the photo editor and wait for the system to process the image.
Once this is done, you can tap on distracting elements to instantly remove them from the photo. You can also tap the object or person you want to delete and Apple Intelligence will handle the rest. It’s important to note that using Clean Up changes the metadata of the photo and certain social media platforms will mark it as AI no matter how minor the edit is.
6. Geometric adjustments
After completing the steps above, you may want to make one final edit before sharing the final photo. Go to the Crop tab in the photo editor and use the sliders to straighten the image and correct perspective if necessary. You can also crop the photo to remove unnecessary elements from the edges and refine the composition.

7. Edit photos simultaneously
If you’ve taken multiple photos in the same environment, you won’t want to manually apply all of the above adjustments to each individual photo. Fortunately, you can tap the three dots menu and choose ‘Copy Edits’. You can then precisely select which edits you want to copy, such as image adjustments, photographic styles, cropping and more. Then you can select a group of other photos and click Paste Edits to apply them all at once.

More iPhone tips?
Did you find these iPhone tips for better photos useful and want more? On iPhoned you can read useful tips and tricks for your iPhone every week. Check out the most recent tips below!
-
Thanks to these 7 iPhone tips, you can take much better photos with your iPhone
-
This Hidden iPhone Setting Is Very Useful (But Almost No One Uses It)
-
Be careful: this prevents your iPhone from sending your exact location with photos
-
Fun: this is how you find the first app you ever downloaded on your iPhone
-
These are 5 useful iPhone tips that everyone should know