
In PC-Active 335 the first part of the workshop Build your own sensors was there. Now we continue with new sensors and refer to the FAQ online.
 Erik Roukens
 The previous issue of PC-Active contained the extensive workshop ‘Build your own sensors’. As a supplement to that article, a FAQ article has been online on pcactive.nl since April 5 about a number of sensor (related) problems and their solutions. Search for sensors on pcactive.nl and you will see, among other things, the correct settings for the AM2301/AM2302 sensor, placing a 4700 Ohm resistor on the AM2302 and downloading and installing the driver for the CP2101 communication chip. Or scan the QR code to go directly to the online article.
 |
|||
Member benefitsThe self-build kit in this workshop can be ordered with a discount as an HCC member. Click here for more information |
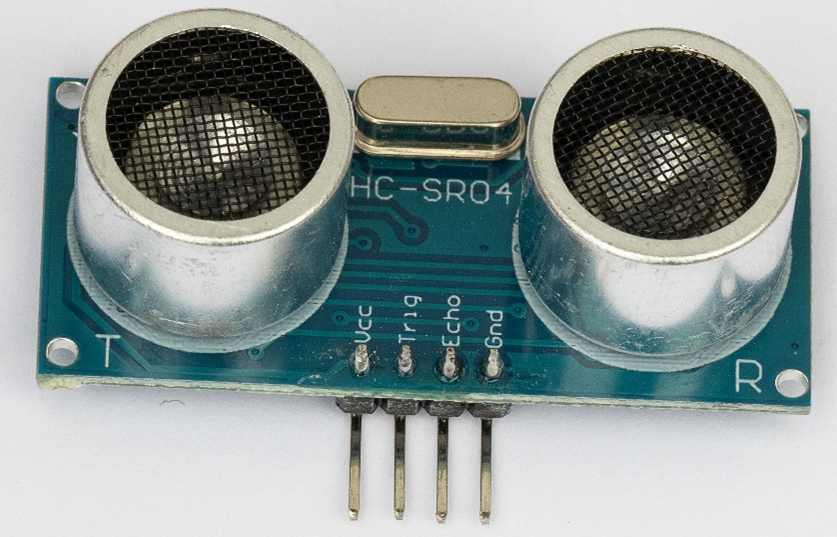
HC-SR04 sensor
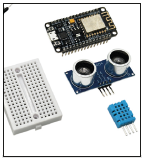
In PC-Active 335 we wrote about the DIY kit that you can still order as an HCC member with a 25 percent discount online at https://hcc.nl/ledenvoordeel from TinyTronics. The set also includes the HC-SR04 sensor. This sensor uses ultrasonic sound to measure the distance to an object. The range is approximately between 2 and 400 centimeters.
The HC-SR04 sensor is also included in the offered self-assembly kit
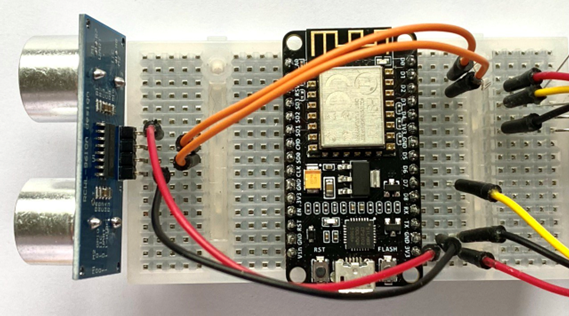
The correct way of wiring can be seen in the image above. Orange was chosen for the data cables, so that they can be clearly distinguished from the yellow cable used with the AM2302. In the image, you can still see the wires to the AM2302 on the right. You can connect the HC-SR04 sensor parallel to the AM2302 sensor on the other free ports of the EPS8266.
|
Red – “3V3” (3.3 volts) to the “Vcc” of the sensor Black – “GND” (earth) to “GND” of the sensor Orange – “D1” (GPIO5) to “Trig” of the sensor Orange – “D2” (GPIO4) to “Echo” of the sensor |
|
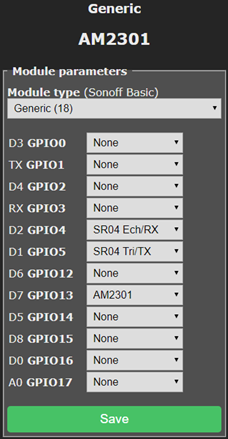
After wiring, you need to indicate in Tasmota that the new sensor is connected to port D1 and D2. Therefore, from the Tasmota main menu go to Configuration and then to Configure Module. Make the settings as you see in the image below (left):
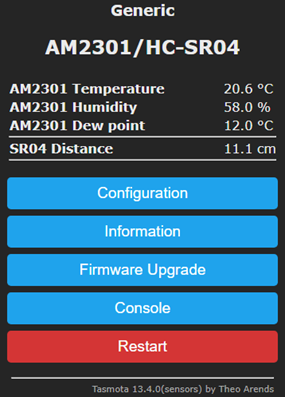
If you installed everything correctly, you should see similar information on the main page of your Tasmota sensor (image below on the right):
 |
 |
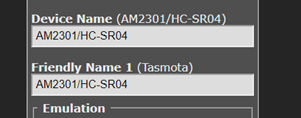
You can change the name of the sensor by clicking below Configuration the option Configuration Other to select and then at Device Name to adjust the device.
|
If you can’t find the SR04 information in the options list, check if you have the correct Tasmota version installed. The standard version does not recognize the HC-SR04 sensor: you need the version Tasmota Sensors install. The previous edition of PC-Active explains how to install Tasmota. |