If you want to switch from a Windows computer to a Mac, it used to be a lot of hassle. In this workshop we show that this move is easy nowadays.
Edited by Megan van der Wagt and Rob Coenraads
 |
|||
Member benefitsThis article is from the Mac for Beginners special. As an HCC member you will receive a significant discount on this special, look here for more information. |
If you wanted to transfer files from a Windows computer to a Mac in the past, it was a huge job. You had to collect all the files on an external hard drive, and then manually transfer everything to the new Mac. This was quite a laborious task and it prevented many people from making the switch. But this extensive job has been a thing of the past for some time now. Apple actually has one Migration Assistant built. This program makes it very easy to transfer files to the new Mac.
No stacks of USB sticks or hours of dragging files to an external hard drive. You just have to select what you want to transfer and the Migration Assistant does the rest.
In this workshop we will explain how to proceed and you will see how easy the switch can be.
|
From Mac to Mac
This workshop is not only suitable for people who switch from a Windows computer. The Migration Assistant supports transferring data from an older Mac just as easily. On both Macs, start at step 4 and choose To another Mac on the older machine and From another Mac on the new one. Alternatively, you can also transfer your data from a Time Machine backup.
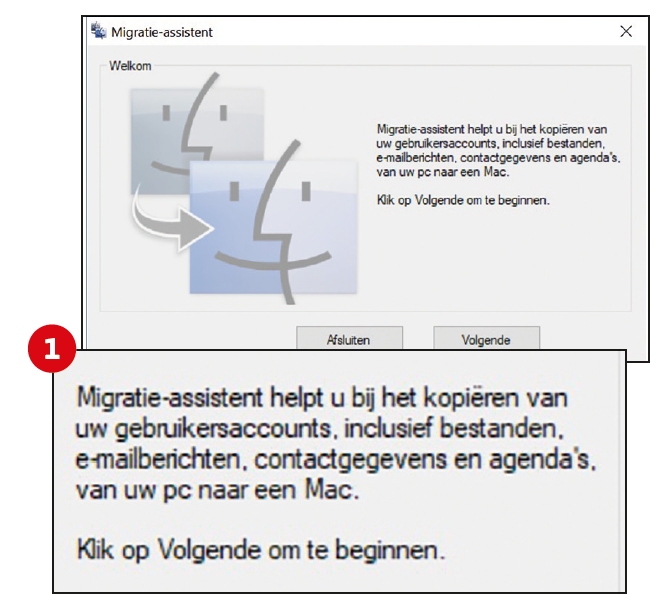
1 Download Windows computer
Download the Migration Assistant for Windows from Apple’s support page: https://support.apple.com/nl-nl/HT204087. After installing the program, the process can begin.
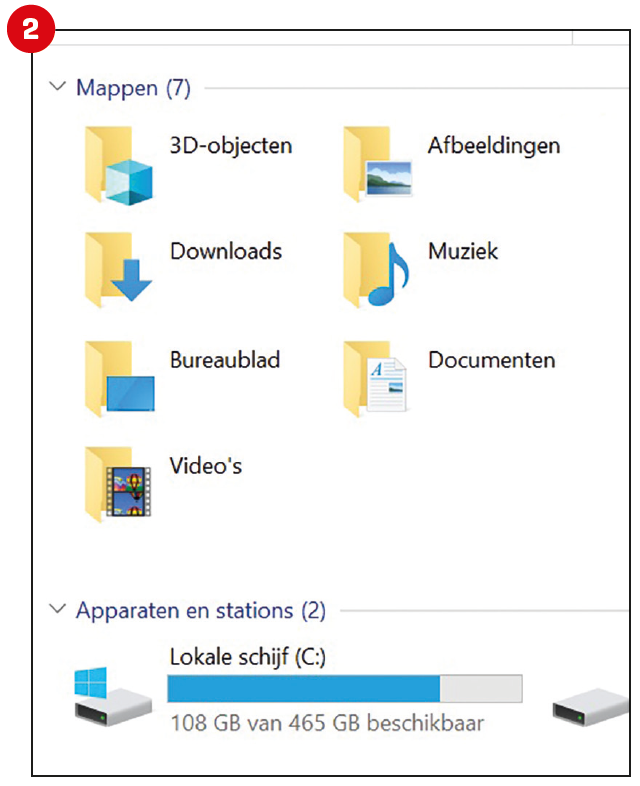
2 Organize Windows computerr
Make sure all your files are in the user folders so Migration Assistant can find everything to transfer. Further data from Outlook and your internet browsers will be found automatically.
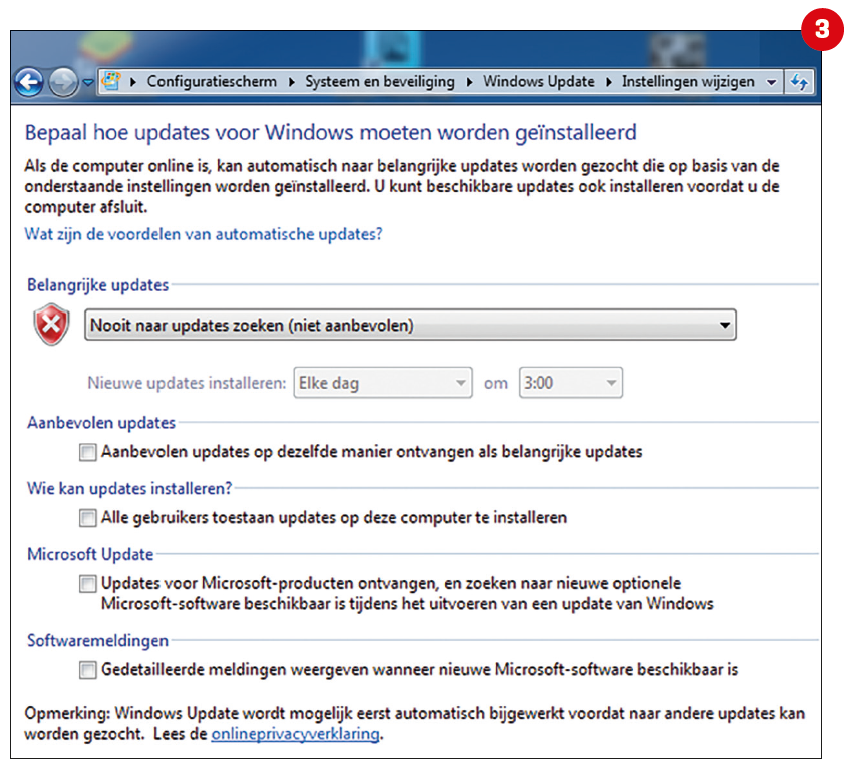
3 Updates Windows computer
If you use Windows 7, switch temporarily Windows Update out through it Control Panel. With Windows 10 and 11 you can Windows Update do not turn off. In that case, ignore the Migration Assistant notification about updates.
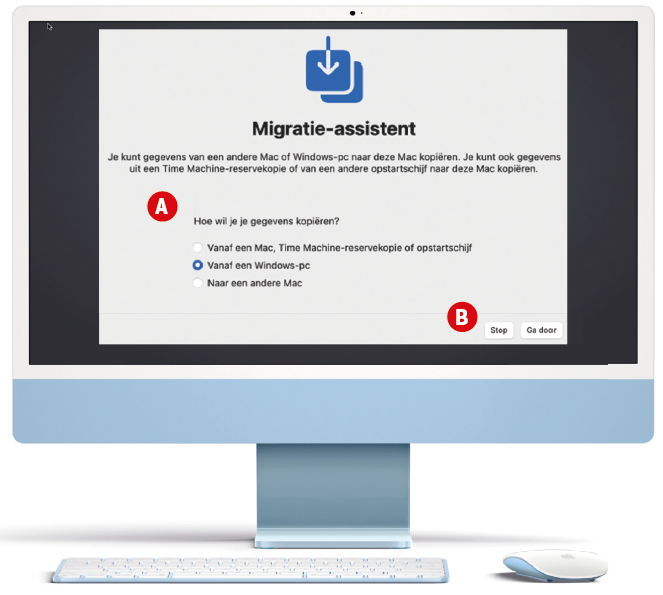
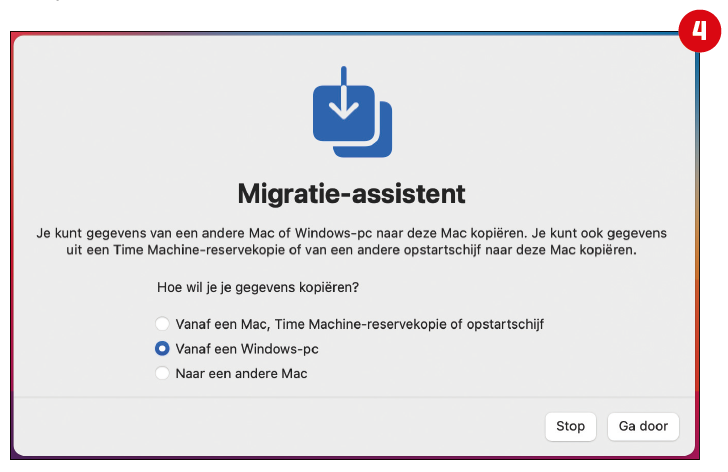
4 Migration
When you start your Mac for the first time, the Migration Assistant will open automatically; otherwise you open it via Apps and after that Utilities. Indicate that you want to copy data from a Windows computer.
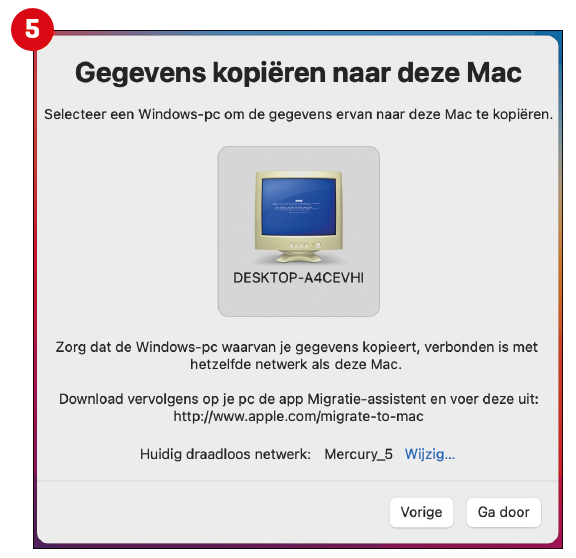
5 Source
Now the Windows machines connected in the same network will appear. Select your old computer and click Continue.
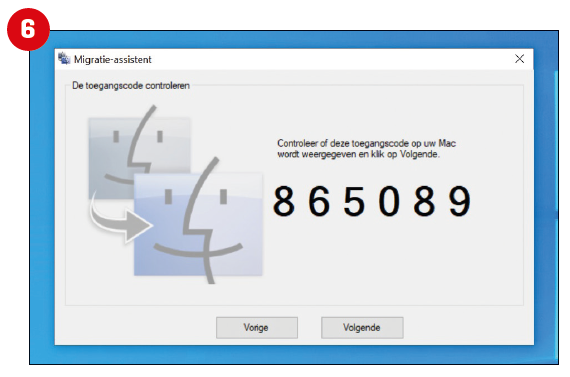
6 Check Windows computer
An access code will appear on both machines. Make sure the code matches on both the Mac and PC, and then click on the Windows computer Next one.
7 Select
Select the files you want to transfer from PC to Mac. You can have your email accounts, calendars and contacts transferred from Outlook, as well as all your work folders.
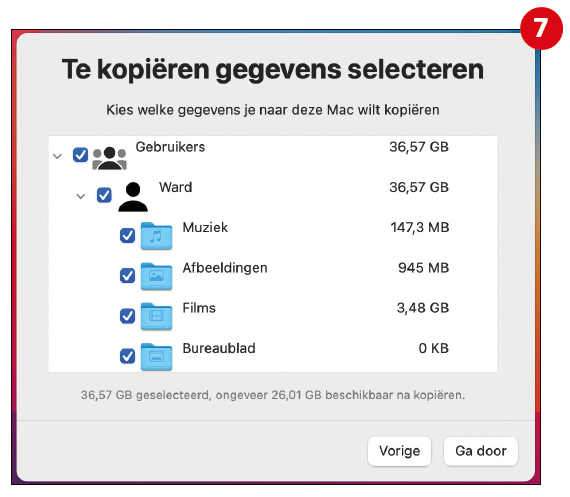
What is being transferred?E-mail: Email accounts and metadata (such as read, replied to, and flagged) from Outlook (also version 2013 and 2016) and Outlook Express, Windows Mail, and Windows Live are transferred to Mail. Contacts: Outlook and Outlook Express contacts and Windows contacts are removed from the home folder Contacts transferred to Contacts. Agendas: Outlook calendars are transferred to agenda. iTunes library: Music, photos, videos, apps and games, except rentals. Home folders (and their contents): Music, Pictures, Desktop, Documents and Downloads. Bookmarks and homepage: This data is transferred from Microsoft Edge and Mozilla Firefox to Safari. User settings: Things like set language and location, browser homepage, and a custom desktop image. |
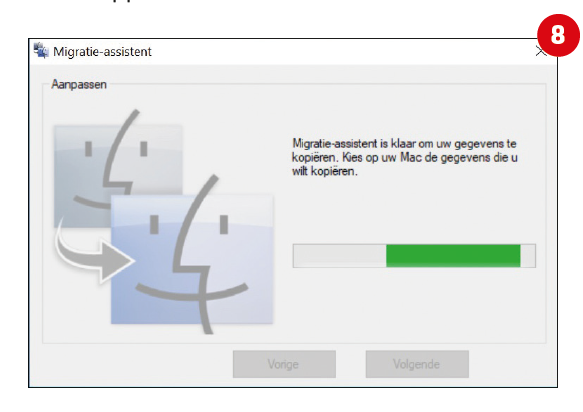
8 Copy
If you want to transfer all your files, leave all the checkmarks unchecked (otherwise, uncheck certain checkboxes). Once you have made your selection, click Continue and the migration process is initiated. Depending on your checkboxes, this can take a long time!
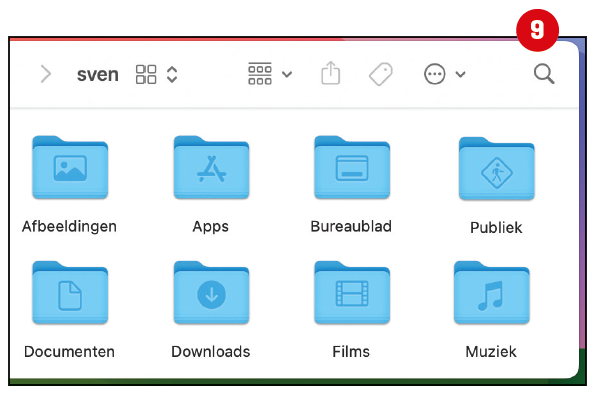
9 Retrieval
Once the process is completed, you will find the data again Mail, agenda, Contacts and Safari. All other settings have also been transferred and your desktop is immediately visible. As if you’ve always used a Mac.