 Take screenshots, draw and write on them, or add text to the clipping. All this is possible with Windows’ handy clipping app.
About the app
Since the late 2019 update, the Snip & Annotate app has been standard in Windows 10. Cut & Annotate replaces the old Snipping Tool. Confusingly, Windows 11 actually has a new app called Snipping Tool. Snipping and annotation in Windows 10 and Snipping Tool in Windows 11 are almost the same.
This is of course not about cutting with real scissors, but about taking screenshots. This is also known as clippings. The app offers all kinds of options for clippings, such as cropping, editing, taking notes and of course sharing over the web.
Get started with the clipping app
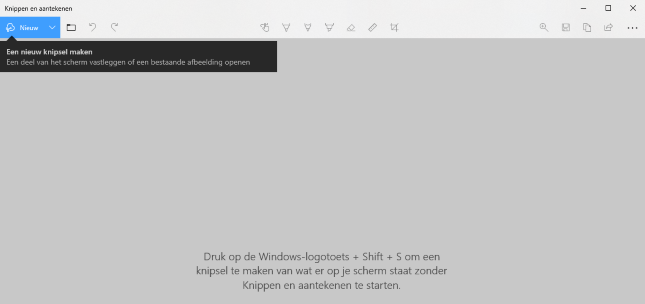
Open the Snipping app in Windows. That works like this:
- Windows 10: Click the magnifying glass in the Taskbar and type “Cut & Annotate.” Click the name in the search results to launch the app.
- Windows 11: Click the magnifying glass in the Taskbar and type “Snipping Tool.” Click the name in the search results to launch the app.
A program window will appear. The blank area is for the clippings you will be making.

Make a clipping
To make a snip, do the following:
- click on New.
- The app largely disappears and you see the screen that was last open. The screen will darken slightly and a bar will appear at the top. The mouse pointer becomes a cross. Click on a spot to start the snip.
- Hold down the mouse button and drag until the desired area is in the snip. This can be seen from the highlighted area.
- Release the mouse button.
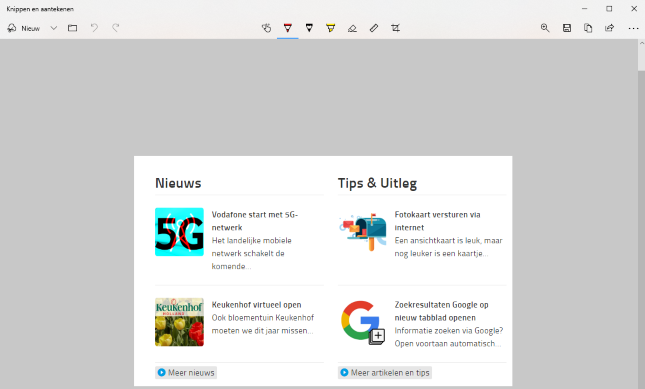
You will be returned to the clipping app. The clipping is in the picture.

Edit clipping
The buttons to edit the snippet are now active:

The buttons work as follows:
 : Write something on the button via a touch screen.
 : The ballpoint pen. Use the mouse or trackpad to draw or write something on the clipping. Click the ballpoint pen again to choose a different color of the line or change the thickness.
 : The pen (Windows 10 only). Almost the same as the ballpoint pen, the line looks slightly different.
 : The highlighter. Use this to highlight text or parts of the clipping. Click this button again to choose a different color or change the thickness of the line.
 : The eraser. Use the eraser to delete annotations, drawings, or highlights.
 : The ruler. Use this to draw a straight line on the snip. Click this button again and you can also choose a protractor. To make the ruler disappear from view again, click on this button and then on Ruler.
 : Crop image. Crops the clipping. Drag the corner points to create a different crop from the snip. Click on the V at the top right to use the crop. In Windows 10, click the circle with the line through it to cancel cropping. Click on the cross in Windows 11 to do this.
Save, share or copy clipping
A clipping is often intended to be used elsewhere, for example in another program. Or it may be shared with other people. This is how you approach this:
- Click on the top right Save (button with the floppy disk).
- The Explorer opens. Browse to the desired folder, name the clipping and click Save.
- You can also share clippings. Click on To share (button with arrow, top right).
- Some options will appear, such as sharing via Skype or Windows Mail. These are not that interesting.
It is more convenient to copy and paste the clipping into, for example, a mail program.
- click on To copy (button with two pieces of paper on top of each other, top right).
- Open the desired program and choose (possibly via the right mouse button) for To stick.
Delayed cutting
By default, you can immediately start cutting when you click on ‘New’. This can be postponed for three or ten seconds, for example if you still have to open a certain program.
- In Windows 10, click the arrow next to “New”. In Windows 11, click the clock icon at the top.
- In Windows 10, click Cutout in 3 seconds or Cutout in 10 seconds to start the clipping function a little later. In Windows 11, choose between 3, 5, or 10 seconds.
Cut in a free form
Clippings are often square or rectangular. But a free form is also possible. There are options for this in the clipping bar, at the top:

- click on New to make a snip.
- click on Freeform Clippings (figure with a lasso and plus sign). Create a shape with the left mouse button pressed. Release the mouse button to view the clipping.
- To make a straight shape again, next time click Rectangular Cutout (button with rectangle and plus sign).
There are two other options:
- Window snip (two superimposed squares with a plus sign) to capture an entire window as a snip.
- Full screen snip (rectangle with handles in it). These buttons determine the type of snip.
Cut with the hotkey
Don’t feel like starting the app, but do you want to make a clipping?
- Press the keyboard shortcut Windows Key+Shift+S.
- The screen will darken slightly and the button bar will appear at the top. The mouse pointer becomes a cross. Click on a spot to start the snip.
- Hold down the button and drag until the desired area is in the snip. This can be seen from the highlighted area.
- The selection is on the Clipboard. Open an app or paste the snip into a document or email. Or launch the clipping app to edit it further.