If you’re used to Windows, you’ll probably be looking for the equivalent of the “Add/Remove Programs” feature on your Mac. It doesn’t exist, but uninstalling software on a Mac is easy and, even better, there are several ways to do it.
On a Mac, programs can be installed in two different ways: some apps offer an installer that you have to launch to start the installation, but most of the time, you have to drag the app into the “Applications” folder. In the first case, there is probably an “Uninstall” button included in the app. In the second case, the most common, here are several methods to uninstall an app on Mac and to delete files that may remain after the operation.
Uninstall an app on Mac using the launchpad
1. Launch the launchpad from the “Applications” folder or from the dock
The launchpad displays the applications installed on the Mac. It is accessible by default from the dock. If you have disabled its display in the dock, you can find it in the “Applications” folder.
Click on its icon to launch it.
2. Identify the software to uninstall
Apps in the launcher are not sorted alphabetically by default. You can manually search for the application to delete.

But you can also use the search box at the top of the screen.

3. Uninstall the software
To uninstall the app, you have two options. The first is only available for software that was installed via the AppStore.
First possibility:
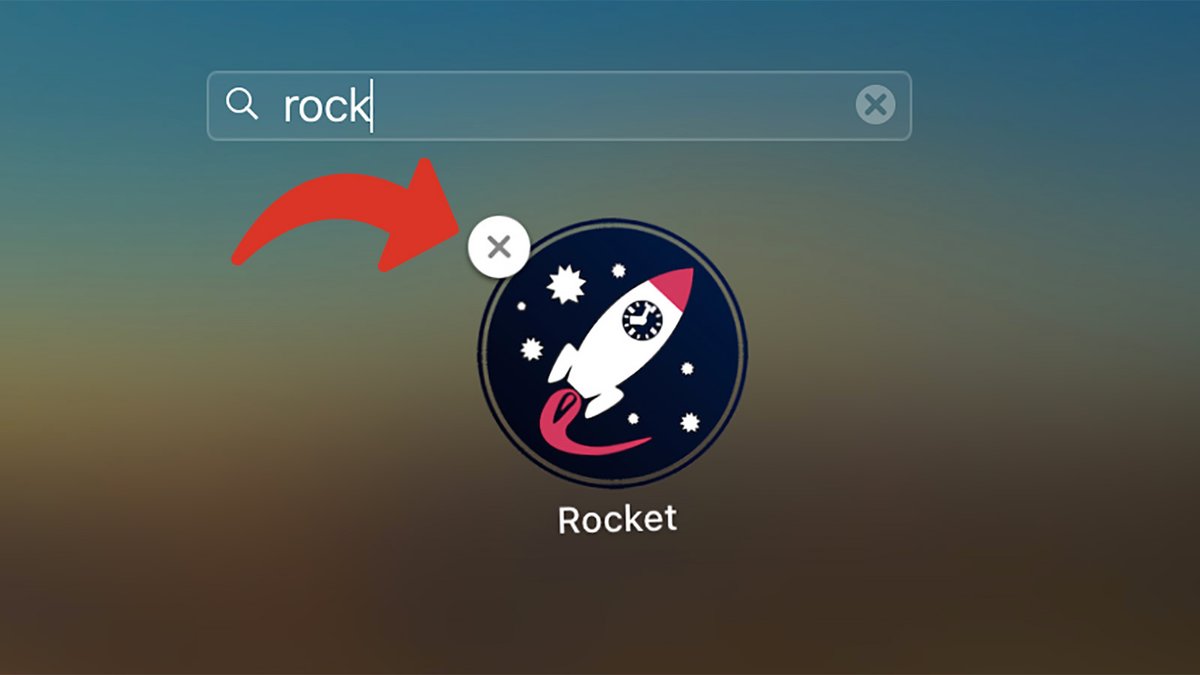
Click on the app and hold until a cross appears.
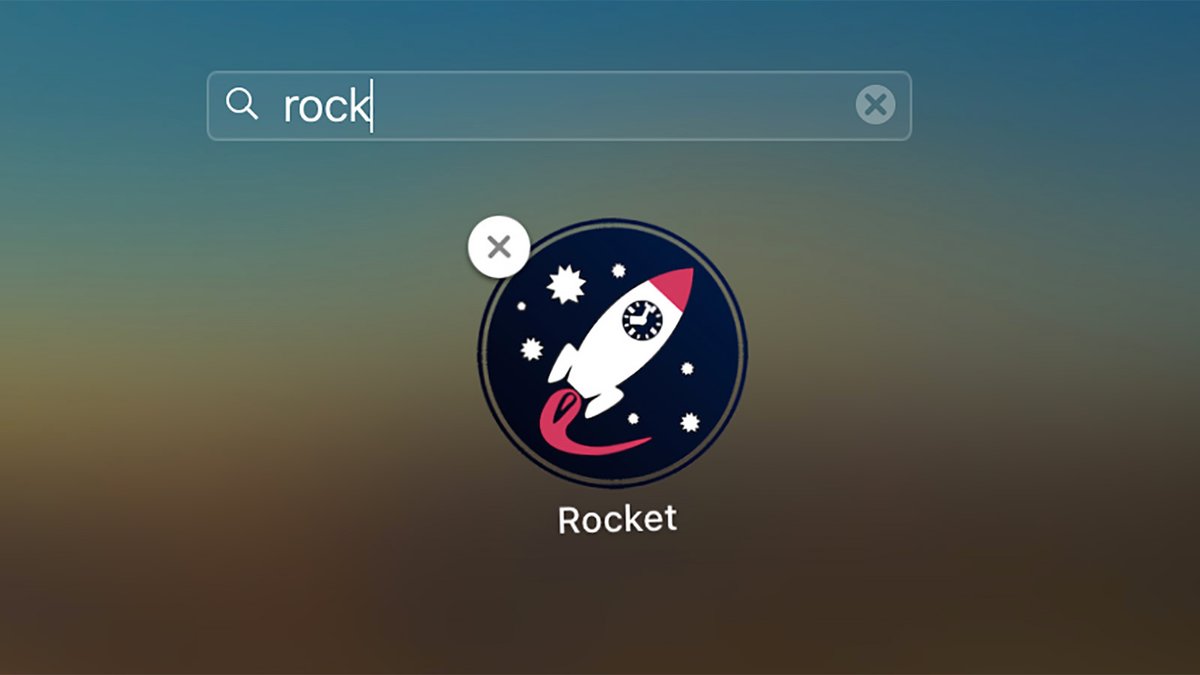
Click on the cross.
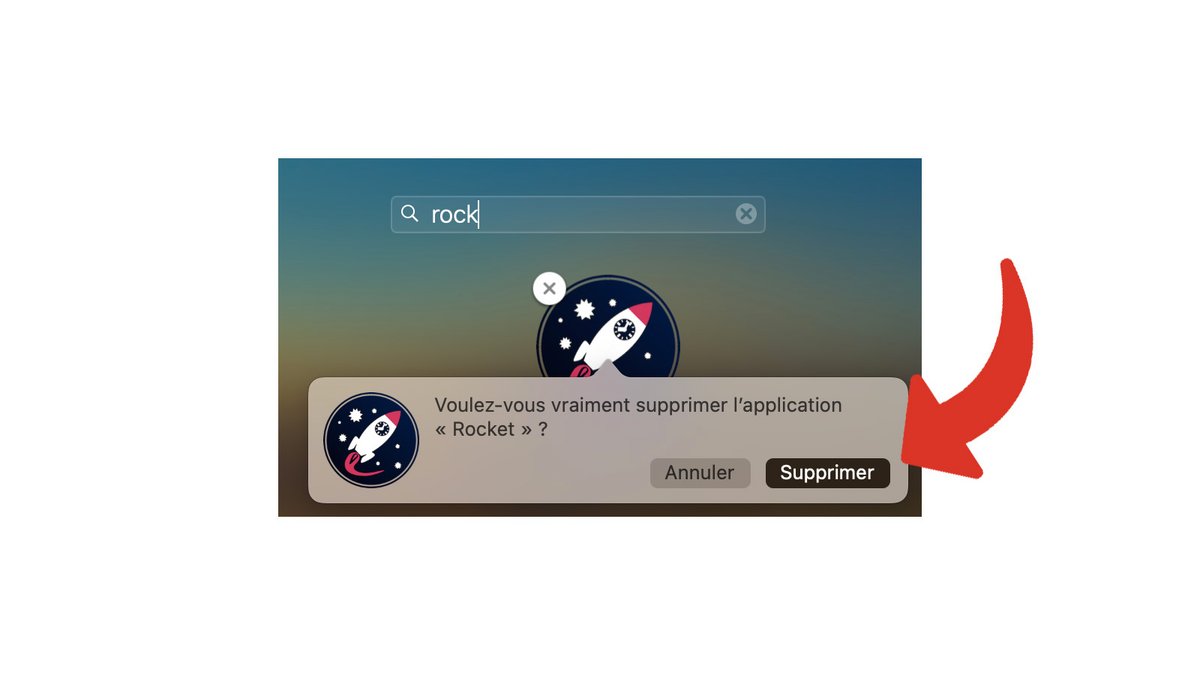
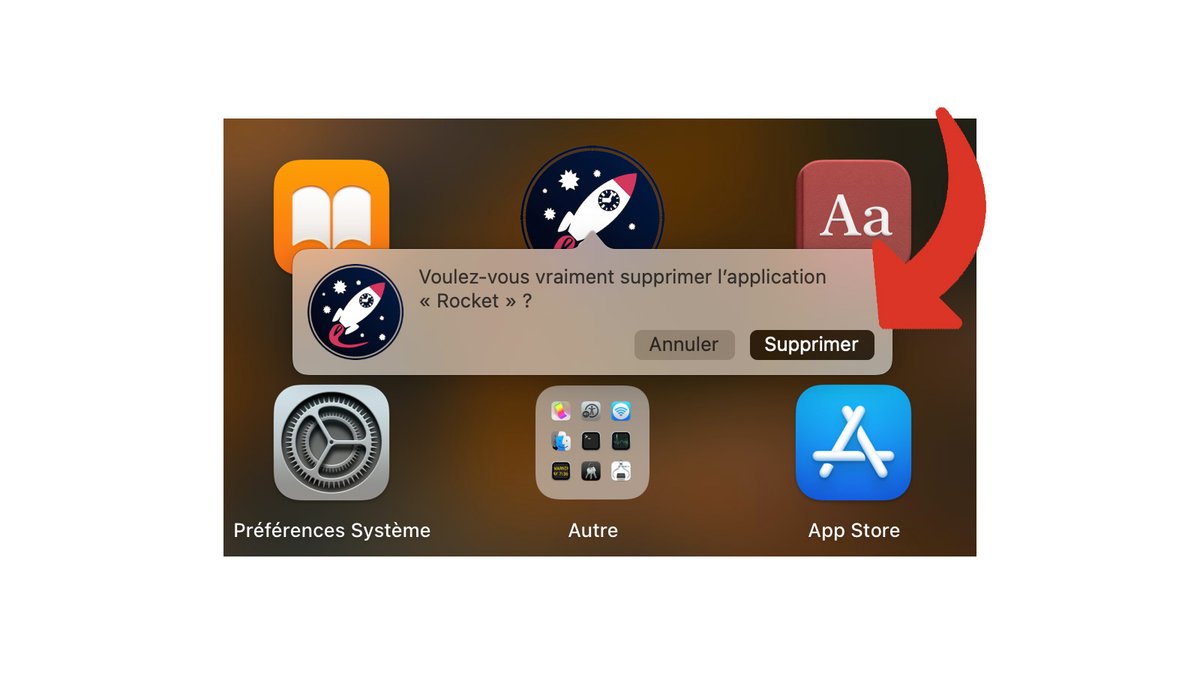
The system asks you to confirm the deletion of the app. Click “Delete”.
Second possibility:
From Launchpad, drag the app icon directly to the Trash.
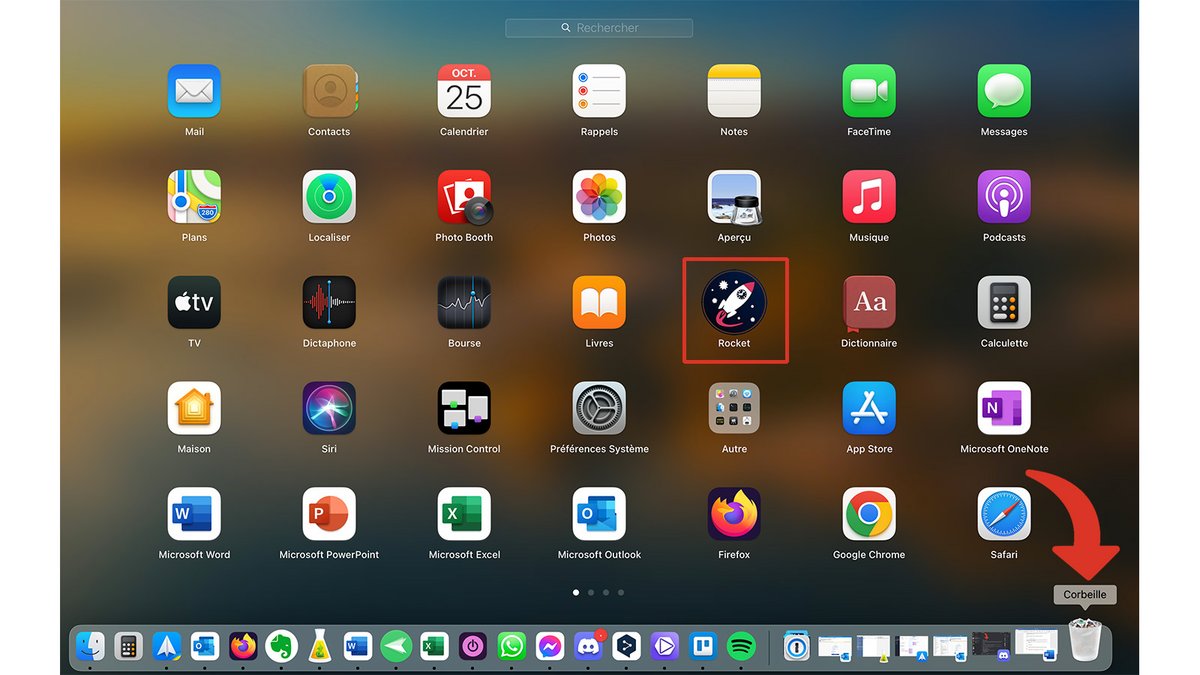
Here too you are asked to confirm the deletion. Do this by clicking “Delete”.
Uninstall an app on Mac using Finder
1. Navigate to the app you want to uninstall
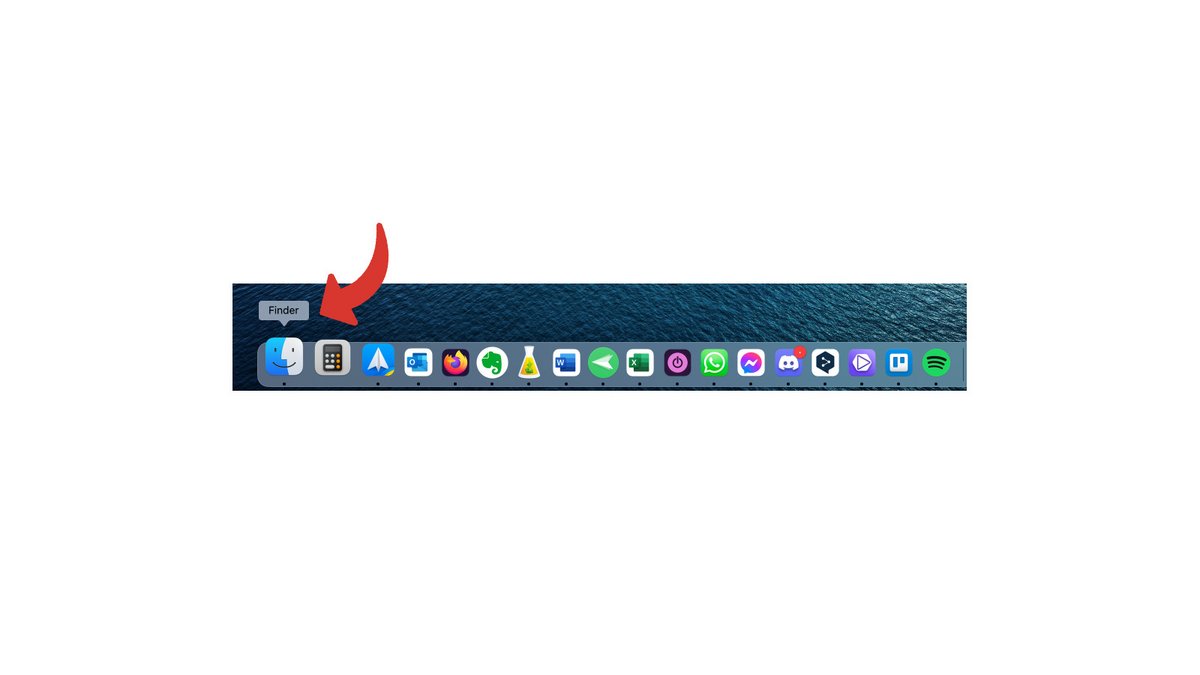
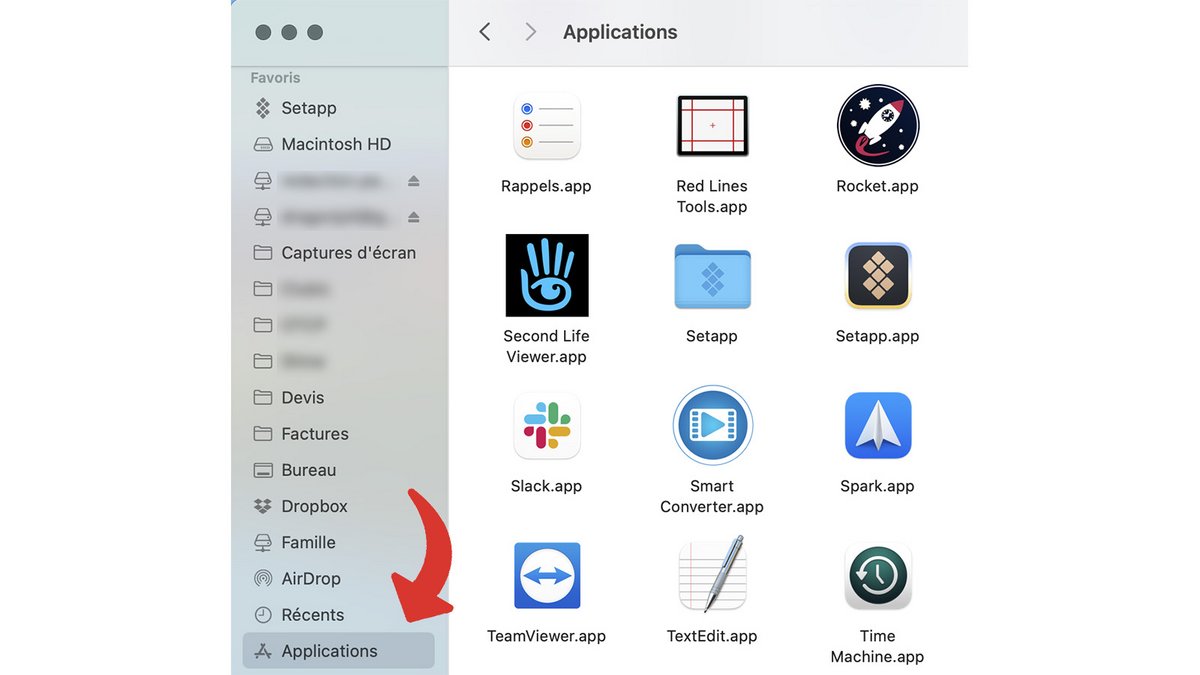
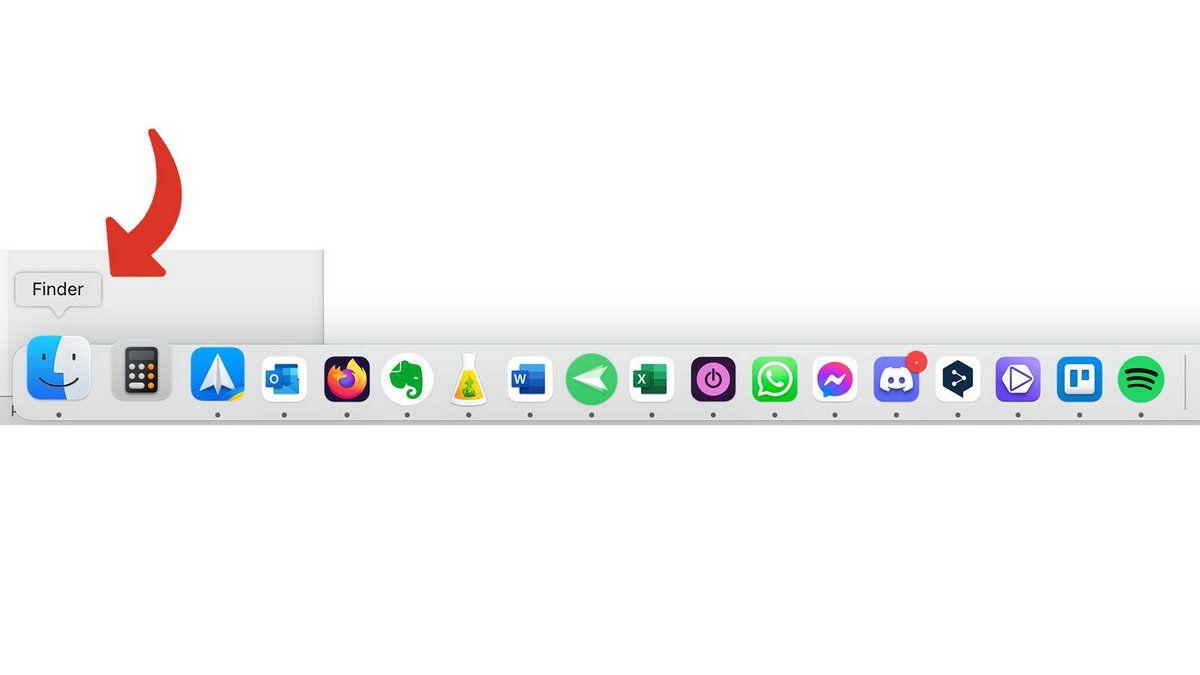
From the dock, open the finder.
- Click on the “Applications” folder.
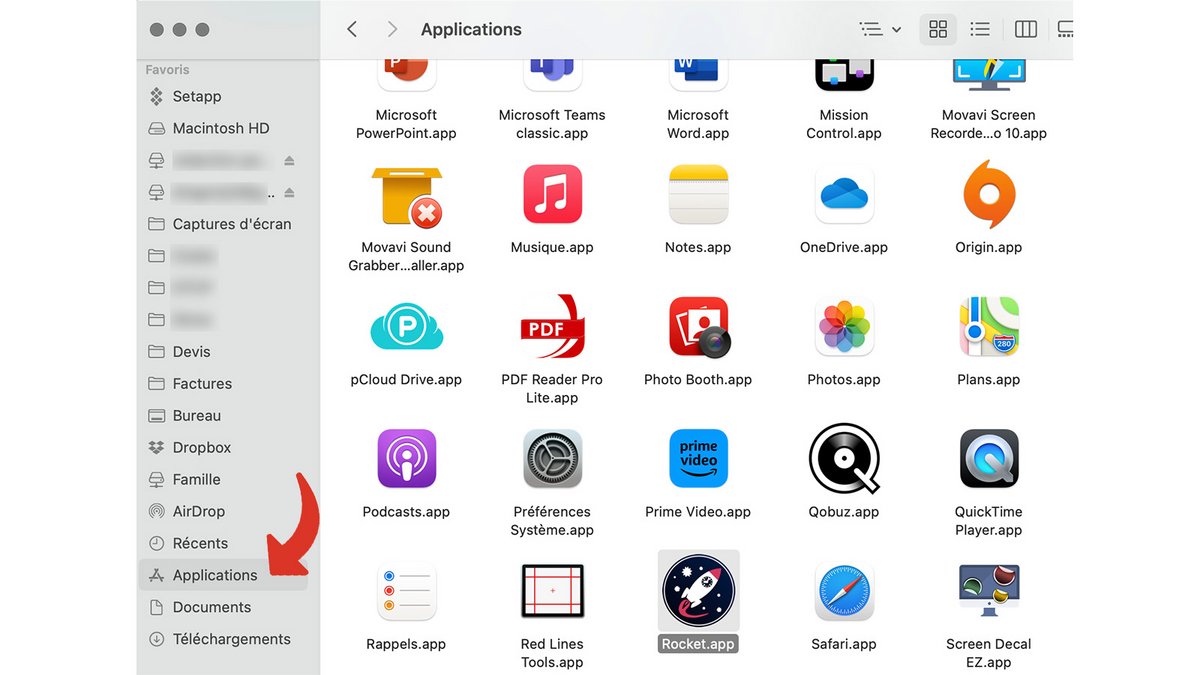
2. Uninstall the app
- Select the app to uninstall.
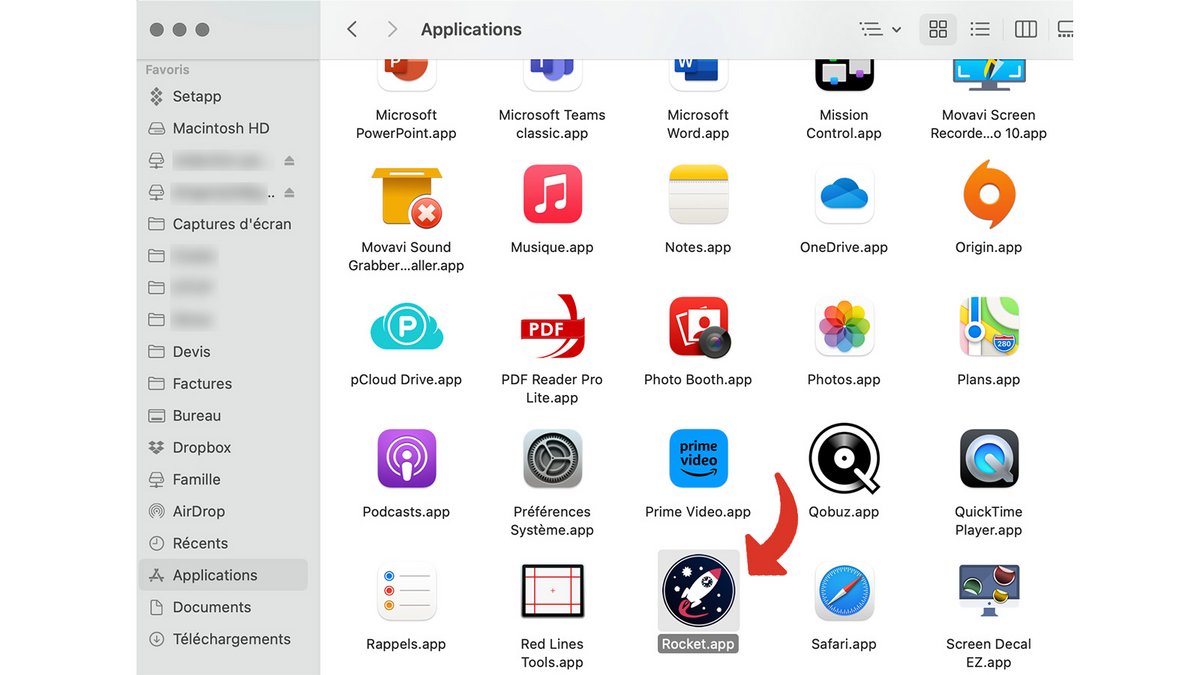
- Drag its icon to the trash.
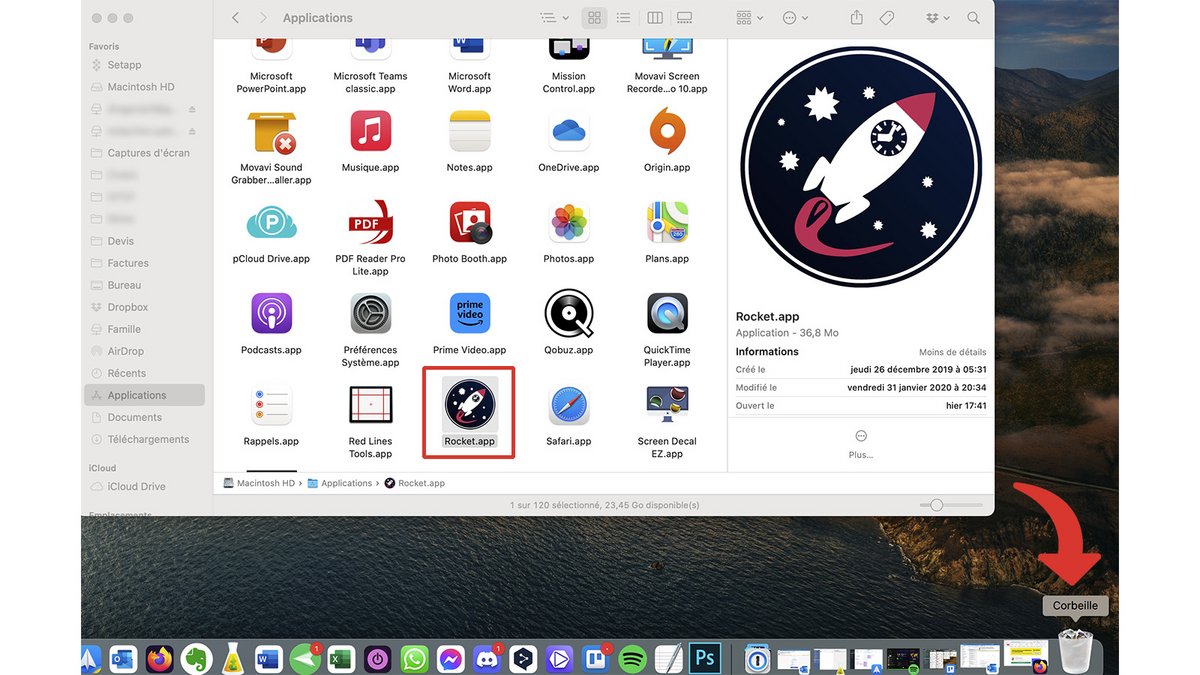
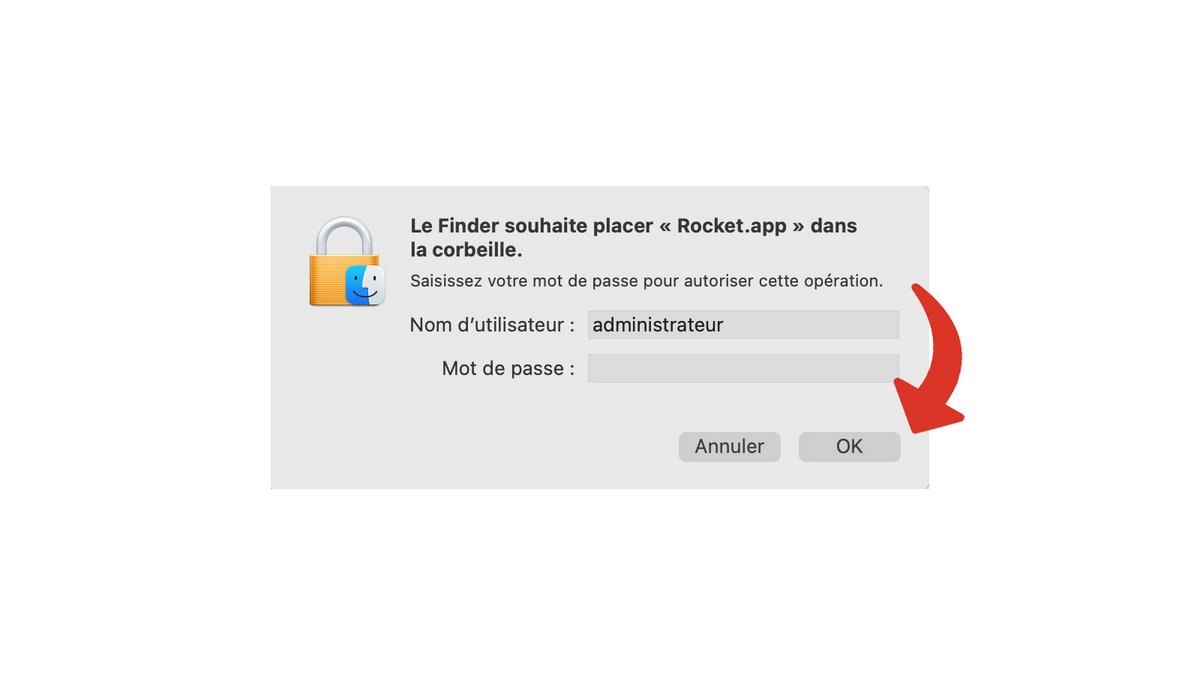
- Enter the administrator password and confirm with “OK”.
Uninstall an app on Mac with an external tool
There are several programs designed to uninstall software on a Mac. Among them, we can note, among others, AppCleaner, which is free and very easy to use.
1. Install and launch AppCleaner
-
After downloading and unzipping it, double-click on the AppCleaner app.
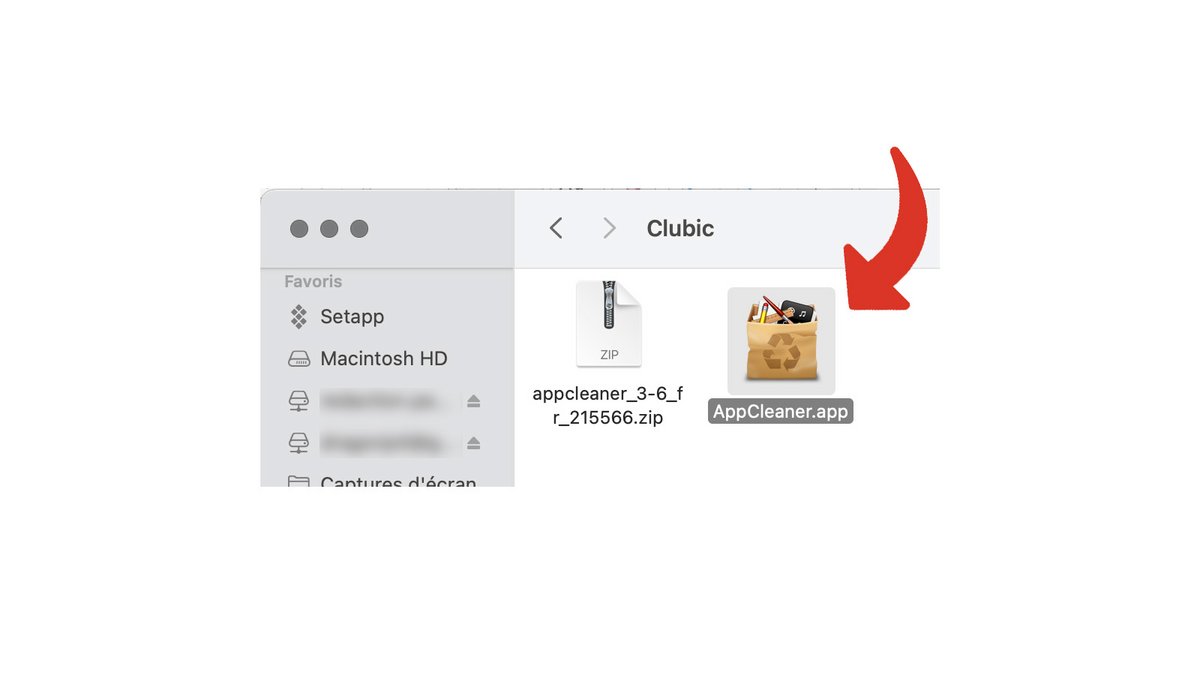
The AppCleaner window opens.
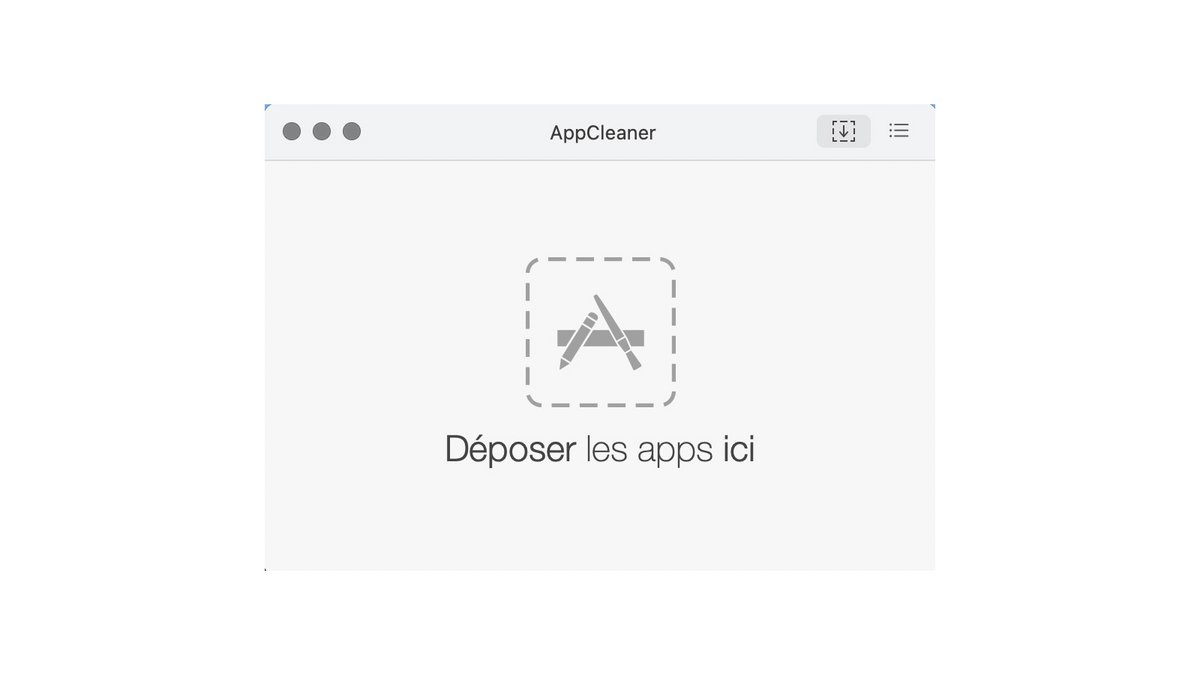
2. Uninstall the desired app
From the finder, go to the “Applications” folder.
Drag the app icon to the AppCleaner window.
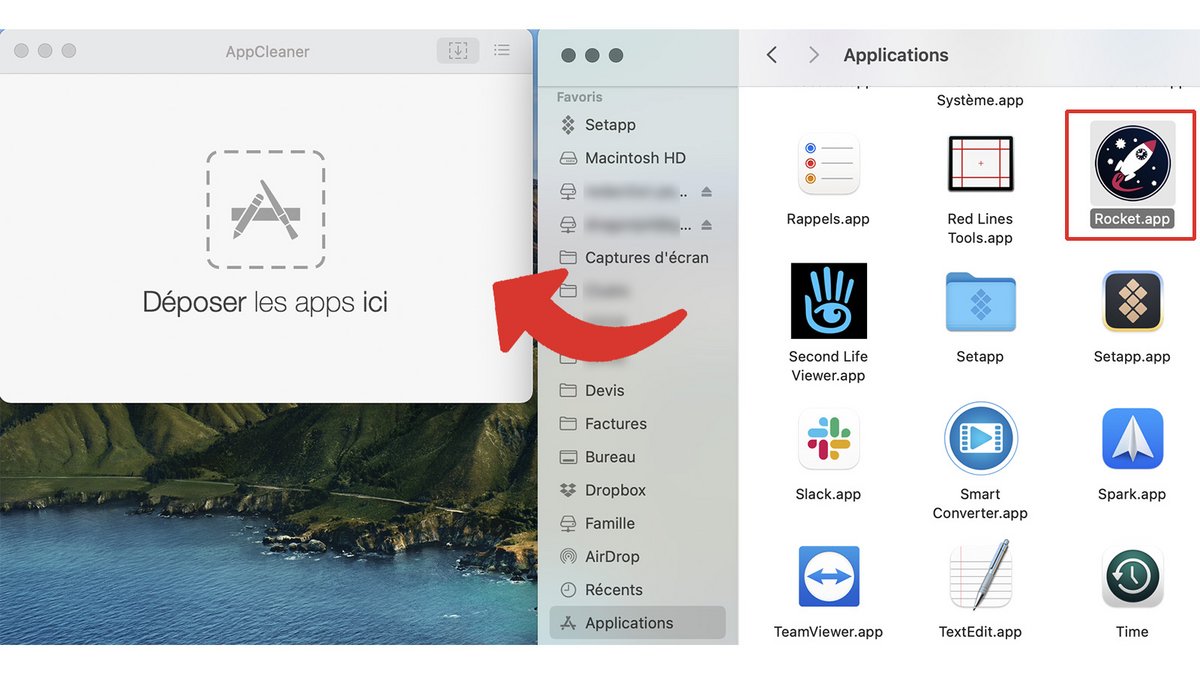
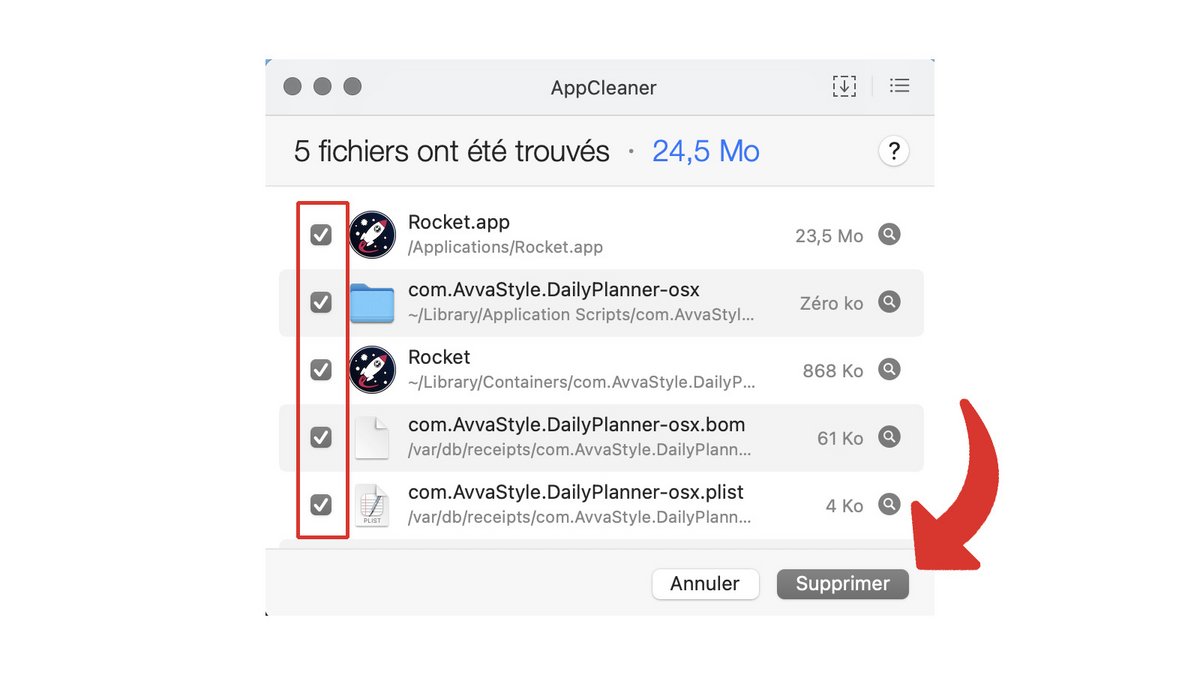
AppCleaner shows you all the files affected by the software to uninstall.
You can select the ones you want to delete and click “Delete”.
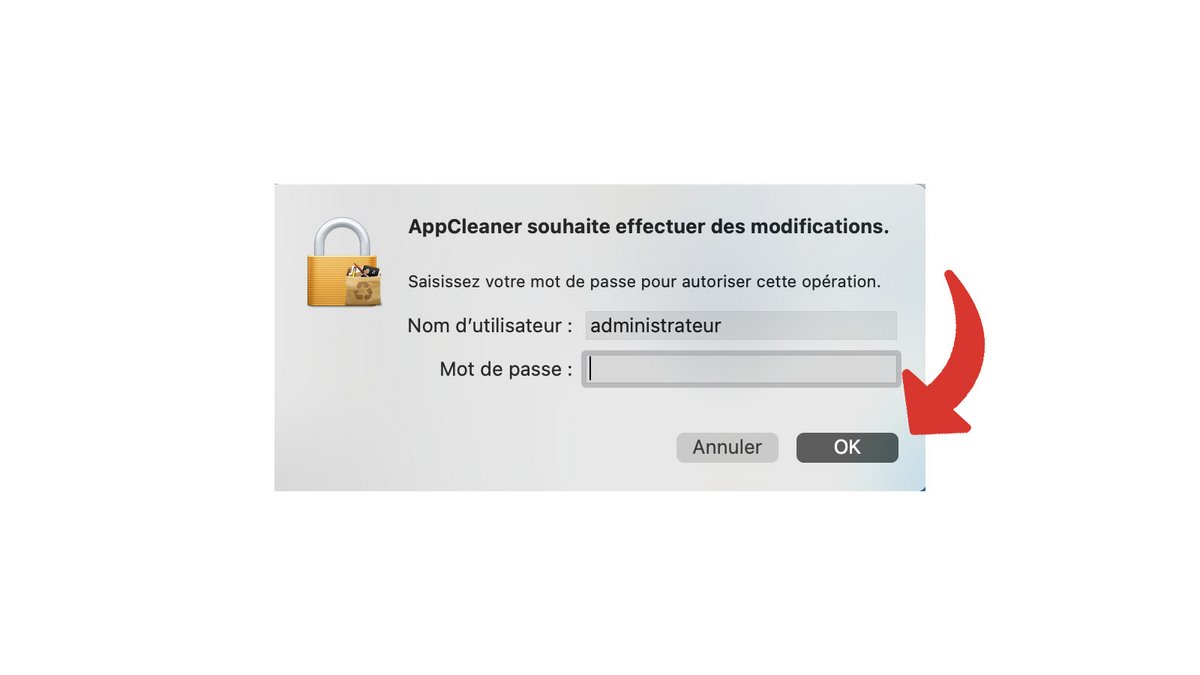
Enter your administrator password and click OK to validate the deletion.
NB: with other methods, some residual files may remain on the Mac. AppCleaner, on the other hand, uninstalls the app and cleans all files in a single operation.
Manually delete unnecessary files after uninstallation on Mac
Even after uninstallation, some files related to the deleted app may remain on the Mac. Unless you have used a tool such as AppCleaner, you must delete these files by hand. In our example, the residual files are those of the TunnelBlick application.
All the files that we suggest you delete are not systematically present, they depend on the uninstalled app!
1. Go to your user’s “Library” folder
This folder is hidden by default.
To access it, open the finder from the dock.
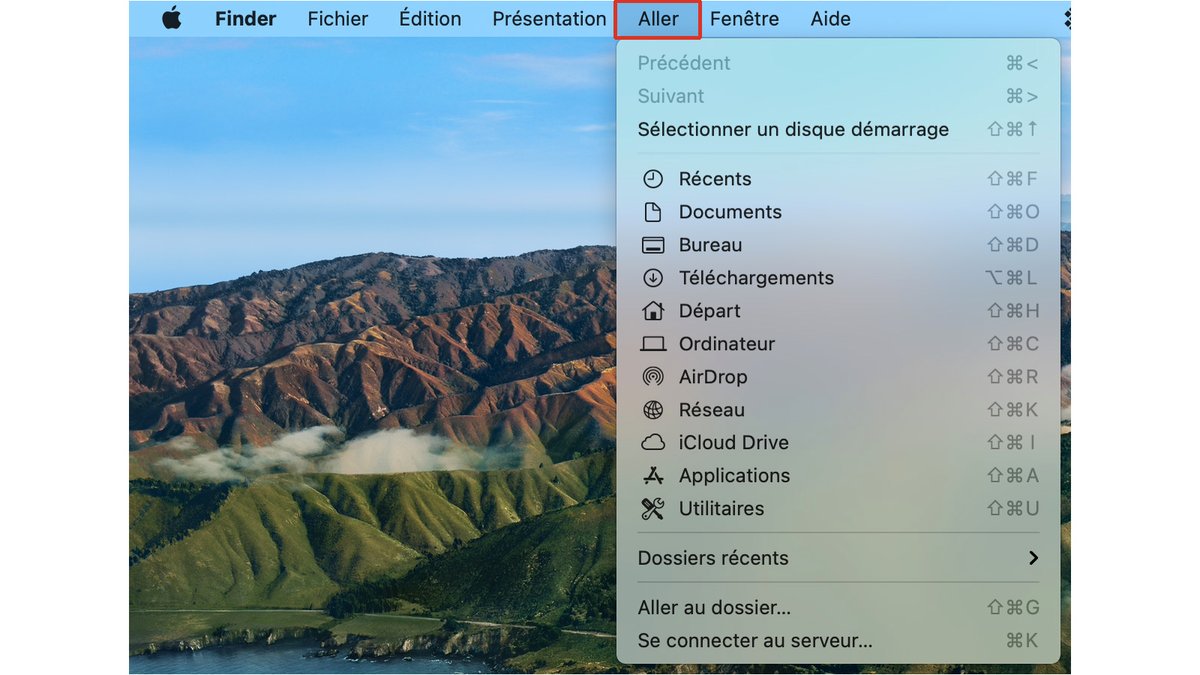
Click “Go”.
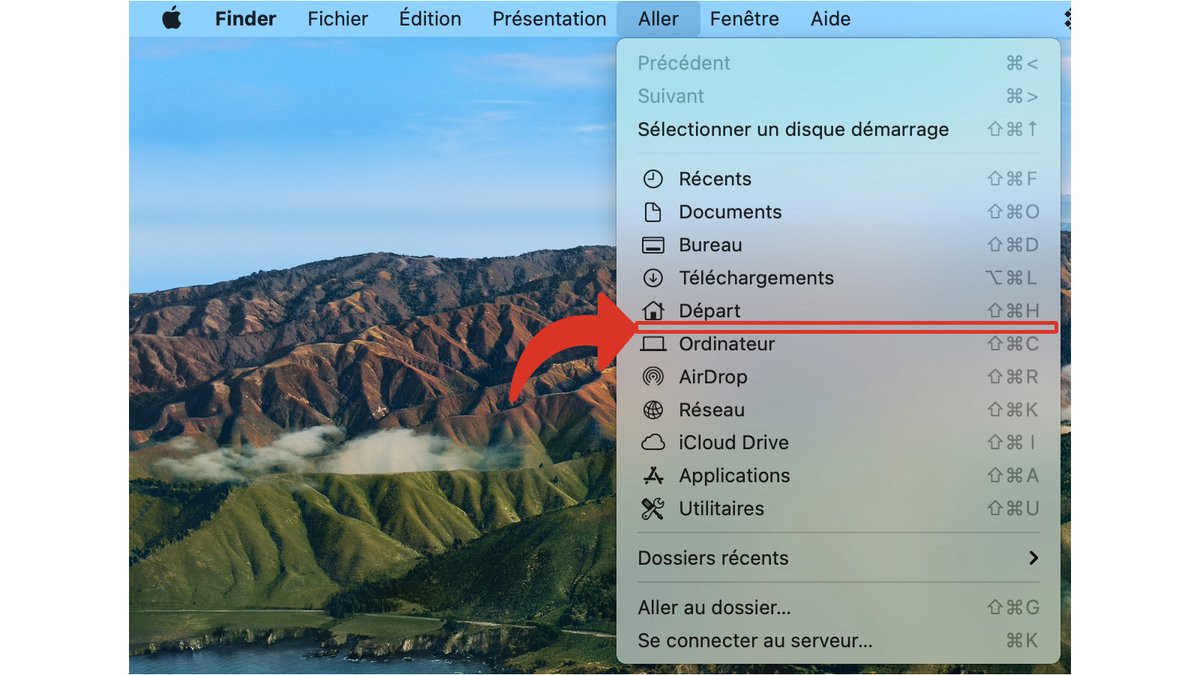
The user’s library being hidden, you must press the Alt key to reveal the button which allows access to it, between “Start” and “Computer”.
2. Find and delete residual files
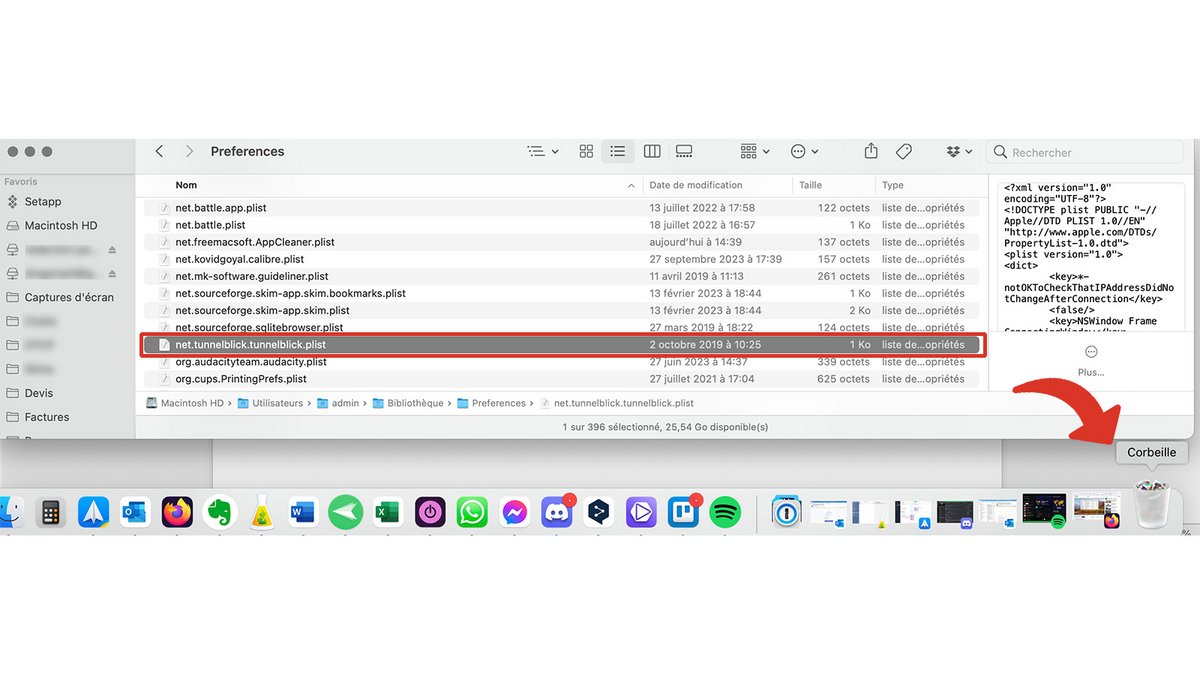
In the user’s library, open the “Preferences” folder.
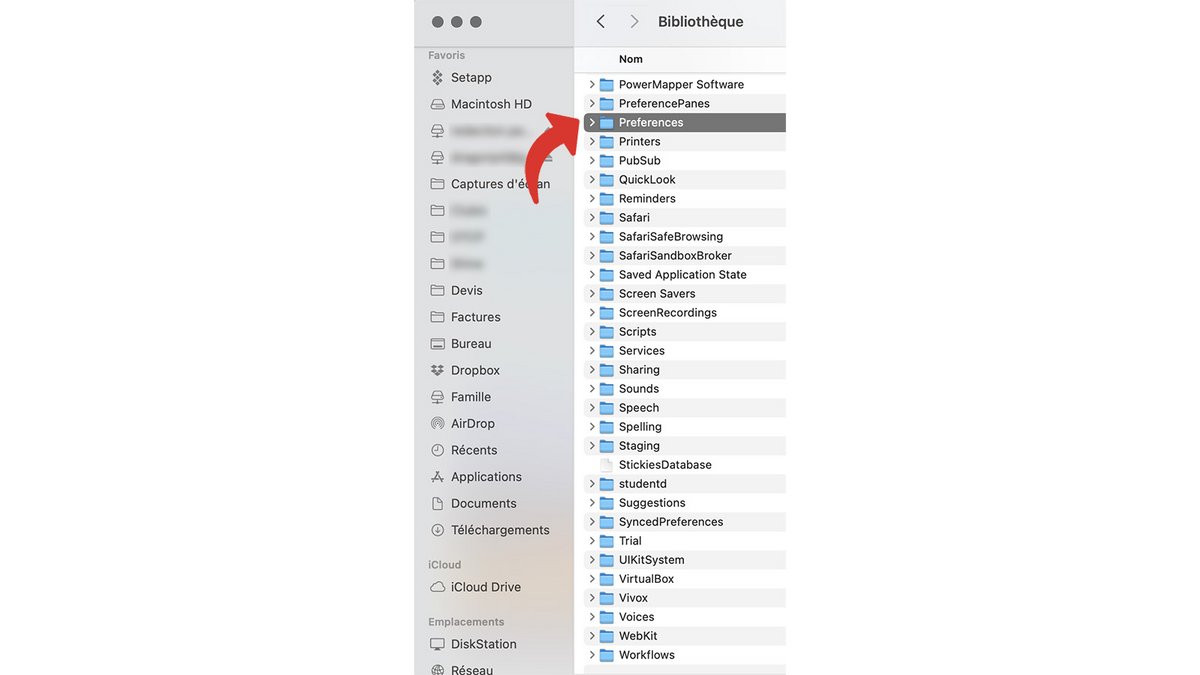
In the “Preferences” folder, find the file corresponding to the uninstalled app and drag it into the trash.
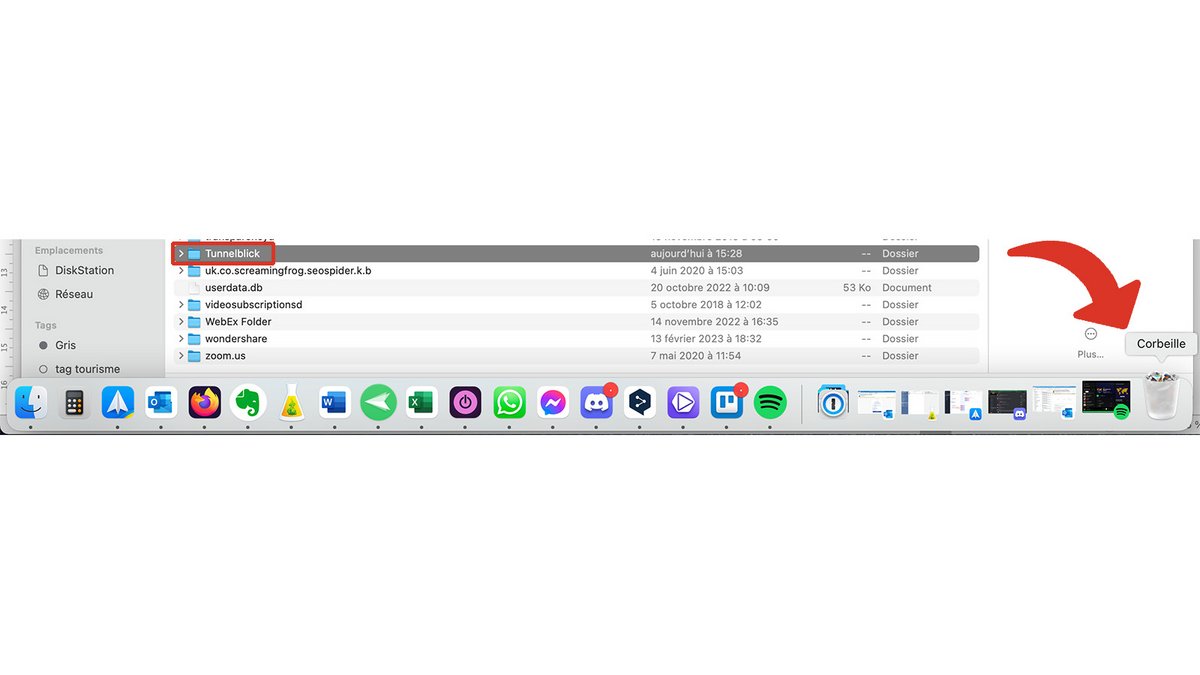
In the User Library, open the “Application Support” folder.

Identify the folder corresponding to the deleted software and drag it to the Trash.
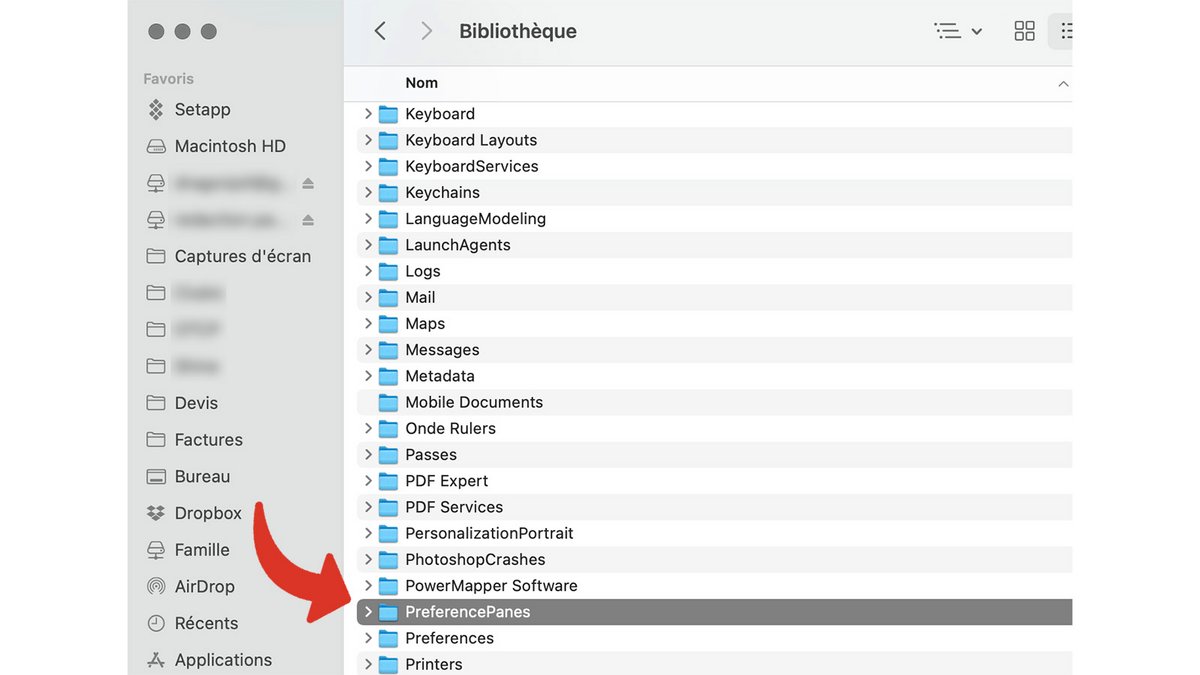
The same procedure is to be carried out, if necessary, with the “PreferencePanes” folder.
As we have seen, if you miss the “Add/Remove Programs” function, available on Windows, on Mac, several solutions exist. However, as is the case with most operating systems, residual files may remain after uninstallation. For this, careful manual removal is always possible, but you can also use a dedicated application, which will take care of the uninstallation and cleaning after the fact.