Chances are, you store digital photos on your Mac computer. If you’re like most users, your photo library is an ever-expanding entity, as you regularly add new images and never delete old ones. After a while, your library’s storage needs can start to pile up and cause issues with your internal storage running out of space.
It’s certainly handy to have an organized, searchable catalog of your most notable work, but it can leave you with little to no space on your Mac. This article tells you how to move your photos library to an external hard drive, to free up space on your computer and improve its performance.
Move your library to an external hard drive
1. Connect your hard drive. Make sure beforehand that it is in ExFAT format so that it has enough universal compatibility between Windows, Linux and macOS.
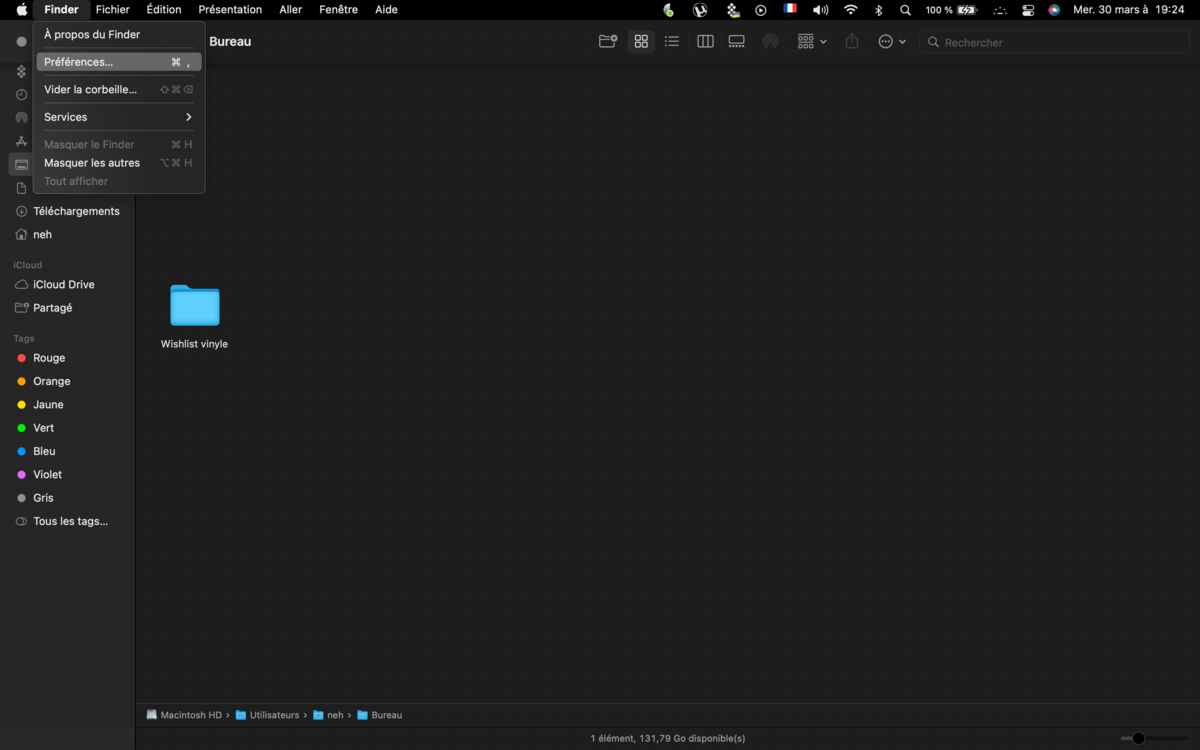
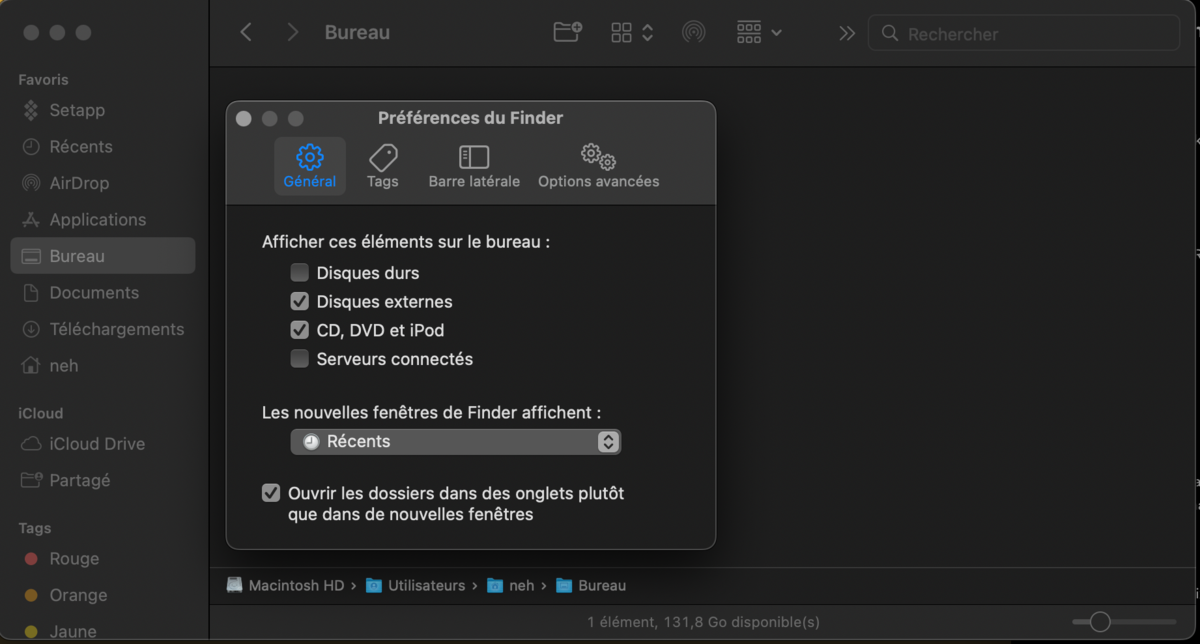
2. Open Finder then open the preferences menu by pressing the Command + , (comma) keys.
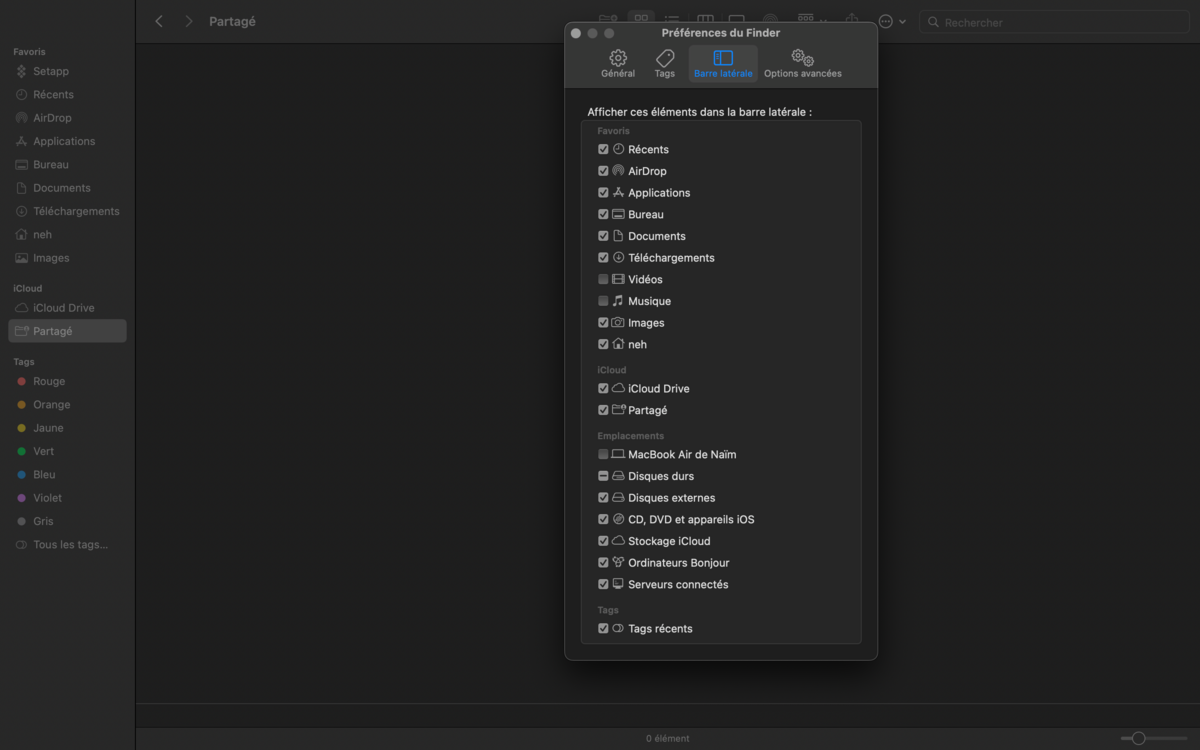
3. Go to the Sidebar tab and check the “Images” box.
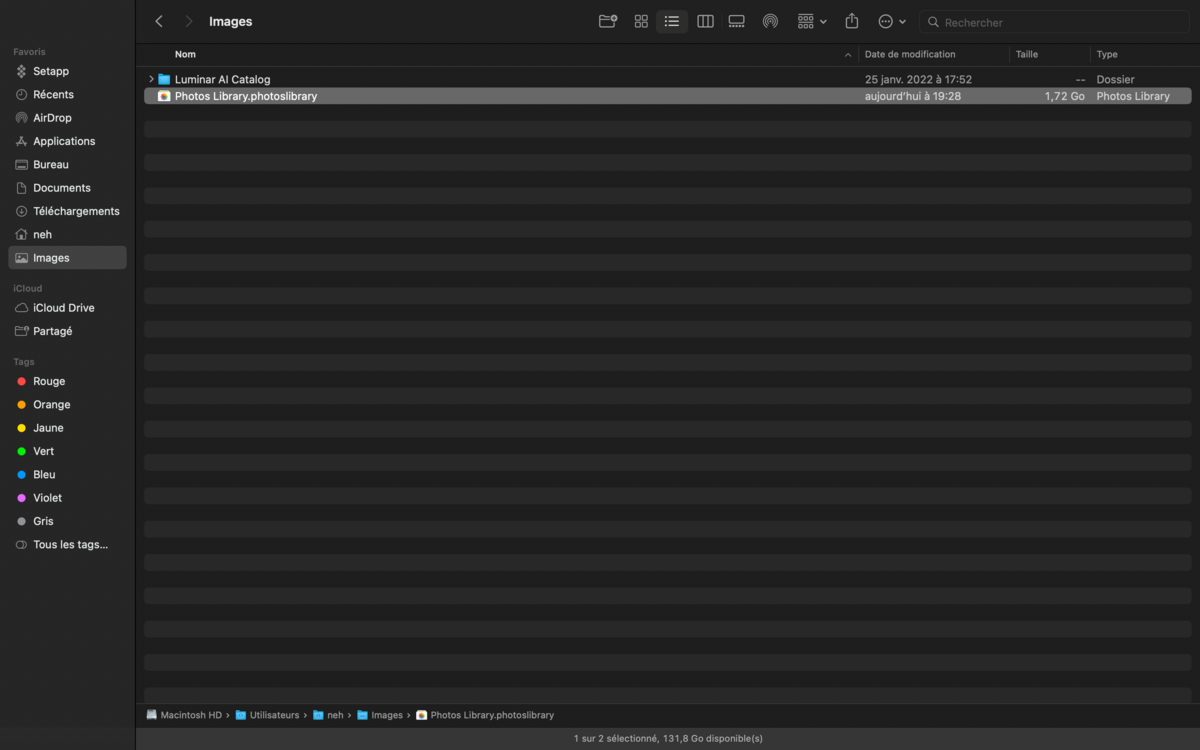
4. A Pictures tab should then appear in the Finder. Click on it to go to the folder containing your photos.
5. Your photo library is in the file named “Photos Library.photoslibrary”.
6. Copy the file in question and place it on your hard drive. Wait for the copy to complete to delete the original file from your Mac.
At the end of this procedure, your external hard drive will contain all the photos in your Photos library that were previously stored on your Mac. You have also freed up all the space they previously occupied.
For further :
- Your Mac is slow? Here are 13 points to check
- The best antiviruses for Mac
- The best cleaning software on Mac
.