When you properly maintain your desktop, laptop or smartphone, it often lasts longer. This is not only good for the environment, it also saves you money and you don’t have to go through a difficult transfer as often. We give you some useful maintenance tips.
Alex White
We will first focus on the desktop and typical peripherals such as mouse, screen and keyboard. After we’ve given the exterior a cleaning, it becomes a bit more delicate and we also venture into the desktop’s interior. Then the laptop is discussed, both the outside and the inside, and finally the smartphone.
You’re looking in vain for specific tips for the battery here. After all, for laptops you can consult the article ‘Accuraad’ in this edition and for smartphones you will find various tips at www.pcactive.nl/workshops/5161-workshop-battery-besparen
 |
|
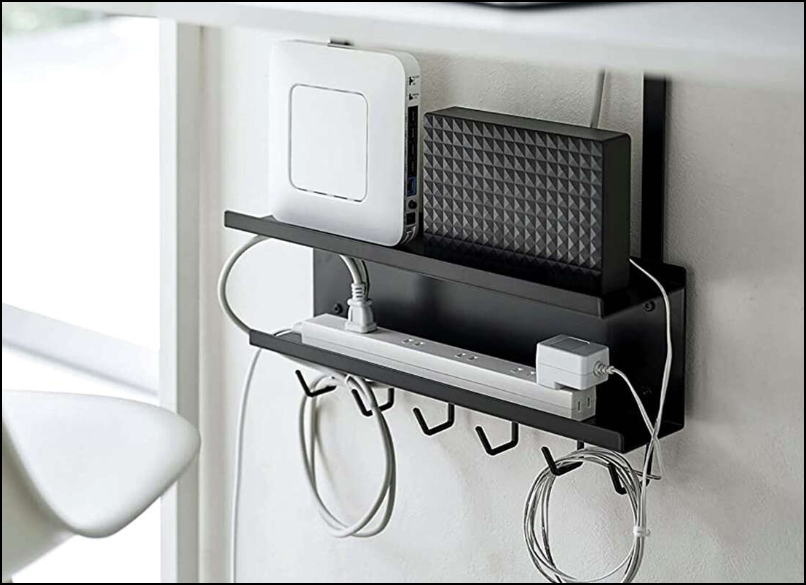
From binding strips over cable holders to a real cable management system |
Desktop PC
The exterior of your desktop PC requires little maintenance. You should make sure that sufficient air can circulate and that you do not block any ventilation openings by placing books against them, for example. You therefore prefer not to place your desktop in a closed cabinet near a heat source. Also avoid a mess of power wires and cables: provide extra power strips and preferably use cable holders and binding strips.
To remove stubborn dust or stains, you can use an anti-static plastic cleaner (about 8 euros for a 250 ml bottle) or possibly moist care wipes. You can also use these cleaning products for (the outside of) peripheral equipment such as printers. Here too, you first disconnect the device from the power supply.
Mouse
You can clean an external optical or mechanical mouse with a cotton swab or a lint-free cloth that you have moistened with a mild soap and water solution using a plant sprayer, after you have disconnected the mouse from the PC. A microfiber cloth is even better because you usually only have to moisten it with water, unless perhaps with stubborn dirt. With the cloth, gently wipe the outside of the mouse, mouse wheel, and optical sensor. You first remove a mouse ball, after which you also thoroughly clean it. You may use a toothpick to reach difficult places. Also make sure to clean the mouse feet as well.
Keyboard
The keyboard often looks quite worn and therefore requires regular maintenance. Unplug it from your desktop first; with a wireless keyboard, first remove the battery. Begin the cleaning operation by turning the keyboard upside down, shaking it back and forth a few times, and lightly tapping the underside.
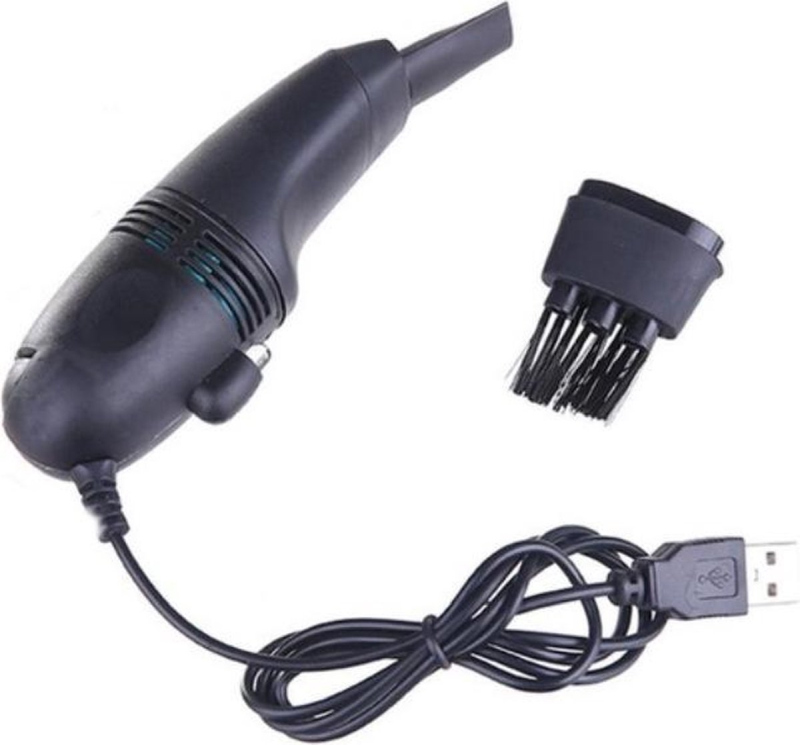
You can clean the spaces between the keys with a piece of thin cardboard, with pieces of light adhesive tape and/or with a slightly moistened cotton swab. Dust or stubborn food residues are better handled with a spray can of compressed air (about 6 euros for 400 ml) and a long, fine nozzle (‘straw’), after you have carefully lifted the keys a bit. Some keyboards even allow you to remove the keys completely. In this case, it is wise to take a photo first, so that you know afterwards which key belongs where. An alternative to such a spray can is a mini vacuum cleaner, usually supplied with a fine suction nozzle and a brush. Various USB models are available (from about 10 euros).
 |
|
A mini vacuum cleaner can be a handy alternative to a can of compressed air |
If you accidentally spill liquid, such as a cup of tea, on your keyboard, immediately unplug it from your PC, dry it with a lint-free cloth and leave it upside down on a cloth for several hours. Or better yet, you put the keyboard upside down in a lockable box containing bags (made of cotton fiber) filled with a hygroscopic desiccant such as silica gel (100 bags cost about 7 euros). An even cheaper solution is to fill the box with (uncooked) rice grains after putting them in a cotton bag. After all, with loose grains of rice, small pieces of rice could settle in your keyboard.
As a household, try to stick to one golden rule: never place liquids in the immediate vicinity of keyboards or laptops.
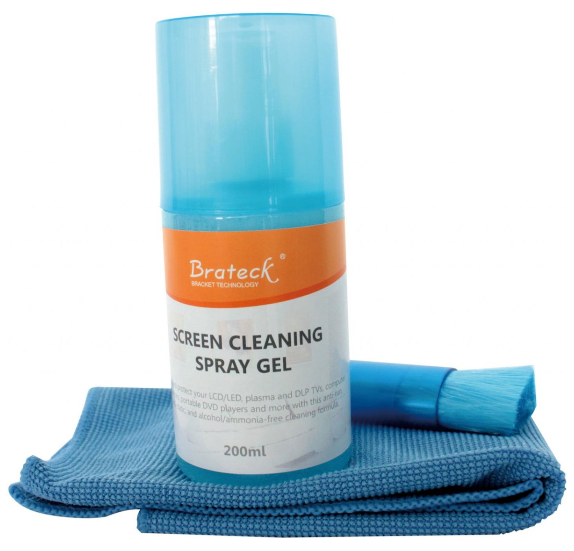 |
| There are also cleaning sets on the market with spray, cloth and brush |
Screen
Before cleaning the screen, of course, unplug it from the power and wait for it to cool down. To remove the dust from the screen and the back, it is best to use a dry microfiber cloth. If you can’t get rid of more stubborn stains, use a soft, lint-free cloth and gently wipe the screen in straight strokes. Kitchen roll and tissues are usually too rough and therefore not suitable; towels leave fluff behind and are therefore not recommended either. There are cleaning wipes for this on the market (approximately 10 euros for about 40 wipes), but you can also moisten the cloth yourself with water and a cleaning agent without ammonia, acetone or related solvents. You then pour this liquid into a plant sprayer, or you buy a special cleaning spray. Never spray directly on the screen, always on the canvas.
System cabinet
Now on to the interior of your system cabinet. Naturally, you first remove the plug from the socket and remove all cables from your PC. To prevent you from not knowing where which cable belongs afterwards, take a picture of this.
How you open the cabinet depends on the model. Often it’s just a few thumbscrews or a latch that you can release manually, but sometimes you need a screwdriver (often a No. 2 Phillips screwdriver). Before actually opening the case, make sure that you are grounded and that you do not create an electrostatic discharge, as this can cause significant damage to the electronic components. You can purchase an electrostatic wrist strap that attaches to the bare metal of the computer frame. You can also touch a bare metal water tap or radiator with your hand. More information about this can be found at https://nl.wikihow.com/Jezelf-aarden-om-te-voorkomen-dat-je-een-computer-kapot-maak-door-elektrostaat-discharge
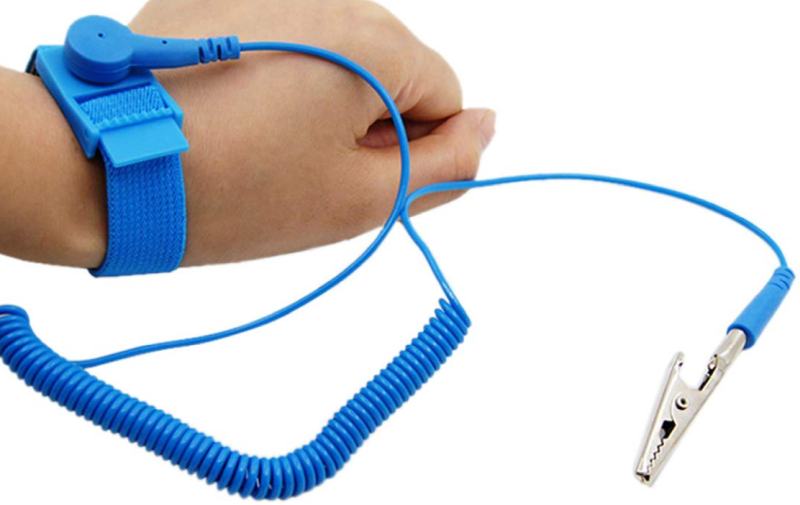 |
| Prevent static electricity when you dive into your PC’s system cabinet! |
Once the system cabinet has been opened, you can blow the dust away with a can of compressed air. Don’t forget the fans because they are often the most dusty. To prevent them from rotating too quickly, hold them with your finger or a fine pencil. If necessary, you can carefully vacuum the bottom of the cabinet, but be careful not to touch any electronic components.
| |
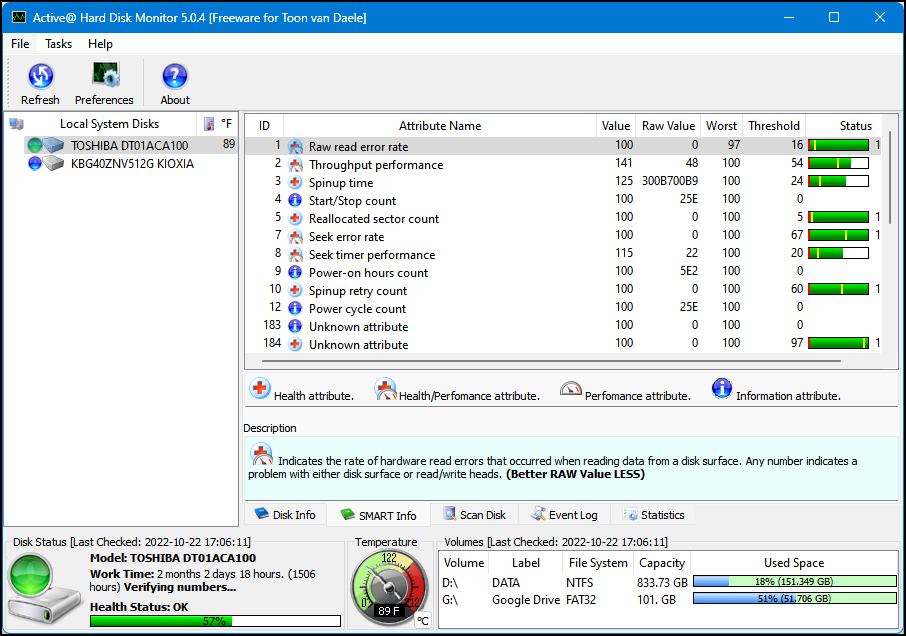
Software diagnosticsSome hardware can also be diagnosed through software so that you can take timely measures. For example, the controller of almost all modern drives contains all kinds of sensors that monitor the health status. To read this information, you need a tool like Active@DiskMonitor (www.lsoft.net/disk-monitor; free for personal use after registration). There are eight ‘attributes’ related to the health of your disk, including the disk temperature. In short, it means that the values in the column Value best to stay as far away from the critical thresholds as possible threshold. There is also software that allows you to query the processor temperature, such as Speccy (www.ccleaner.com/nl-nl/speccy). After installation, you start the app, after which you Summary finds the temperature of cpu, gpu as well as your disk. More details can be found in the various sections. In general, the temperatures of the CPU and GPU should not exceed 75 degrees Celsius too much or too often. For hard disks, this is about 50 degrees Celsius. Also check the section Graphics in Speccy. Here you will find out, among other things, the refresh rate of your monitor(s), expressed in Hz. Check the manufacturer’s website to see if it matches your monitor model. If necessary, you can adjust it in Windows via Institutions / System / Display / Advanced display.
Modern drives contain various sensors that can be read with so-called SMART software |
Laptop exterior
To maintain the exterior of a laptop, you really only need to apply the tips for the exterior of a desktop and keyboard. It trackpad clean with a slightly moistened microfiber cloth.
It is also a good idea not to keep the laptop on your lap during use and certainly not to place it on a (down) blanket. After all, there is a good chance that openings will become blocked as a result of which the ventilation will not function optimally. When you move your laptop, it is best to grab it with both hands on the base and not on the screen (with one hand). During transport, you should preferably put the laptop in a protective cover. It is also not a bad idea to put a protective sheet (microfiber or polystyrene) between the keyboard and the screen to prevent the keys from pressing against the screen.
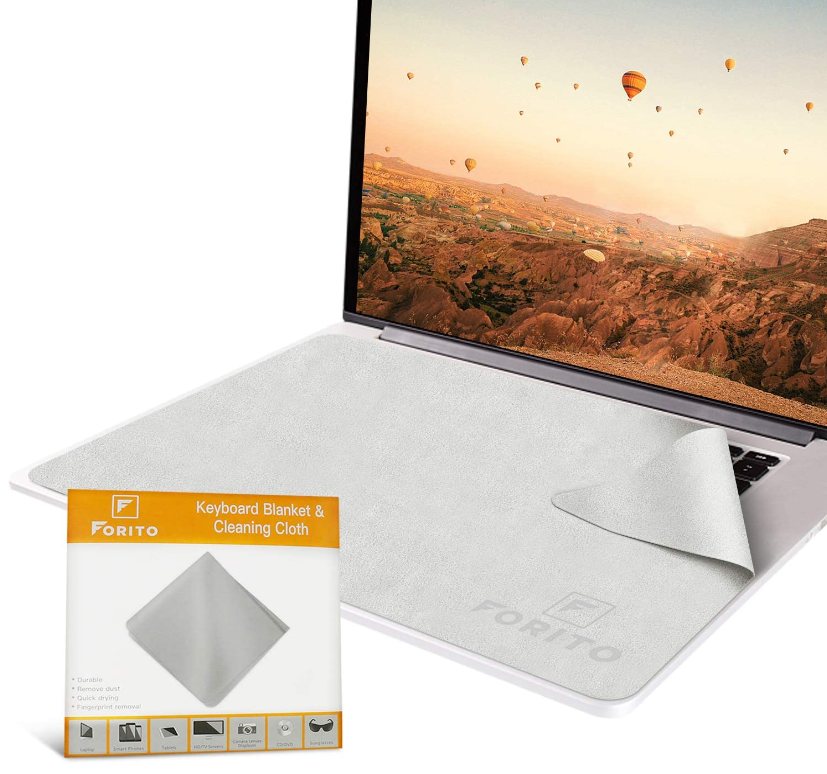 |
| A protective sheet between screen and keyboard is not a bad idea |
Inside laptop
Cleaning the inside of a laptop is slightly less obvious than with a desktop PC. Not only is it more difficult to open a laptop, the components are also close together.
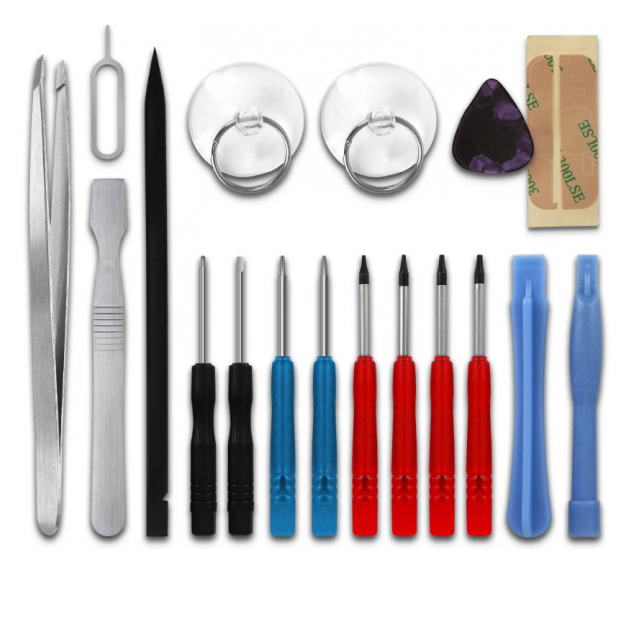
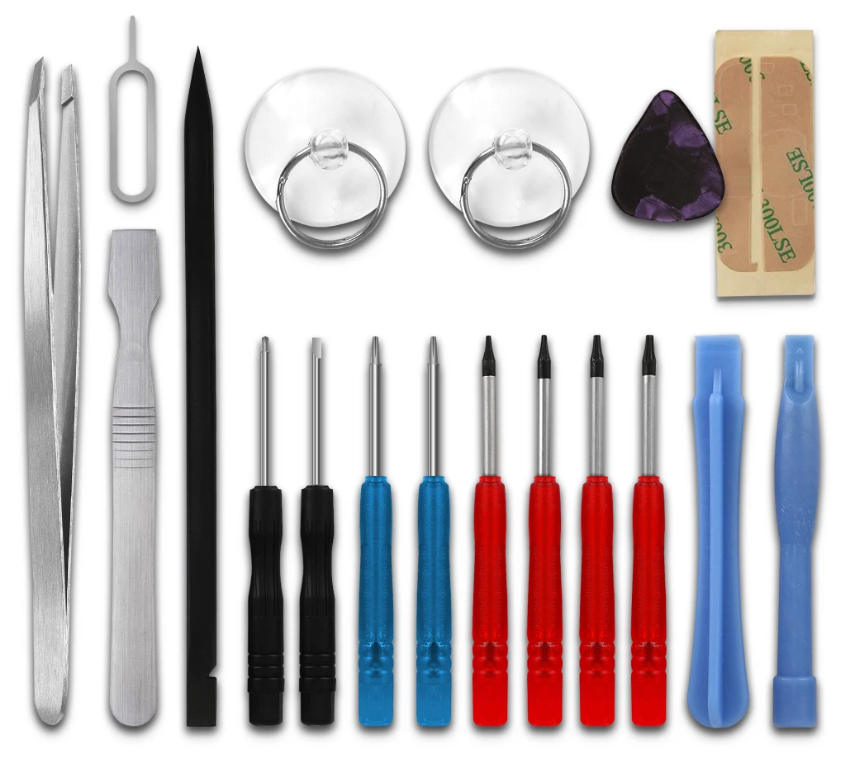
Many laptops use so-called pentalobescrews. These are tiny five-pointed screws with a flower-shaped profile that require a custom screwdriver. You also often need this if you want to replace the battery. On the other hand, there are also laptops that can be opened quite easily with the help of handles. So carefully consult the manual for your device in advance. When in doubt, it is better not to start (yourself).
In most cases there is little more to do than to blow air into the various slots, ports and (ventilation) openings of the laptop with a compressed air can and a fine spray straw. Just like with a desktop, you first hold the fans with your finger or a pencil.
 |
|
There are real ‘repair kits’ for laptops |
Smartphone
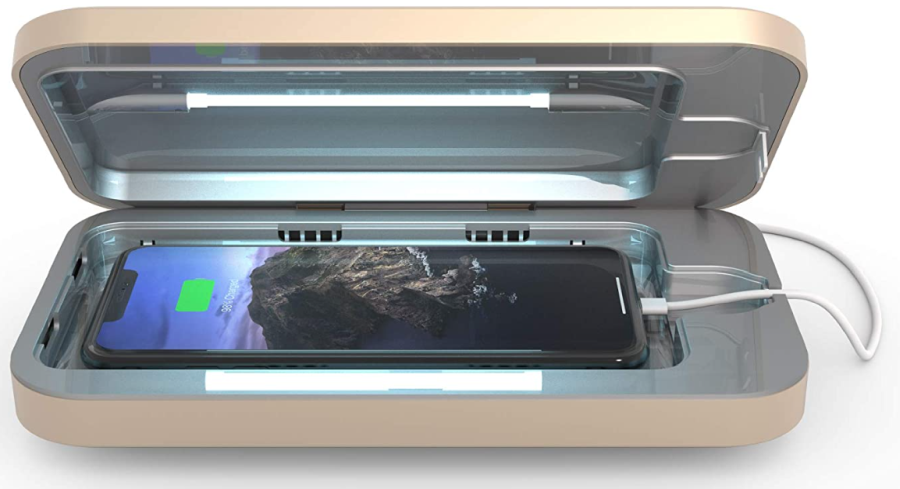
Due to the often intensive use, your smartphone not only threatens to get dirty, but all kinds of bacteria also end up on the screen. You can remove it with a disinfectant wipe. You do not use hand gel or alcohol wipes for this. Incidentally, special smartphone containers are available on the market that eliminate all bacteria in a few minutes using UV light (such as the Phonesoap, approx. 50 euros). To make your screen look like new again, you may want to put a tiny amount of toothpaste on a non-fluffy, soft cloth and rub the paste in circular motions, then rub the screen dry with a microfiber cloth.
 |
|
Phonesoap: disinfector for smartphones, based on UV light |
You can blow out the inputs for the headphones and the charging cable or use a cotton swab or toothpick for this. Another alternative is a paperclip that you straighten and then wrap the end with a few layers of tape, adhesive side out. In any case, do not use any liquid.
If your smartphone accidentally ended up in water, you can use the same method as we described for the keyboard, using a hygroscopic desiccant.
Finally, prevention is better than cure here too: you should therefore preferably use a screen protector and a protective cover for your smartphone, such as a flip or book case. It is best not to place the device with the screen on a surface and do not leave it in direct sunlight (for a long period of time), such as on the parcel shelf.
