Part 1 and part 2 discussed the standard tools in Linux Mint Cinnamon for data and system backup. About the system backup solution with Timeshift I can say that it is a great solution. For the data backup part, there is still some room for improvement in terms of ease of use and storage methodology.

Peter de Bruin
In this part 3 we will delve deeper into other and better backup possibilities than the default solution of the Linux Mint Distribution. These are the programs Deja Dup and Back in Timewith Back in Time being my favorite because of its extensive options.
We discuss two different solutions: Déjà Dup and Back in Time.
.
We start by backing up and recovering data using the Déjà Dup program.
1: Deja Dup
Déjà Dup differs from the standard method described in Part 1 by its simpler operation and better recovery possibilities and has the following features and functions:
- easy to configure and use;
- full and incremental backups;
- data compression;
- optional encrypted backups;
- optional automatic backups;
- storage local, NAS or cloud;
- trustworthy:
- By default, a full backup is made every three months;
- Older backups may be automatically deleted, but if space permits, at least two full backups will be kept;
- with an encrypted backup the password can be remembered and does not need to be entered for each backup;
- If the backup is encrypted, Déjà‐Dup will periodically ask for the password during verification.
- The backup can be paused and resumed later;
- Restore can be done completely, per folder or per file.
Install
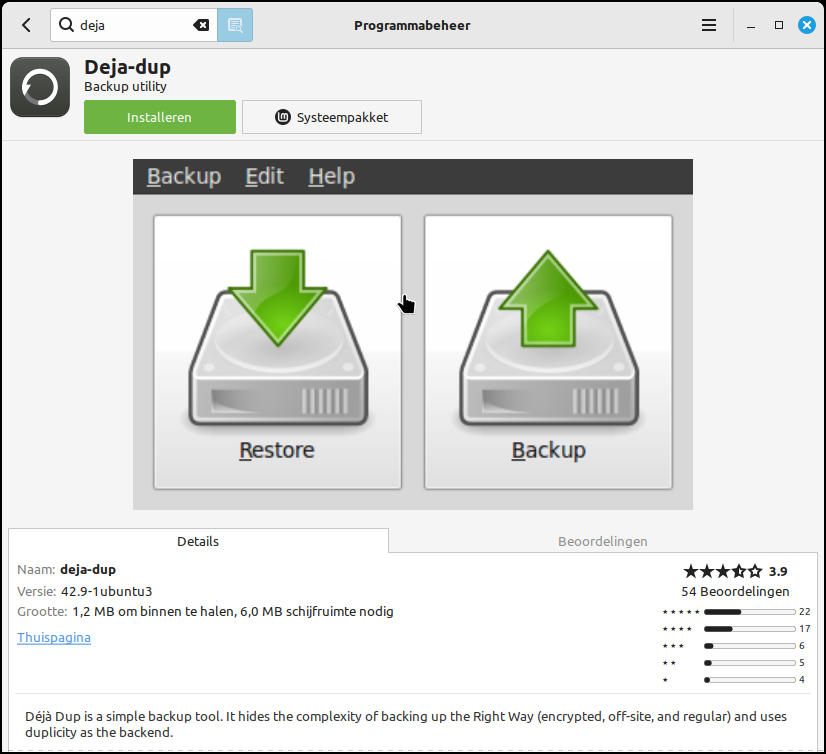
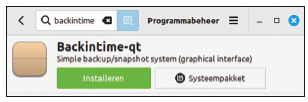
You start by installing Déjà Dup via the Program management. In the search field you enter deja in and then you can choose Deja Dup. Click on install and accept any additional modules. After this, the Linux Mint Cinnamon menu will have the option to Backup added under the category Tools.
 |
|
In program management search for and install Déjà Dup |
Prepare medium
 |
|
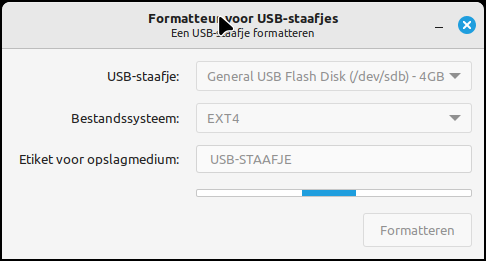
Prepare storage medium by formatting |
First you are going to prepare the medium on which you want to save the backup. I choose a USB stick here, but an external disk or SSD is bigger and better if it concerns a larger amount of data that you want to save in the backup. You can format the USB stick with the program that can be found in the menu USB stick formatter. As file system you choose EXT4 and give it a name, for example USB STICK.
 |
Set up
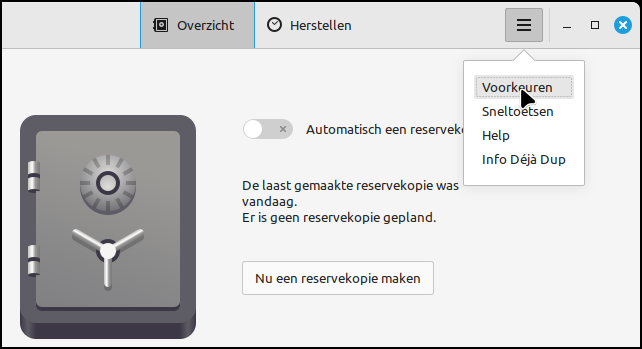
Now you start Backup on the menu via the category Tools. First you go via Vear preferences set how you want Déjà Dup to make the backup.
Déjà Dup Opening Screen
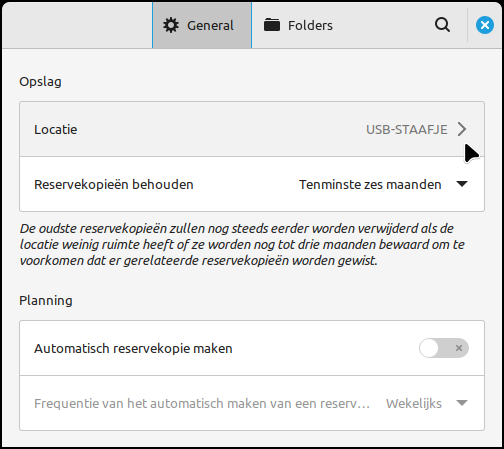
On tab General create the link to your storage location and specify how long the backup will be retained. You can also set up an automatic backup process, in which case you must use a medium that is continuously available, such as an internal disk or partition.
Set preferences General
On tab Leaflets indicate what should and should not be included in the backup.
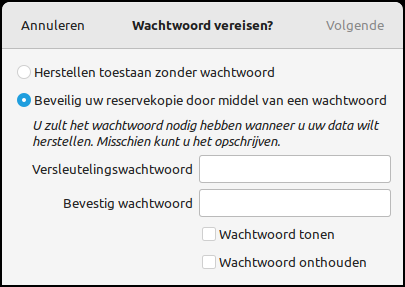 You can choose to use a password. This will encrypt the backup.
The backup can be encrypted via a password
Make a backup
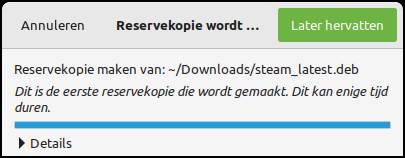 |
Now you can make the backup. If you are going to use a USB stick, the process may take more time because of the relatively low writing speed of such a stick.
The backup is being made
Restore
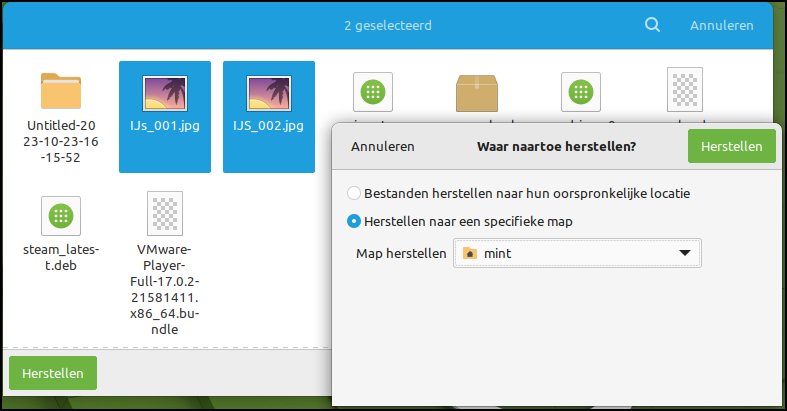
You start Backup on the menu via the category Tools. In the home screen, choose Restore. Now you have the choice to restore everything or to first select what files or folders you want to restore from the backup. After that you have to answer the question to which location you want to restore. In this example I restore two pictures Ice_001 and ICE_002 to my personal folder mint.
 |
|
Indicate selection and destination |
Before the recovery can take place, Déjà Dup asks for the password. This is used to apply the decryption.
Concepts
|
2: Back in Time
The second solution is about securing and restoring your data using the Back in Time program. Back in Time has the following features and functions:
-
Lleft
- A hard‐link
- creates a separate file that stores information about the original file and its location. (**) A symbolic link
is a file that points to another file in the Linux virtual file system.
- possibility of various backup profiles
- creates restore points:
- hard links are used for unchanged files*;
- hard links cannot therefore be included in the backup.
- backup consists of readable files;
- optional encrypted backups:
- EncFS is used for encryption. There are warnings about weaknesses in this method.
- optional automatic backups;
- local storage, linked file shares and/or via SSH:
- file system of the storage medium must support hard links;
- samba (SMB/CIFS) does not support symbolic links by default**.
- transparent:
- the files are readable so the user can immediately see the file to be recovered;
- using hard links makes each restore point appear to be a full backup;
integrated browser.
 |
| 11 BIT install 2 |
In program manager search and install backintime You start by installing Back in Time via the
Program management. In the search field you enter backintime and then you can choosebackintime-qt . Click on Install and accept any additional modules. After this, the Linux Mint Cinnamon menu will have the option to Backintime added under the categoryManagement
. Back in Time uses a location with thebackup folder
 |
12 BIT first time 2 |
|
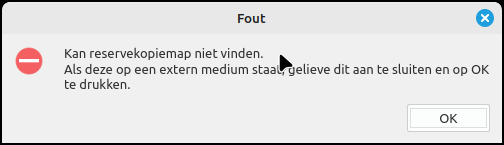
Error message when missing the |
Is your external media connected? |
This must first be mounted. In Linux Mint Cinnamon you use the EXT4 formatting of the backup medium. This is necessary for problem-free backups. NTFS is not suitable enough and leads to error messages! Set up
Before using Back in Time for the first time, you will first need to make some settings. You click on the I buttonsettings
 |
|
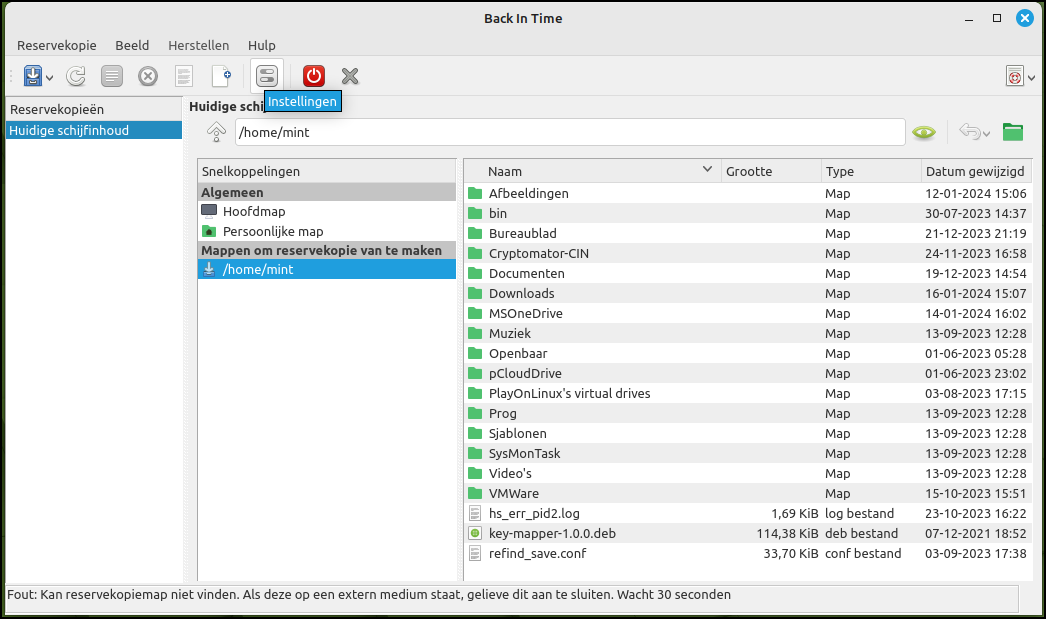
13 BIT opening screen 2 |
BackinTime opening screen First you are going to create a main profile. To do this you go through a number of tabs. These are:General, Include, Exclude, Auto Delete and Options . You start by indicating via the folder symbol where you want to save the data backup. In this example this is /media/mint/Backup2 where I created a folder backintime
 |
|
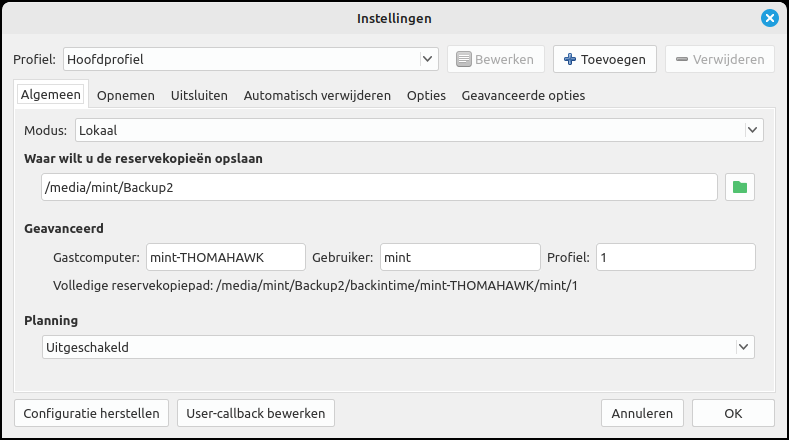
14 BIT Setting 2 |
Setting the parameters You can later next to the Main profilealso add other profiles via + Add.
 |
|
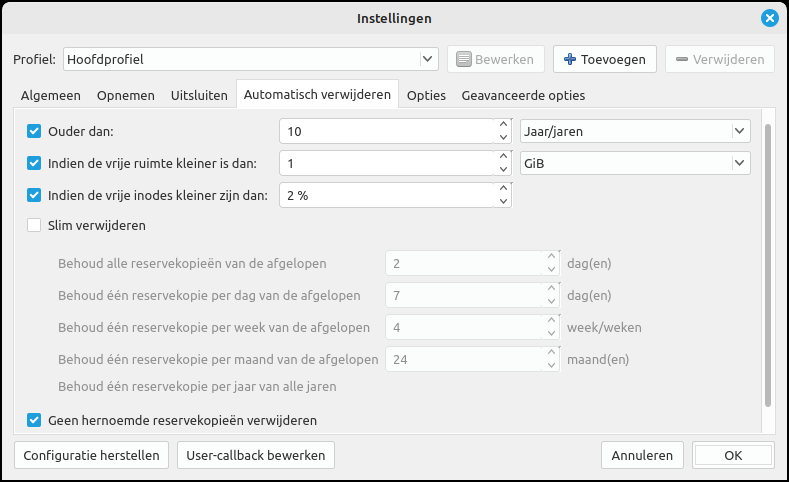
17 BIT Auto Delete 2 |
In Automatic Deletion you determine the retention time of the data in the backup Via General and Planning
you can automate the backup process. However, you must have a linked backup medium.
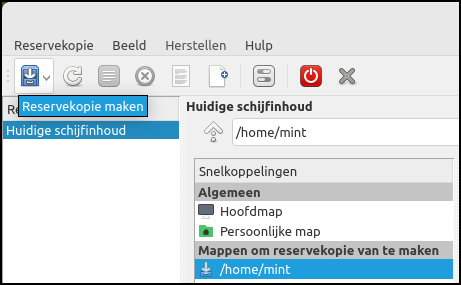 |
19 Backup 2 Creating the backup is the recurring part of this solution. You just need to mount your medium, start BackinTime and click the button Make a backup
to click. Start Backup
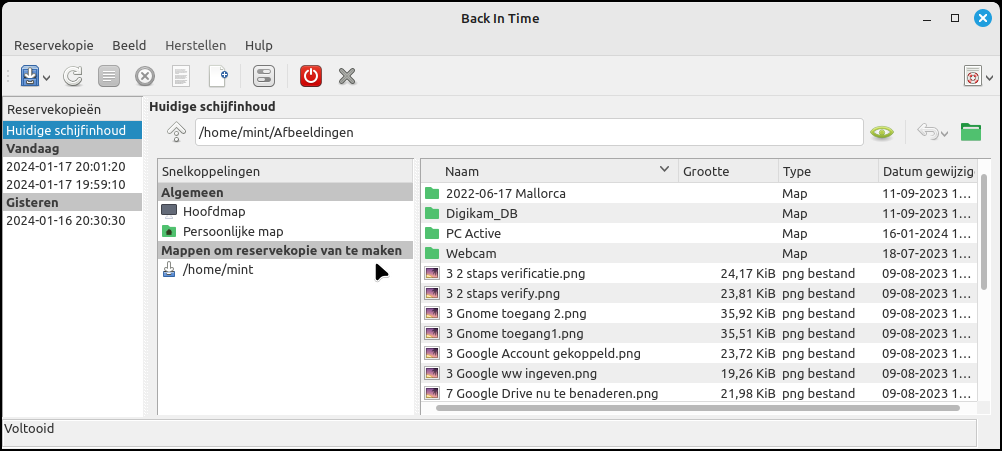
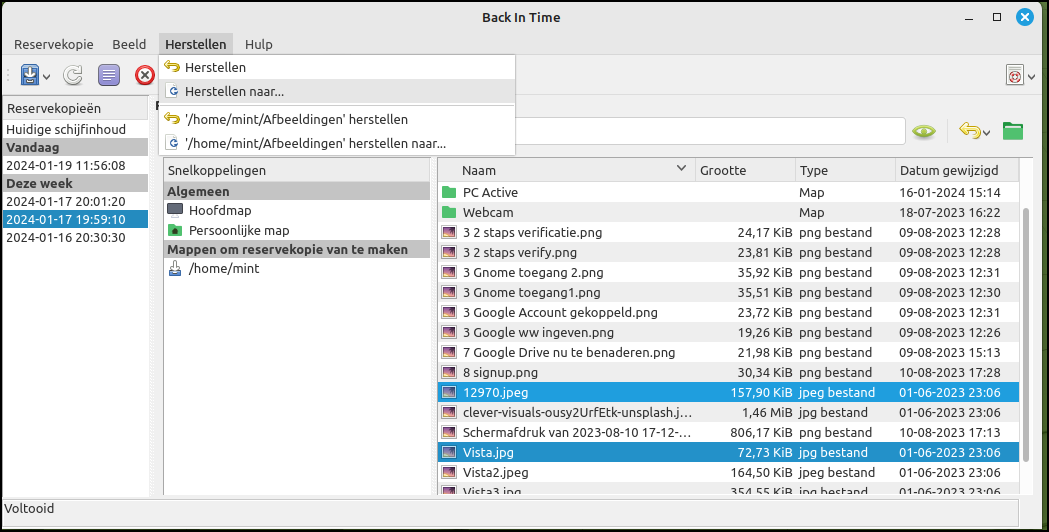
Restore You start Back in Time via the categoryManagement . In the home screen of Back in Time, select one of the backups from the list of all restore points. You have the option to restore everything or to first select which files or folders you want to restore from the backup. Example: To restore two photo files to another location, we click on the restore point in succession 2024-01-17 19:59:10, in the backup contents shown on the right on the photo files to be restored 12970.jpeg and Vista.jpg, and then choose from the menu
 |
|
21 BIT Restore Points 2 |
 |
| 22 BIT Restore to 2 |
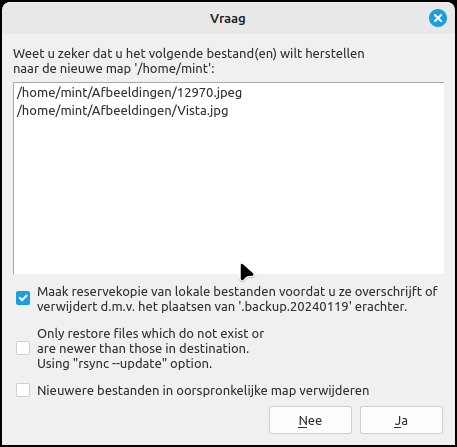 |
23 BIT Confirmation 2 |
Request confirmation when restoring to original location or new location
After reinstalling, you will find the photo files in the /home/mint folder.