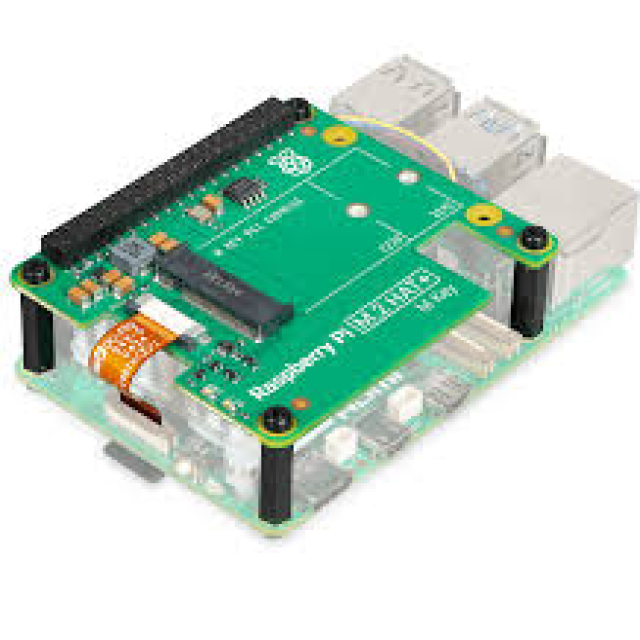
The Raspberry Pi 5 has been available for a while now, so it’s high time to get started with it.
Johan Swenker
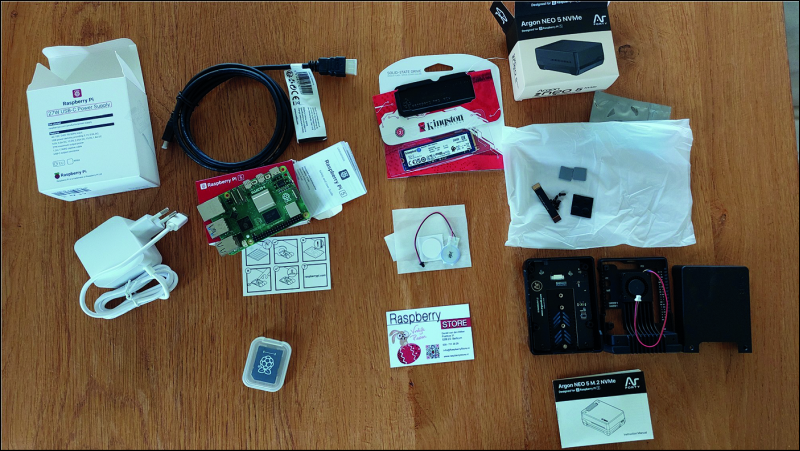
![]() Around Easter I received a Raspberry Pi 5 with accessories. From left to right in the picture above:
Around Easter I received a Raspberry Pi 5 with accessories. From left to right in the picture above:
- the original Raspberry Pi power supply;
- the Raspberry Pi 5, with a special HDMI cable above it and an SD card with NOOBS below it;
- a 250 Gbyte NVMe SSD and a battery for the real time clock;
- and a housing to build it all in.
Let’s first take a closer look at that Raspberry Pi 5. There are a few innovations that are quite interesting.
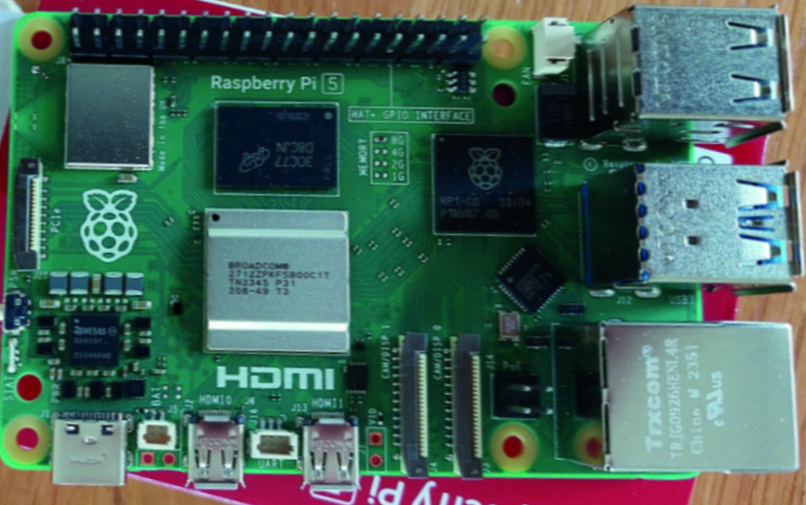
At the top right, between the 40-pin GPIO connector and the USB-2 connections, there is a small white connector. In the photo, the connector is still equipped with a protective plug. The word FAN. You can connect a fan to this connector, which is then controlled by the firmware of the Raspberry: usually the fan runs slowly and silently. You really have to try hard, for example compiling the Linux kernel, to get the fan to make noise. At the bottom left, near the micro-USB and micro-HDMI connections, there are two more small white connectors. One of these connectors is for a battery that supplies power to the RealTime Clock when the Raspberry is turned off. Predecessors of the Raspberry Pi 5 had to be connected to the boats but guess what time it was. Thanks to the file /etc/fake-hwclock.data, guessing is generally quite easy, and with an internet connection, the time can of course always be retrieved from 1.debian.pool.ntp.org. On the left side, near the letters PCIe, there is a PCI Express connector. An SSD can be connected to this. There is no official HAT (Hardware Attached on Top) from the Raspberry Pi team yet that can accommodate an NVMe SSD. There are various holders/converters from other suppliers that can accommodate an SSD. Some holders go on the Raspberry Pi as a HAT, some go underneath. And finally, also on the left side a real switch to switch the Raspberry on or off.
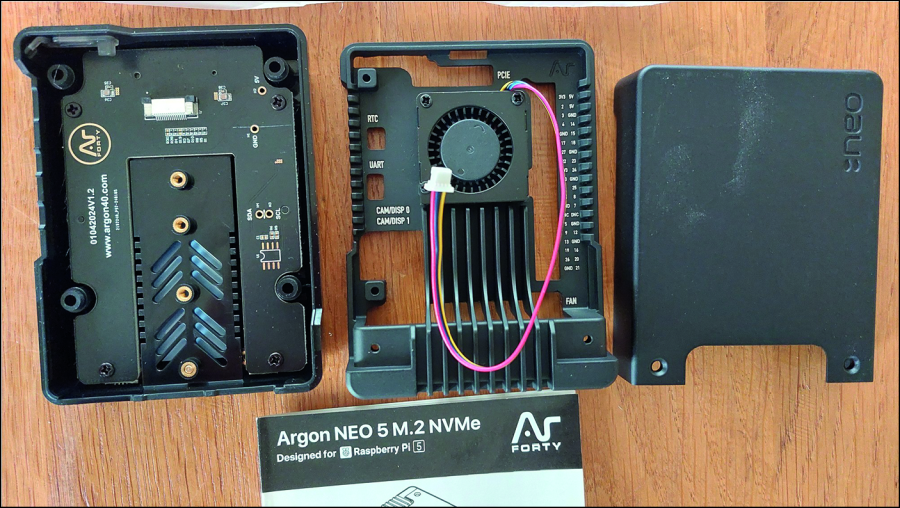
The case I bought consists of three parts:
- the base where the NVMe SSD is placed
- an aluminum interlayer with fan and cooling fins, and
- a lid to complete the whole thing. Furthermore, heat pads included and a short flexible cable for the SSD.
 |
|
Argon Neo |
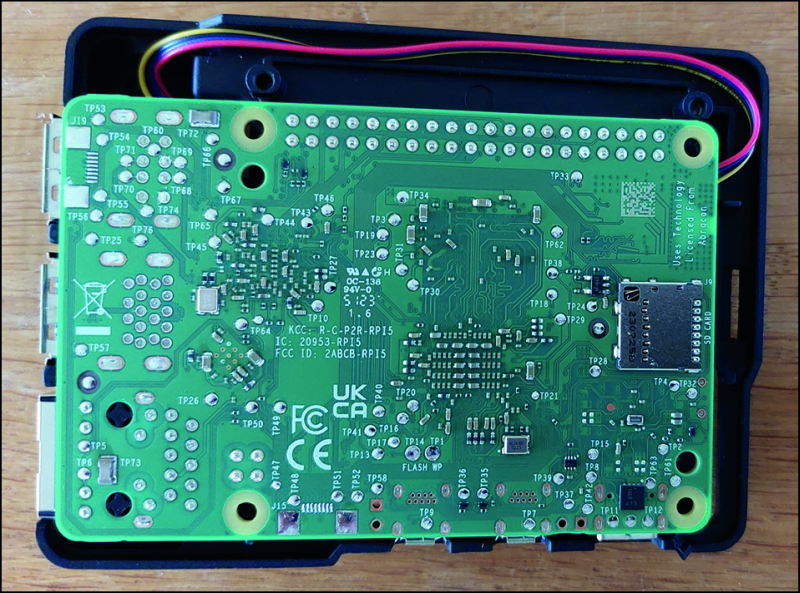
Putting everything together is easy, especially if you used to play with Meccano, or if you put together a gray tower PC from parts in the DOS days. It was mainly a bit of fiddling to get the fan cable neatly into the duct, but definitely also to keep it there.
 |
|
PCB |
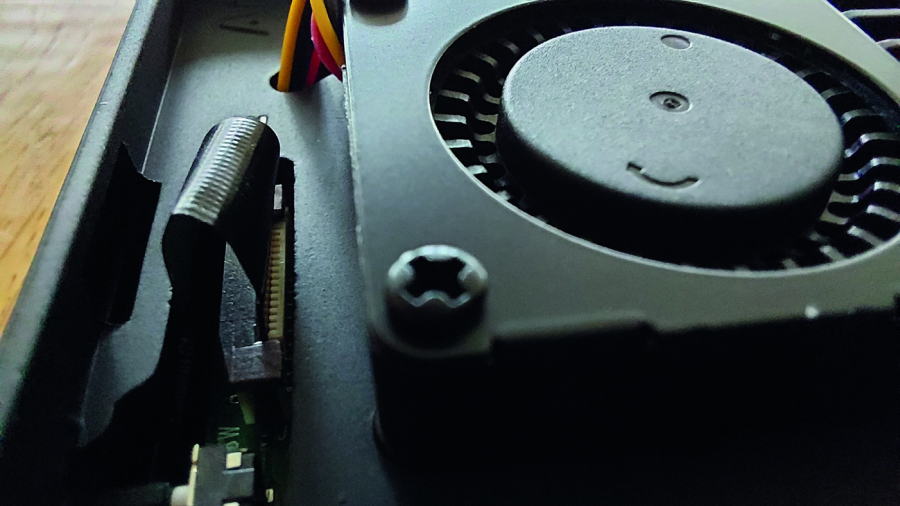
The PCIe cable was fine, but I did use tweezers to tidy it up a bit. Luckily the flex cable wasn’t damaged.
 |
|
Fan |
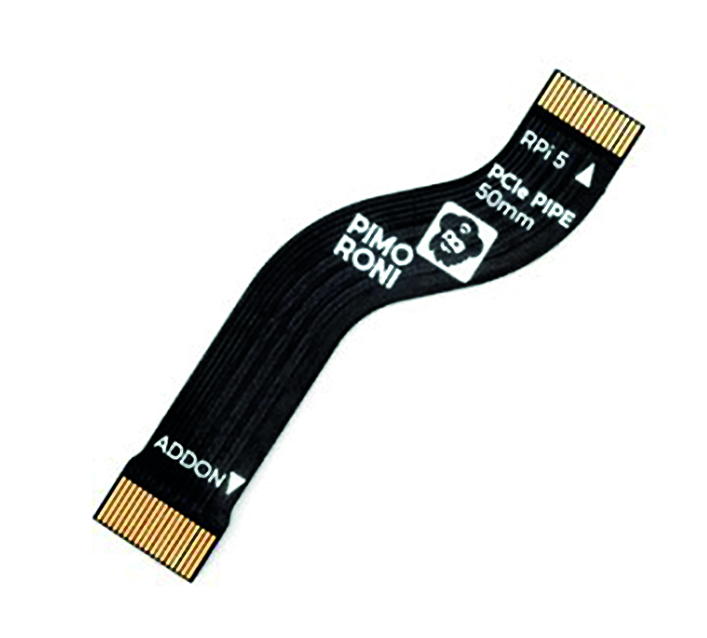 You have to remember to put the SD card in the Raspberry Pi in time. Or actually: for a Raspberry Pi 5 you don’t need to order an SD card at all. But more about that later. With the NVMe base that I bought, the flex cable goes past the SD card slot, making it impossible to change SD cards later. I have seen other NVMe holders that did this better.
If you buy an SD card for a Raspberry Pi or other Single Board Computerthen remember to buy at least speed class A1. This type of SD card is intended to run apps on a smartphone. That is random read and write behavior that a computer also has.
 |
|
Four parts and my screwdriver |
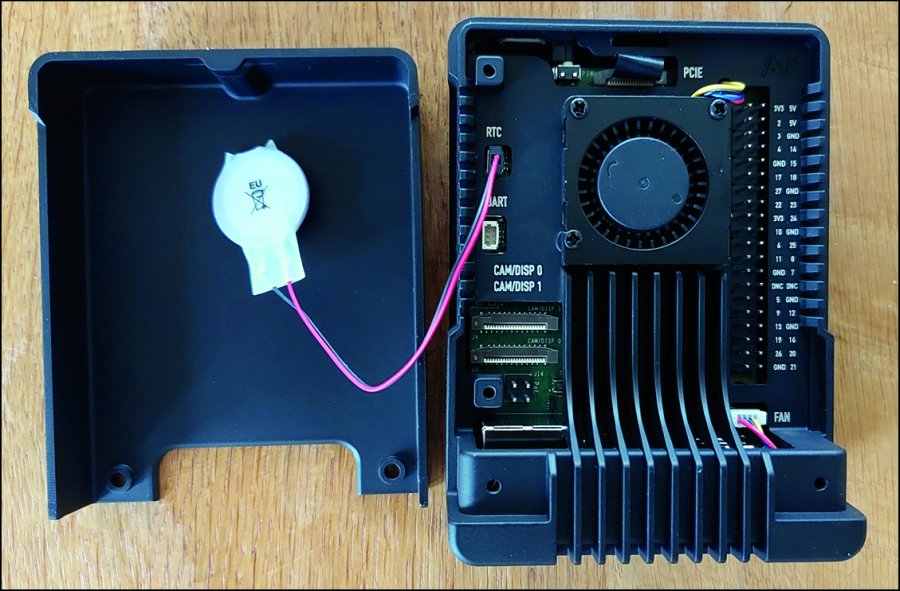
At the bottom, the NVMe SSD still had to be placed. From left to right: the NVMe SSD, a supplied heat pad for the SSD, the case, the lid that closes the bottom and my own screwdriver to tighten all the screws. Only much later did I realize that I should have photographed the lid the other way around, then you could see that there are cooling ribs on the bottom that dissipate the heat from the SSD.
At the top, the battery for the RTC had to be connected. With a small piece of double-sided tape, the battery is stuck to the inside of the lid.
 |
|
The appliance with the lid open |
Then you can close the lid and it’s time to try out whether everything works.
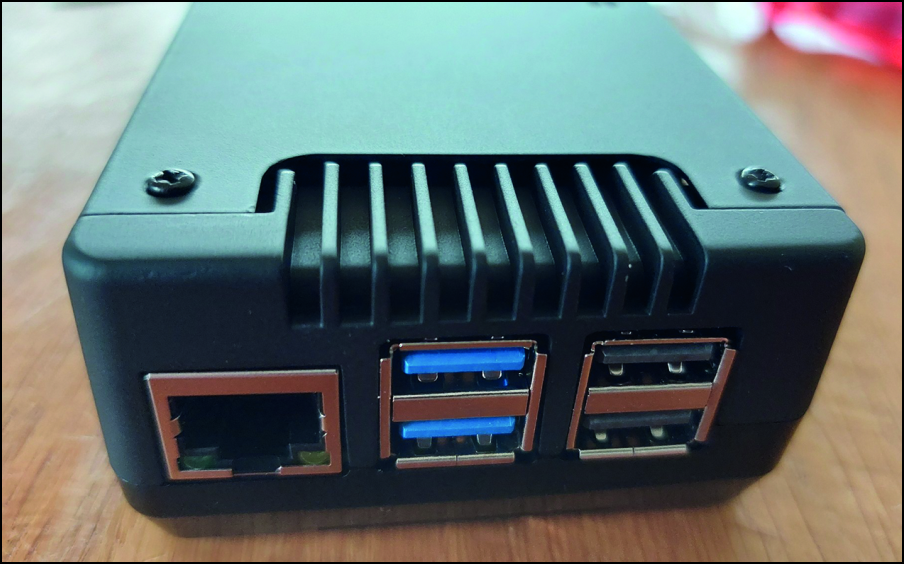 |
|
Ready for testing for operation |
The Raspberry booted from the SD card. The first questions were in English. The standard questions are of course country, language and time zone. But nowadays it also asks for the standard user, and the desired password. So there is no user pi on a Raspberry Pi anymore. A few minutes after I booted the Raspberry Pi for the first time, I had a working Firefox that connected to www.raspberrypi.com.
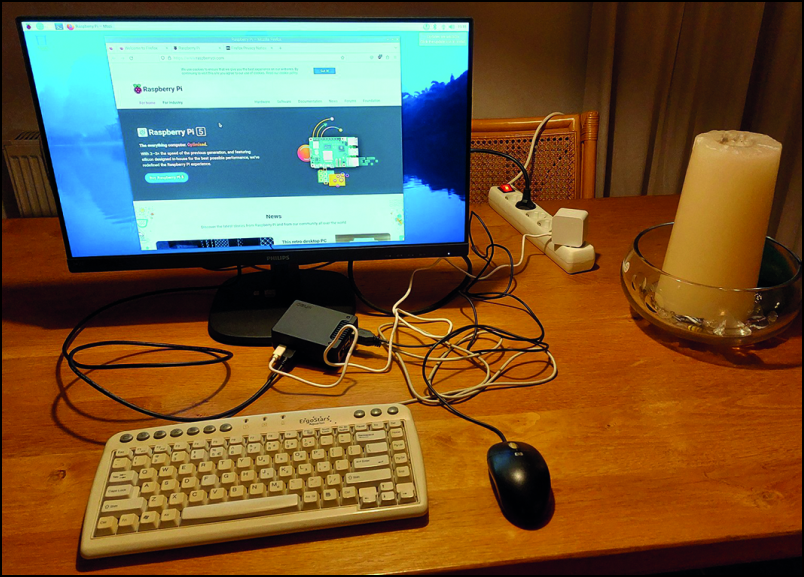 |
|
With PC |
In this configuration, the Raspberry Pi weighs 200 grams. That is considerably more than the loose printed circuit board. But the place where the Raspberry Pi lies on the table is still largely determined by the stiff HDMI cable.
So far everything went very smoothly. The assembly manual of the housing was clear enough. The NOOBS that is on the SD card works great. But now the OS had to be copied to the NVMe SSD. Unfortunately I could not find a manual for that. In the end I described the NVMe SSD via the Raspberry Pi Imager. That is an application that is in the menu under accessories sits. The Imager download the OS from raspberrypi.com. At Storage I could choose the SSD.
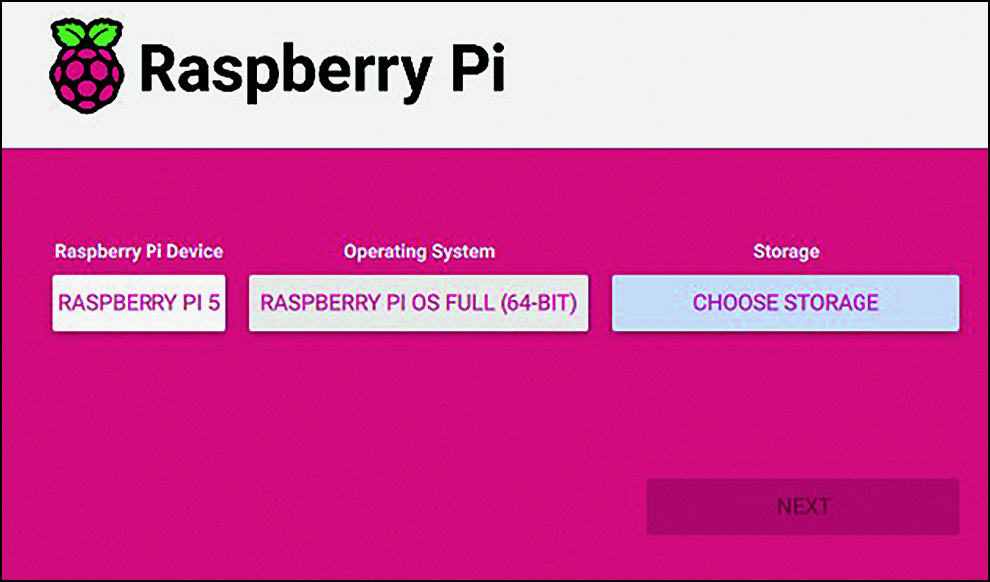
When you boot up your Raspberry Pi you will be given the option to boats of the network. The same Imager is eventually started. This choice is in the eeprom of the Raspberry and therefore also works when the SD card is in the Raspberry Pi. The SD card was therefore superfluous on closer inspection.
|
This article has also been published |