
How nice would it be to capture those photos and videos from your holiday trip or a family party in a video, with surprising transitions and effects. You can do this perfectly with video editor Clipchamp.
Toon van Daele
Clipchamp is a fairly recent video editor, developed by Microsoft. The app is available by default in Windows 11, but you can also download it via the Microsoft Store app, also for Windows 10. To do this, open the app from Microsoft Storesearch for Clipchamp, click To download, and a little later you will find Microsoft Clipchamp in the Windows start menu. Alternatively, you can simply use Clipchamp’s web app directly from your browser at https://app.clipchamp.com. You’ll notice that the web app and the desktop app are almost identical.
 |
|
You must first register with Clipchamp |
Report
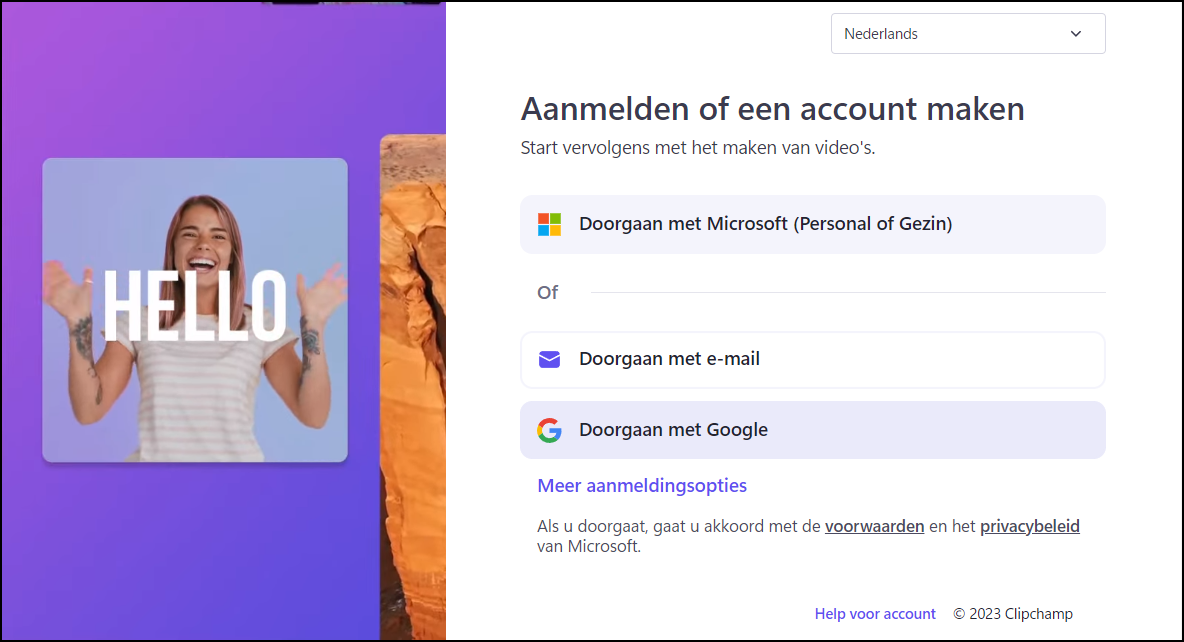
The first time you start Clipchamp, you must log in. This can be done with your email address or via Google. Microsoft recommends that you select the option Continue with Microsoft (Personal or Family) to choose. The choice is yours, but keep in mind that you will ultimately need to link your registration to your Microsoft personal or family account if you want to subscribe to Clipchamp via the button Upgrade.
Subscription
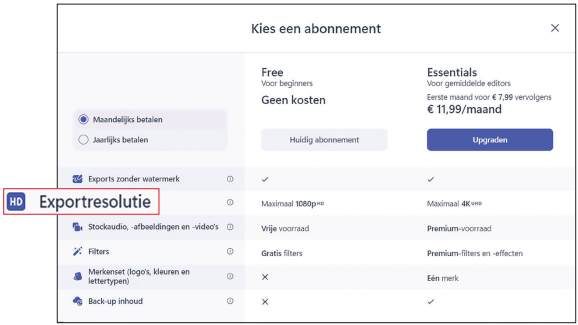
An Essentials subscription to Clipchamp costs €11.99 monthly and removes some of the limitations of the free version. With the latter you are limited to an export resolution of 1080p (HD) instead of 4K (UHD), and the range of free stock media files such as audio, videos and photos is less extensive. In addition, there are fewer filters and effects available and you cannot directly back up your video projects online.
However, there is also plenty to do with the free version and you can take out a (monthly) subscription at any time if you wish.
 |
|
The main limitation of a free plan is the HD output resolution |
Templates
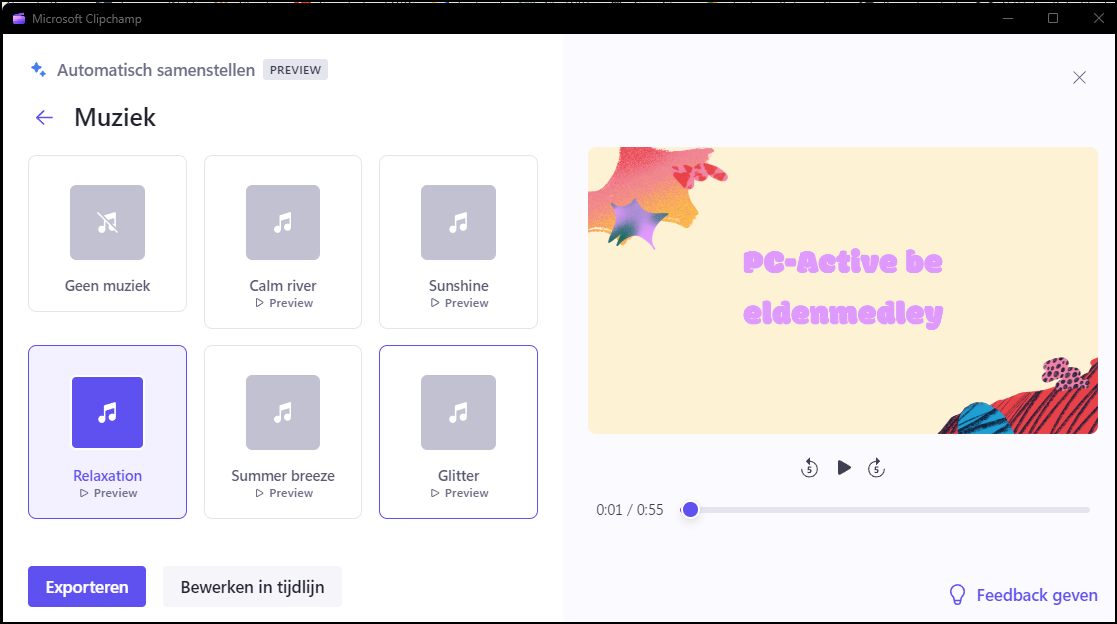
Once Clipchamp has started, you will immediately see two buttons: Create a new video and Create a video with AI. We choose the first option here, but you can read more about the second option in the text box.
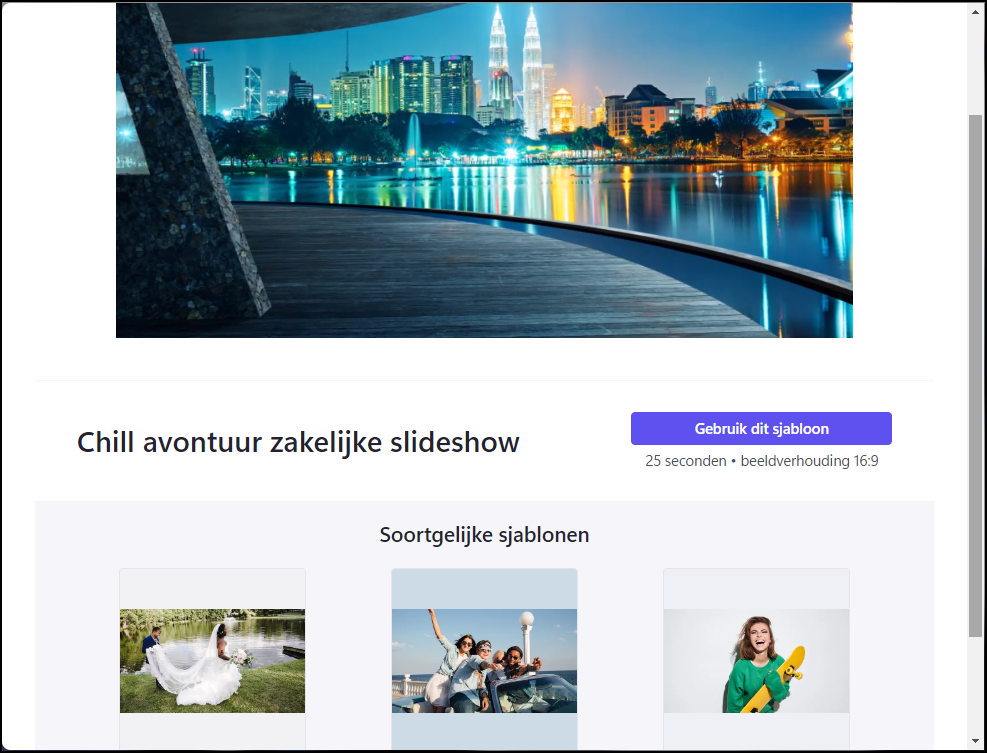
You can choose to start from scratch, but if you want to quickly explore all the options and possibilities, you can also select one of almost 100 templates. click on Templates on the left, revealing all the templates, organized into categories as Intro/outro, Instagram, YouTube, Social media ads, Slideshows and so forth. Feel free to choose a nice template and confirm with Use this template. All associated photos, videos and audio will load and you can watch the model video by clicking the play button below the preview window. Feel free to explore some options and possibilities.
 |
|
There are almost 100 templates from which you can draw inspiration |
 |
Import
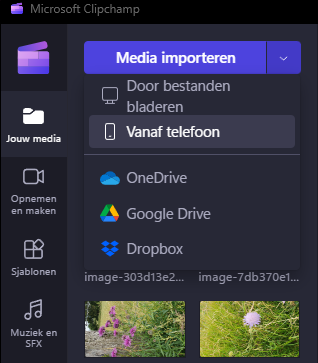
After this round of exploration, you’re probably ready to make your own video. Click on the Clipchamp icon at the top left and select New video. click on Video without title and give your video a name. We assume that you already have the most important media files. So you must first import this into your video project. You can simply drag the files such as audio, videos and photos to the left panel, or you can click the arrow button next to the blue button Import media. This way you can retrieve files from your computer or from cloud services such as OneDrive, Google Drive or Dropbox. Suppose your media files are still on your smartphone, then choose From phone and scan the QR code with your smartphone camera. On your phone, tap Select media and select the desired files. These are now neatly displayed in the Clipchamp panel.
You can also easily import media files from your smartphone via a QR code
Timeline
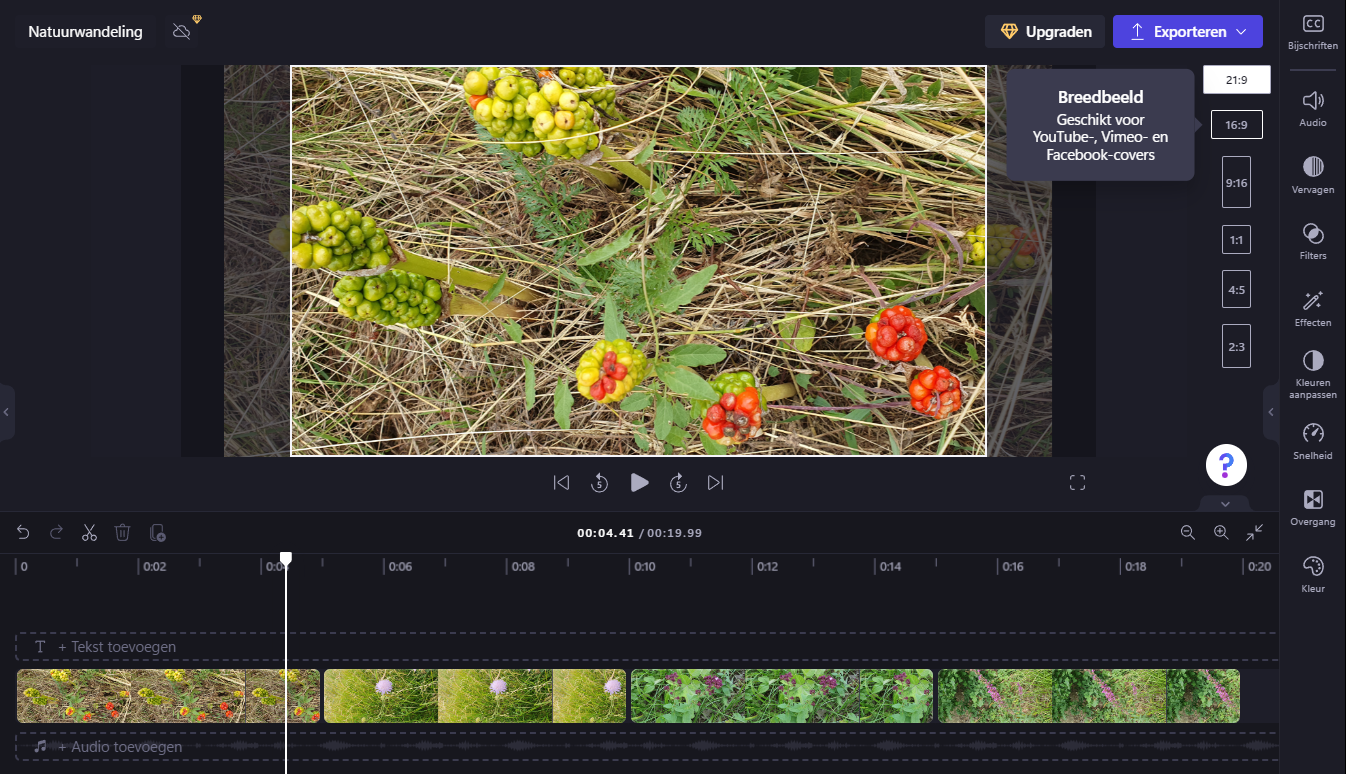
Before you continue, check the video dimensions via the button at the top right of the preview window. Various formats are available, including 21:9 (Cinematographic), 16:9 (Widescreen), 4:5 (Social media) and 1:1 (Square).
Once your choice has been made, it’s time to transfer the media files, which are ready in the panel, to the so-called timeline, the area at the bottom of the preview window.
 |
|
Place your media files in the desired order on the timeline |
This can be done by clicking the green plus button when you hover over a media file, or simply dragging an item to the timeline. Use the buttons at the top right of the timeline to quickly zoom in or out or work with the scroll bar at the bottom.
All items that are next to each other will play chronologically when you press the play button. You determine where the video starts by using the so-called scrubber (white line with circle). You can also start and stop the video with the space bar.
|
 Additional media
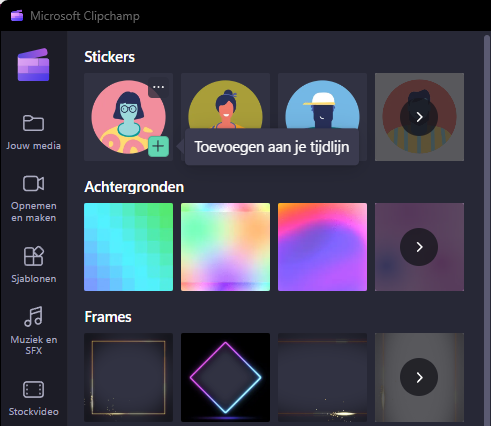
You can of course only work with your own media files for your video, but there are also other channels where you can obtain or generate media. For example, click on the left side Stock images, Stock video, Graphics or Music and SFX. You may find useful items here that you can add directly to your timeline using the green plus button. Please note that items with a diamond icon are only available with the paid Essentials subscription.
It is a special category Record and create. This allows you to make both screen recordings and webcam recordings, or a combination of both, for example showing your webcam image in a corner of the screen, as often seen in instructional videos. You must of course have connected a camera (and microphone) for this.
From sound effects to stickers, backgrounds and more
Tracks
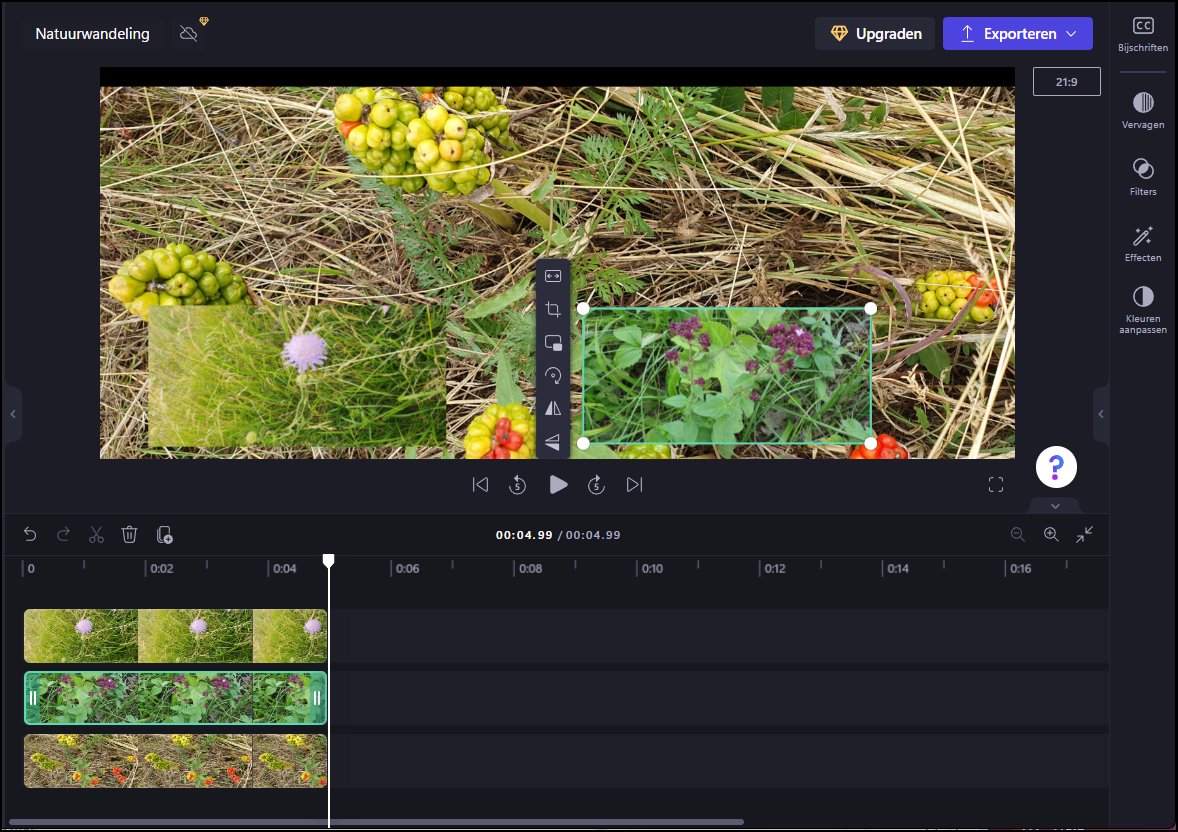
You’ve probably noticed that you can move media on the Timeline horizontally and adjust its length by shortening or extending the ends (with the double line). But also notice what happens when you move an item up or down. It will end up on a different track, but if you play the video you probably won’t notice the video on the bottom track. This is because the video clip on the top track covers everything. Unless you select the top clip and move the edges inward in the preview window, which reduces the video dimensions and also reveals the image below. There will also appear buttons that allow you to rotate, mirror, etc. such a reduced video.
Great, you’ve just created your first picture-in-picture effect.
|
You can also place multiple video clips on additional tracks |
Audio and text
You can use multiple tracks to add video footage, but extra tracks are mainly used for processing audio and text in your video. As an example, let’s put a title on a video clip.
To do this, open the option Text on the left and select a fun, possibly animated design, such as Double Lines, and place it on the timeline. Position and scale it optimally using the mouse. Select the text block so that the text pane appears on the right. Here you can not only adjust the text content, but also select the font, size, text color, line color, alignment and position. You can also adjust the size and position with the mouse, directly in the preview window.
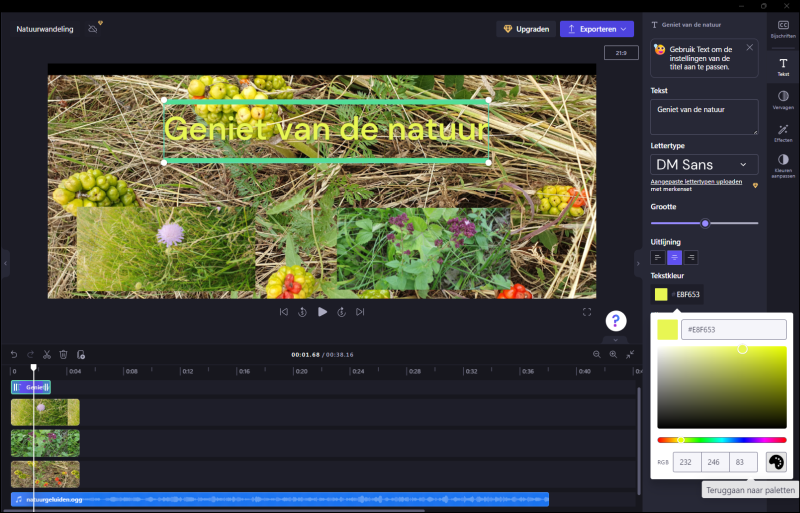
Text on top of your video images: when, how and where you want
Cutting work
If there is a particular clip that you would rather not have in one of your video clips, you can simply delete it. Select the clip in your timeline and place the scrubber just before the start of the unwanted clip. Then click on the scissors icon above the timeline. Repeat this for the end of the clip, making this a separate video clip. Select it and press the Deletebutton to remove it from your timeline. Right-click on the freed space and choose Remove space, or move or import another media block to fill the space again. Similarly, you can isolate a clip, enlarge it slightly (using the mouse in the preview window), mute the audio (right-click on the clip and choose Turn off audio/notifications), or applies some effect to it.
 |
|
Unwanted video fragment? Insert the scissors! |
Effects and filters
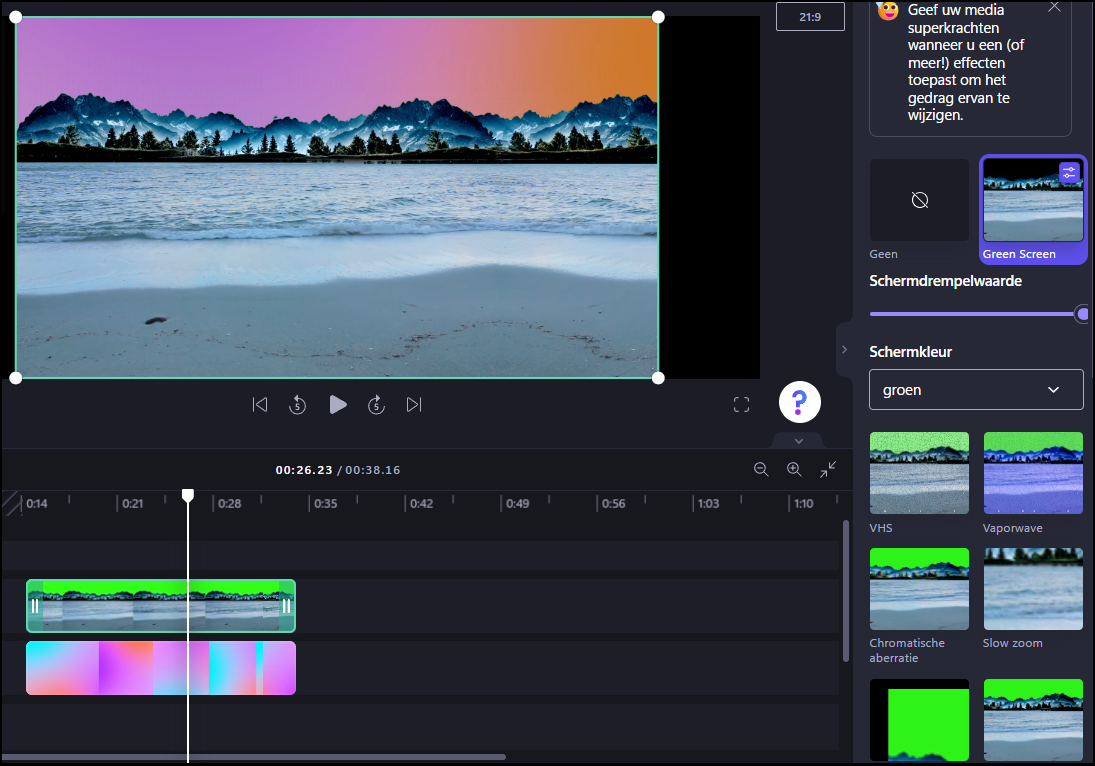
Clipchamp offers various effects. Select a video clip and open its components Filters and Effects at the right. Click on a suitable filter or effect and view the result. Depending on the selected effect, additional settings will appear at the bottom for optimal results. One of the available effects is Green Screenwhich makes it easy to make a plain (usually bright green) background neatly transparent by adjusting the slider for the Screen threshold to adjust. You can then place a video or image on the underlying track to fill the transparent (formerly green) area.
You can also apply the same effect to multiple video clips at once. You just have to make sure you have selected all the clips you want by clicking the Shiftkey pressed.
 |
|
The magical substitution trick with a ‘green screen’ effect |
Transitions
You can easily place images and video clips together on your timeline, but you may find the transition between these media a bit abrupt. You can solve this with a transition effect. Open the part Transitions in the left sidebar and drag a transition to the dividing line between two media pieces, on the button Addtransition. Select this transition and adjust the duration on the right (from 0.25 to 5 seconds) if necessary. Would you prefer a different transition? Then simply drag it over the existing transition. To delete the old transition, select it and press the Delete-test.
|
|
The transition to the next clip or image does not (always) have to be abrupt |
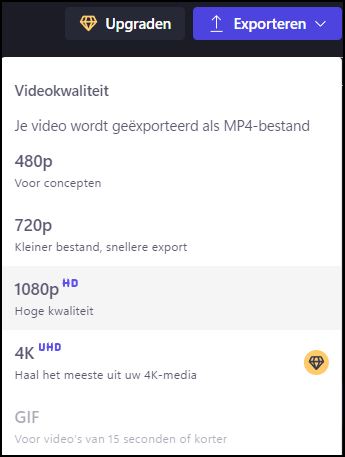 |
| The export options are unfortunately quite limited |
Export
Your video looks great and now it’s time to save it in its final form. Click on the blue button at the top right Export. By default, your video will be exported as an MP4 file. As mentioned earlier, with a free plan you are limited to a screen resolution of 1080p, or HD. You can also choose a lower resolution, such as 480p or 720p. It is useful to know that if your video lasts a maximum of 15 seconds, you also have the option GIF you can select, and Clipchamp will turn it into an animated GIF file.
You can save the result to your computer or to your cloud storage provider, upload it to YouTube, or share it on platforms like TikTok or LinkedIn.
Have fun with Clipchamp and good luck with your videos!