
You can get started with expensive Lego packages yourself, but you can also use the Raspberry Pi. An affordable alternative to educational toys.
Wim Dewijngaert
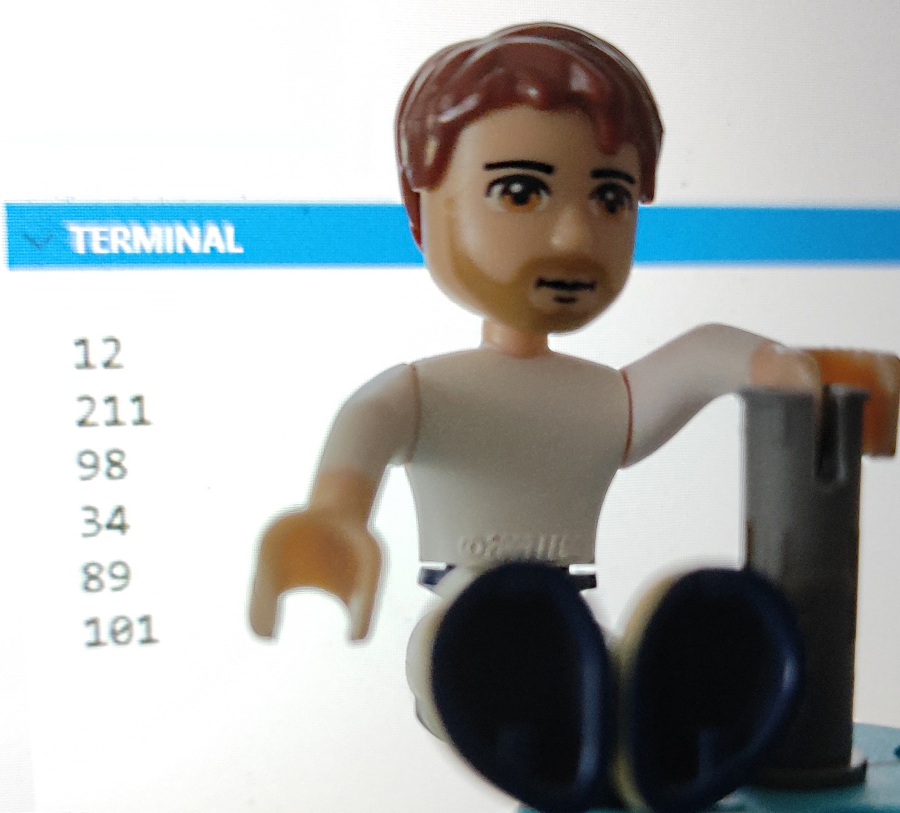
Young children who come to tell their parents in the evening that they have been allowed to play around with a Lego robot in class are often unknowingly immersed in the world of bits and bytes for the first time. The Danish toy manufacturer developed the educational Spike and Mindstorms packages especially for this purpose, with which children can learn to program in a playful way using a simple instruction language and a set of motors and sensors.
Anyone who wants to let their offspring tinker with the Lego modules at home will unfortunately have to dig deep into their pockets. Both the recent Spike Prime Set and the accompanying Spike Expansion Set are quite pricey – count on 370 and 120 euros respectively. The target audience is therefore clearly not Jan Modaal. Nevertheless, thanks to a collaboration between Lego and the Raspberry Pi Foundation, further experimentation can now also be done in the hobby room.
 |
 |
|
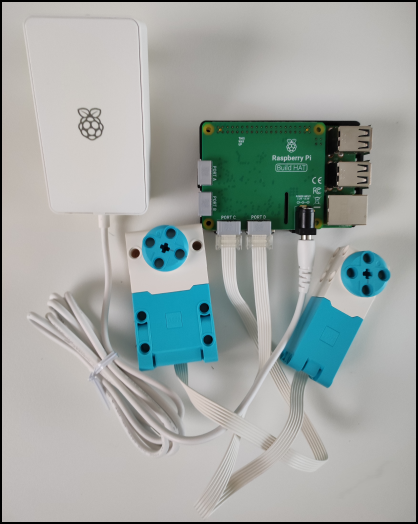
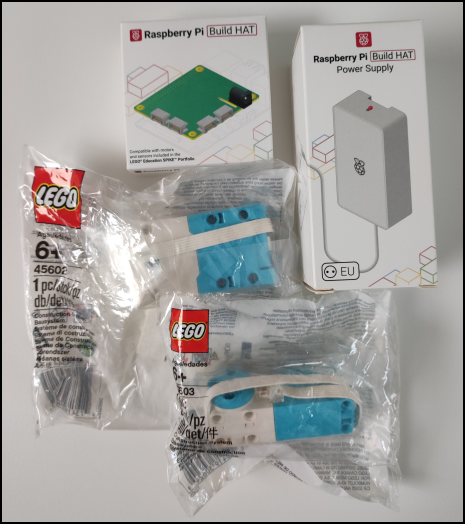
The set comes with the Build HAT, two motors and a power supply |
|
Alternative
To make this possible, the Build HAT (HAT stands for Hardware Attached on Top) was designed. This is a board that can be attached to the 40-pin header of a Raspberry Pi. All models with 40 pins are compatible, including the Raspberry Pi Zero 2 W (for the Pi 400 you need an extra cable).
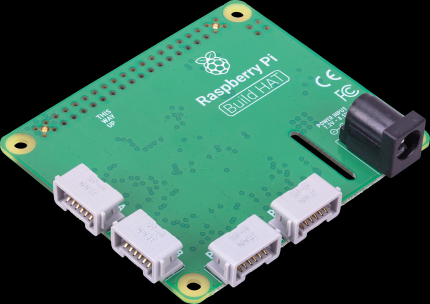
The expansion module, which is powered by an RP2040 microcontroller, has four LPF2 connectors to which Lego motors and sensors (for distance, color and power) can be connected. The communication is bidirectional, which means that, for example, the stepper motors can send back their current position.
What’s
|
All components are located at the bottom of the circuit board. So there is still enough space along the top to store a bread board or, if necessary, some Lego bricks. We originally fitted our Raspi with a cooling fin on the processor, but that had to be removed because otherwise the board wouldn’t fit.
The Build HAT uses GPIO pins 0/1, 4, 14 and 15. GPIO 14 and 15 are for the serial communication line to the RP2040. A possible second HAT that you want to place on top, may not use these pins itself. Stacking two Lego plates to operate eight (or more) motors is therefore not possible, which is also one of the greatest weaknesses of the system.
An 8V power supply is required to provide sufficient power to both the Raspi and the motors. Without this power supply, only the force sensors and the position of the motors can be read. Optionally, 5 AA batteries or a 7.5V battery can also be used, so that you can also build wireless racing cars, for example.
Without hubs
The Spike Prime Set normally includes a Spike Prime Hub – a module that allows simple commands to be given and received via the Spike programming language. This is done by sticking blocks together, as in Scratch. Included with the Mindstorms set is another hub, which can be programmed with Mindstorms code. Those who use the Build HAT together with a Raspberry Pi no longer need these hubs and the associated programming languages. The coding is then done in Python, which makes it possible to design more complex programs. To control the motors and sensors, a library available. For those who want to read up, the extensive documentation can be found at https://buildhat.readthedocs.io/en/latest
 |
|
| The Lego Build HAT module |
The Build HAT costs 27 euros in the store. Cheap, but worthless without additional Lego components. For home use, the Raspberry Store offers a starter pack containing the Build HAT, a 12V power supply, a ‘medium’ motor (type 45603) and a ‘large’ motor (45602). This discount package is over the counter for 160 euros. If you still have some loose Lego lying around, you can get started quickly. There is also a promotion especially for PC-Active readers – more about this on our website.
To work
How do we get our Raspi to control the two motors in the package? We start by putting the Raspberry OS on an sd card. For Windows users, this is easiest with the Windows Raspberry Pi Imager (https://www.raspberrypi.com/software/). Insert an SD card into your Windows computer and start the program. Choose at OS for Raspberry Pi (other) and then Raspberry OS Lite (32-bit). Bee Storage do you choose the drive letter of the SD card. Then click on the settings wheel. Select enable SSHchoose as username pi and a random password. Finch Set local settings on and choose Europe/Amsterdam. If you want to use a Wi-Fi connection, select Configure wireless lan and enter the details of your WiFi network here. Finally, you choose Save and Write.
When the writing is done, insert the SD card into your Raspberry Pi. Slide the Build HAT onto the Raspi, connect the two motors from the kit to the C and D inputs, and connect the power to the HAT. Then you start everything. You will also need the IP address of the Raspi later. With the application Fing you can easily find this on your mobile phone.
 |
|
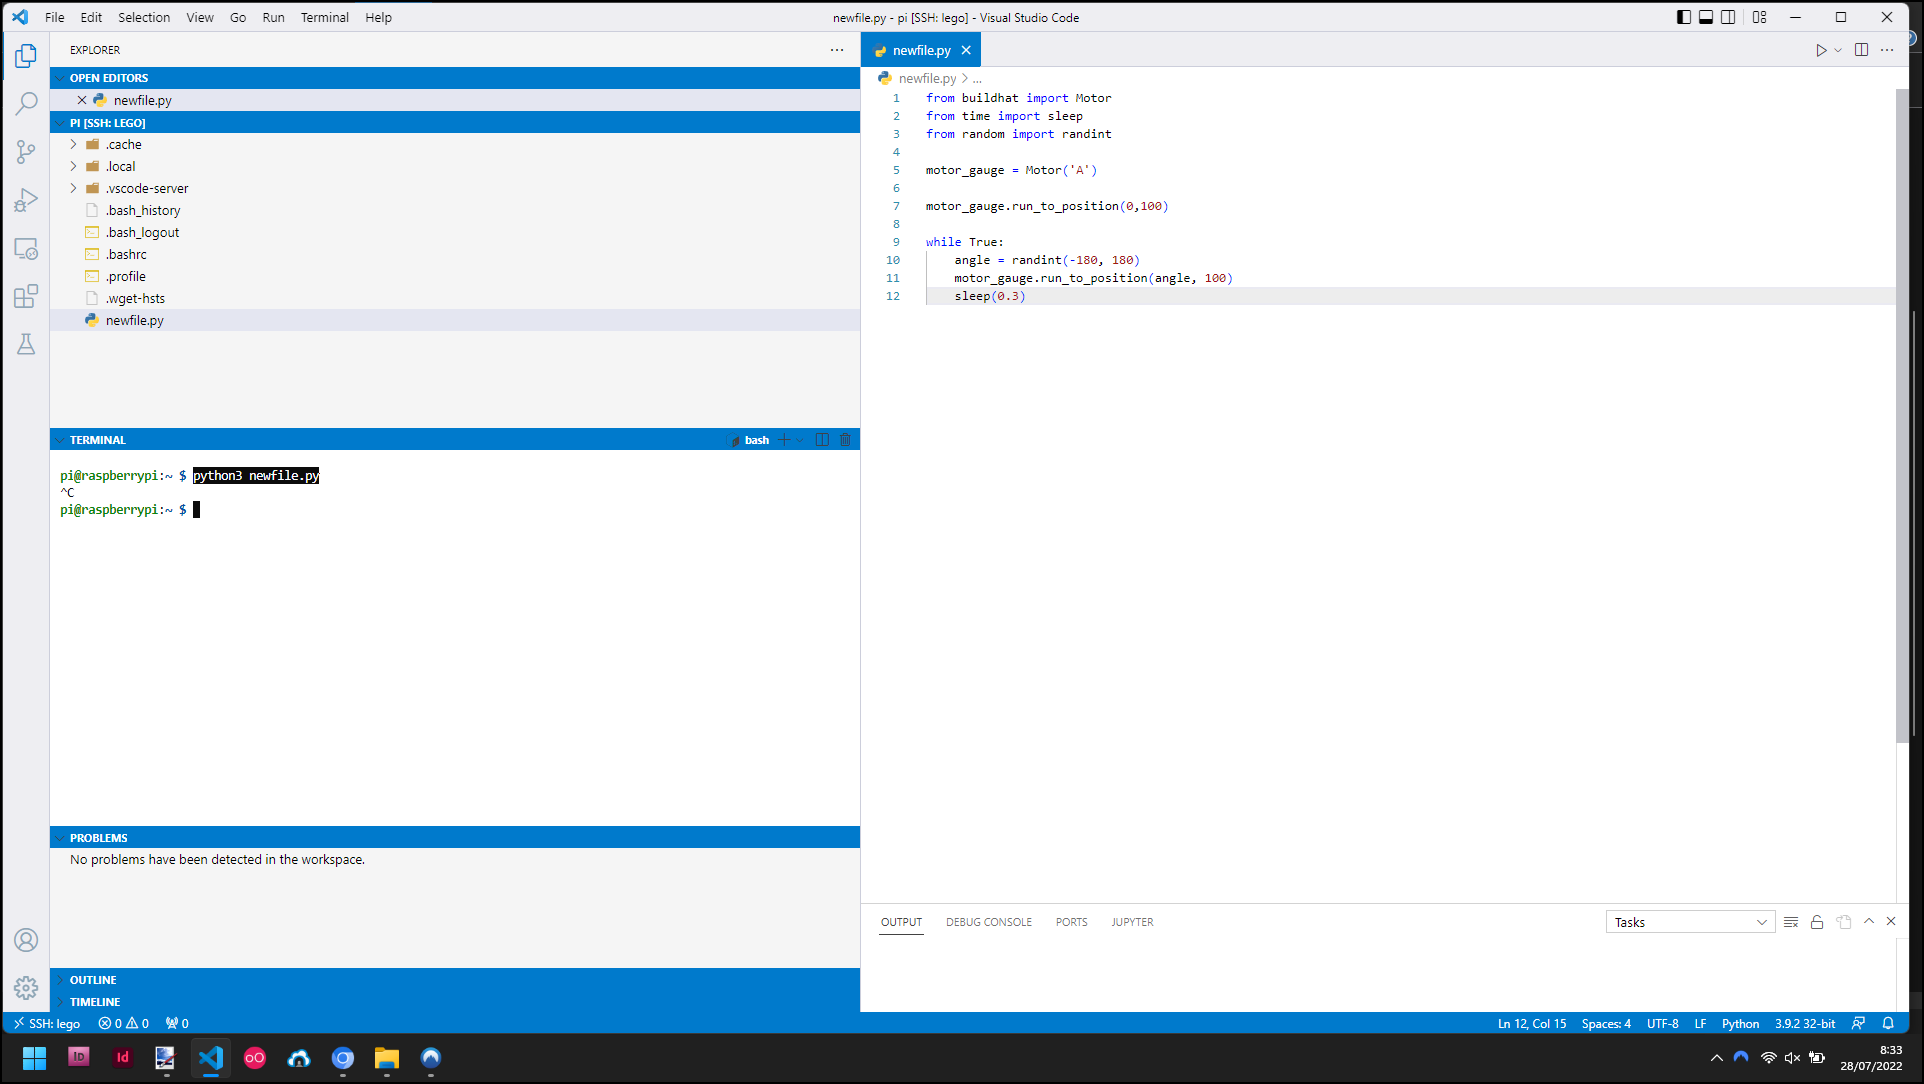
Programming the motors in VS Code |
Computer programming
Programming the Raspi can be done in different ways. Often the standard working tools are WinSCP and Putty. This time we’re going to start with VisualStudioCode (VS Code) from Microsoft (downloadable at https://code.visualstudio.com/Download). Please note that this method will not work on a Pi Zero.
After installing VS Code, start the program. Select the icon in the left bar Extensions and search for the module Remote Development from Microsoft. After pressing the Installbutton adds the extension. Press now Ctrl+Shift+P on Linux or Windows (or Cmd+Shift+P on macOS). Search and select Remote SSH: Connect Current Window to Host. Choose Configure SSH hosts to add your Raspi. As a configuration file, choose the first option from the menu. A file will now open. After Host type any name for your Raspi, for example Lego. Bee HostName put the IP address of your Raspi and at User enter your pi. Close the window. If you then again Ctrl+Shift+P taps and searches for Remote SSH, the connection you just created will appear in the list. Click here. Then choose Linux when asked what operating system you want to use. When asked about the fingerprint, choose Continue and then enter the password of your Raspi.
At the bottom right of the screen you will notice that a number of files are being installed on your Raspi in the background. As soon as this is done, a button will appear in the left window Open Folder in picture. Click on this, and keep the default /home/pi at. In some cases you now have to enter your password again and explicitly indicate that you trust the connection.
Visual Studio Code opens the file by default newfile.py. You will first receive a message that this file does not yet exist. Click here Create File. When asked if you want to install the extensions for Python, choose Yes.
The marker plateIf you would like to fully integrate your Raspi into a Lego project, you will of course know that the standard bricks are not compatible with the screws you normally use to fasten the board. Lego designed the Marker Plate for this, but curiously enough it is only available as part of the Spike Prime Expansion Set. Fortunately, you can also have it rolled out of a 3D printer yourself (see https://www.thingiverse.com/thing:5064470). |
Install library
We are now going to install the Build HAT library for the Raspi. In the menu bar at the top, go to Terminal and then choose NewTerminal.
At the command prompt, type:
sudo apt updatesudo apt-get upgrade (bevestingen met Y)sudo apt install python3-pip (bevestigen met Y)pip3 install buildhat
Finally, tap sudo raspi-configare you going to Interfacing Options and activate the serial port (eg Would you like a login shell to be accessible over serial? can you no select). When exiting the configuration program, the Raspi will be reset. Please wait for the connection to be restored. You will automatically be asked for your password again.
Tap right in VS Code, where newfile.py is open, enter the following code:
 from buildhat import Motor
from time import sleepfrom random import randint
motor_1 = Motor(‘C’)motor_2 = Motor(‘D’)
motor_1.run_to_position(0, 100)motor_2.run_to_position(0, 100)
while True: angle = randint(-180, 180) motor_1.run_to_position(angle, 100) print(motor_1.get_position()) angle = randint(-180, 180) motor_2.run_to_position(angle, 100) print(motor_2.get_position()) sleep(0.3)
Note the spaces in the while– part of the code, because with the slightest mistake your program will not run. After all, in Python we don’t use curly brackets or closing constructions to indicate blocks of code, but spaces.
Of CTRL-S save the file on your Raspi. You will now see the message that the Autopep8 formatter not installed. It allows us to shape our code nicely without much effort, so we opt for this Yes.
In the Terminalwindow do you type now: python3 newfile.py
If all goes well, both motors will rotate randomly, and the positions of the motors will be shown on the screen. Responsible for this are the commands run_to_position (with angle and speed as parameters) and get_position (to show the current position of the motor).
Finally
Of course, the possibilities of the Build HAT go far beyond controlling motors.
For more depth, we refer you to https://projects.raspberrypi.org/en/projects?hardware[]=build-hat. There you can find all kinds of fun projects, such as a Lego plotter, a data dashboard, a robot face and a remote-controlled car.