
On Apple computers, you use the macOS operating system. In this article, Ernst Roelofs, volunteer at HCC!apple, gives useful tips and tricks for macOS. In the next PC-Active (331) you will find part 2 of this article.
Ernst Roelofs
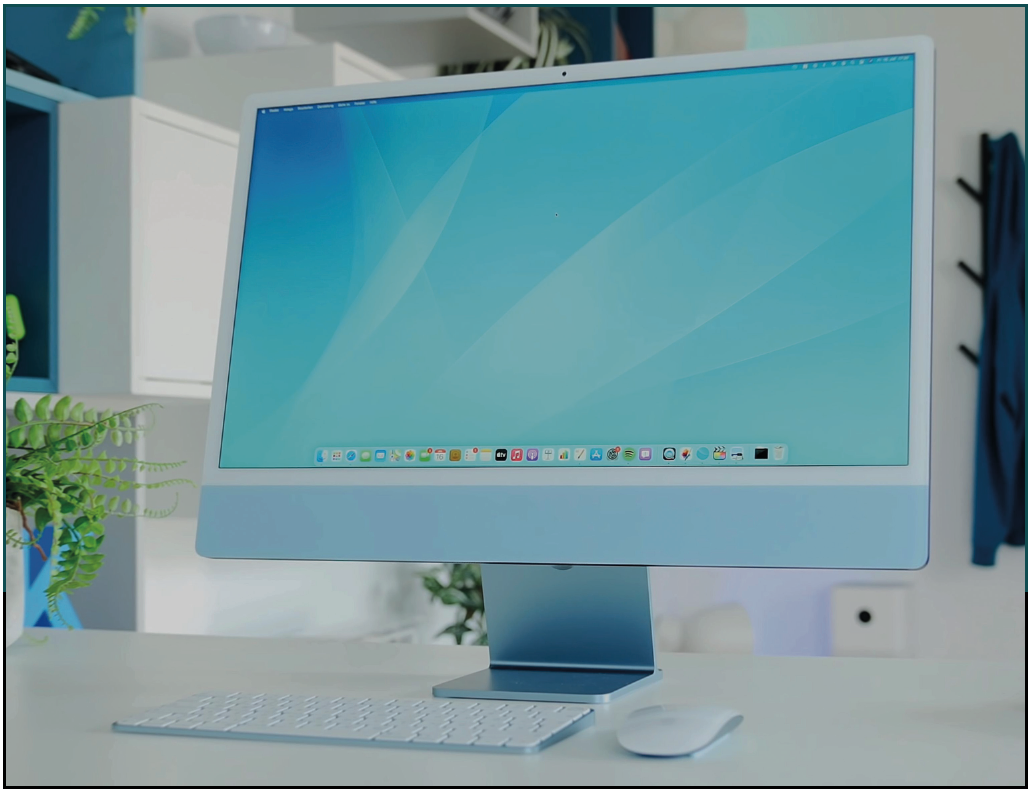
The iPhone is a very popular smartphone and the iPad is also a widely used tablet. Partly because of this, there are people who turn their backs on the ever-changing Windows and switch to a Mac. That can be a MacBook, iMac or the screenless Mac Mini (Pro) and Mac Studio. These computers come with a different operating system, namely macOS; currently macOS 13 aka Ventura is the most recent version. The official new version of Ventura’s successor, macOS 14, is expected to be released in October. A big advantage of macOS is that it has been free for years: an update does not cost extra money.
Why a Mac?
Apple computers are not cheap, but they are powerful computers with a pleasant and user-friendly operating system that are supported for a long time. The fact that they are also beautiful and solid is a nice bonus. Finally, there is a very good integration of all Apple devices. For example, a telephone conversation can be continued on your Mac(Book), Notes are available on all devices, what you cut on your iPhone or iPad can be pasted into a document on your Mac and you can easily stream to or from your Mac to for example an iPad or Apple TV.
|
Tips for macOS
There are plenty of useful tips and tricks for macOS. Since ChatGPT is the seasonal theme at HCC, I jokingly asked ChatGPT, “What tips do you have for newbie macOS users?”. This was the answer: “As a novice macOS user, here are a few tips that can help you become more familiar with the operating system:
- Learn the basic gestures of the trackpad or Magic Mouse: MacOS is designed to work well with the trackpad or Magic Mouse, so learn the gestures, such as swipe to switch between applications, pinch to zoom and scroll.
- Use Spotlight: Spotlight is a handy search tool that gives you quick access to files, applications, and folders. Use it to quickly find what you’re looking for.
- Usage spaces: Of spaces you can create virtual desktops to group different tasks or applications. This helps you stay organized and be more productive (since macOS Ventura Internship Manager added to your Desktop(s) or Space order, note Ernst).
- Learn the key combinations: MacOS has plenty of useful key combinations to quickly perform actions, such as Command + C to copy and Command + v to paste. Learn a few and you’ll find yourself working faster and more efficiently.
- Make use of the built-in apps: MacOS has some useful built-in apps, such as Safari, Mail, agenda and Notes. Take the time to explore them and learn how to use them.
- Make backups: Make sure you regularly back up your files and settings. macOS has built-in Time Machinefeature, which helps you make automatic backups.
- Set your preferences: MacOS has plenty of settings and preferences that you can adjust to your taste. For example, you can adjust the background image, the color of the windows and the brightness of the screen. Take the time to experiment and make MacOS your own.
Hopefully, these tips will help you become more familiar with MacOS and get the most out of your computer.”
I very much agree with this advice. However, the comment that it is MacOS and not macOS ;-). I will probably pay attention to these tips in the future. When I have bought a (new or via Marktplaats) Mac, I always start with the last point: setting it to my personal preference. I find the default settings less pleasant (and less workable for me). That’s why I’m starting with that.
Finder
Finder is the guide for every Mac user. You can move, arrange, open and find files with it. Fortunately, you can customize Finder to your liking. Still, Finder has one drawback, and that is that Finder only has one window. You cannot drag files from one window to another because there is only one window. You can open two windows/folders and drag files together from there.
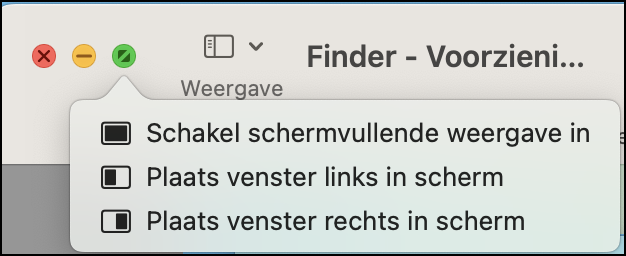
To begin with, each window has three colored dots in the top right corner. With this you can close a window (red), make it invisible (to the taskbar (right)) and move it (orange). With the green ball you make the window full screen (with Escape undo it). You can also place a window on the left or right, whereby the window is placed on the entire left or right half. You can achieve this by hovering the cursor on the green ball before clicking. By default, this fills the screen. Here too, this screen display is shown with the Escape-test (esc) undone.
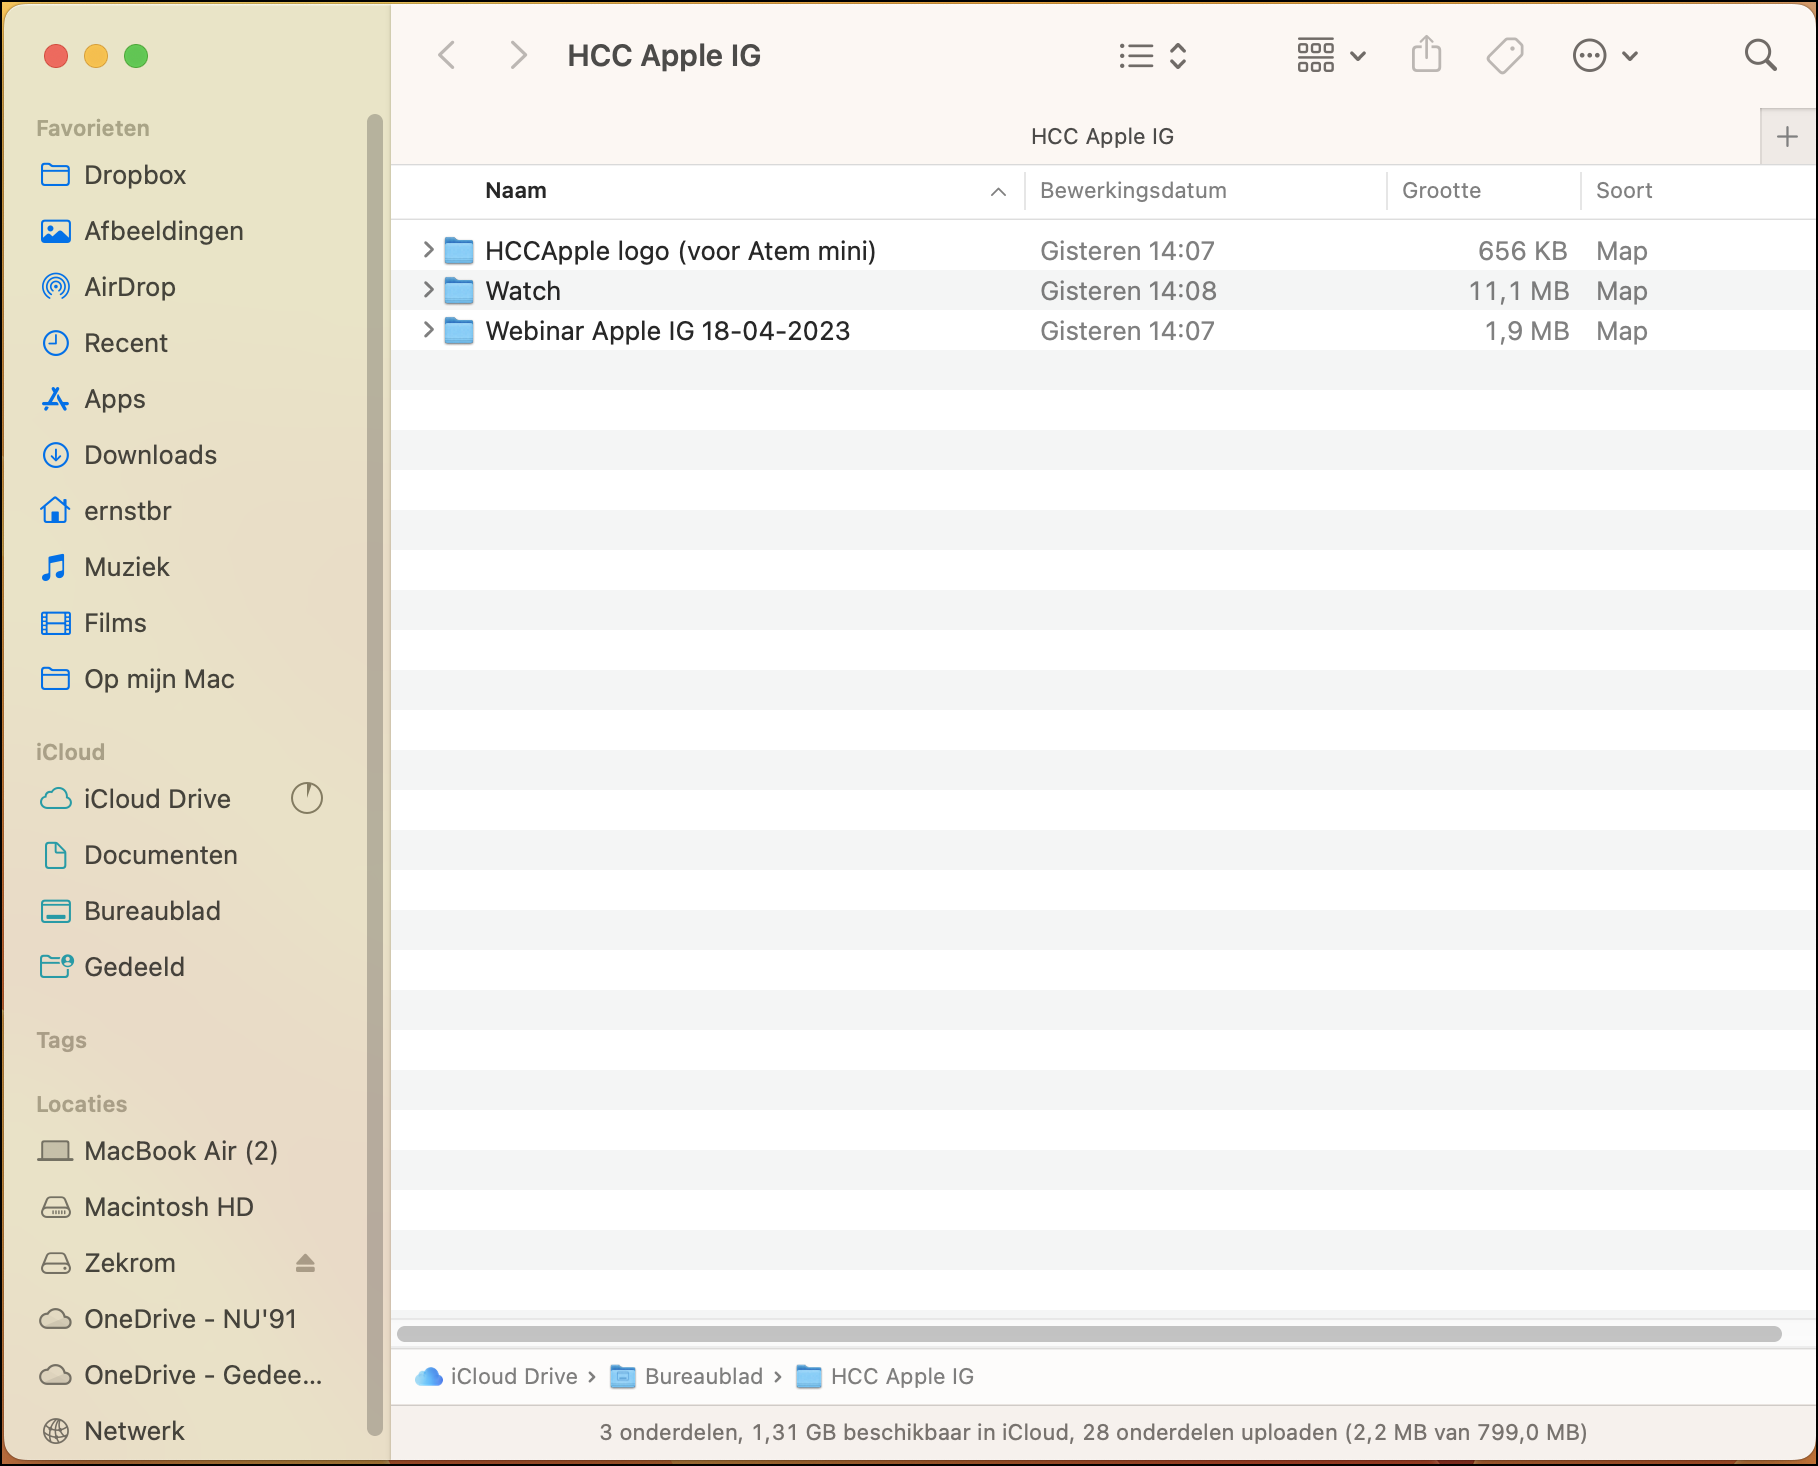
Below is the Finder screen in list view. On the left you see the shortcuts to folders, iCloud and connected peripherals. You set things up via the settings and by dragging to it. At the top you see the different display options
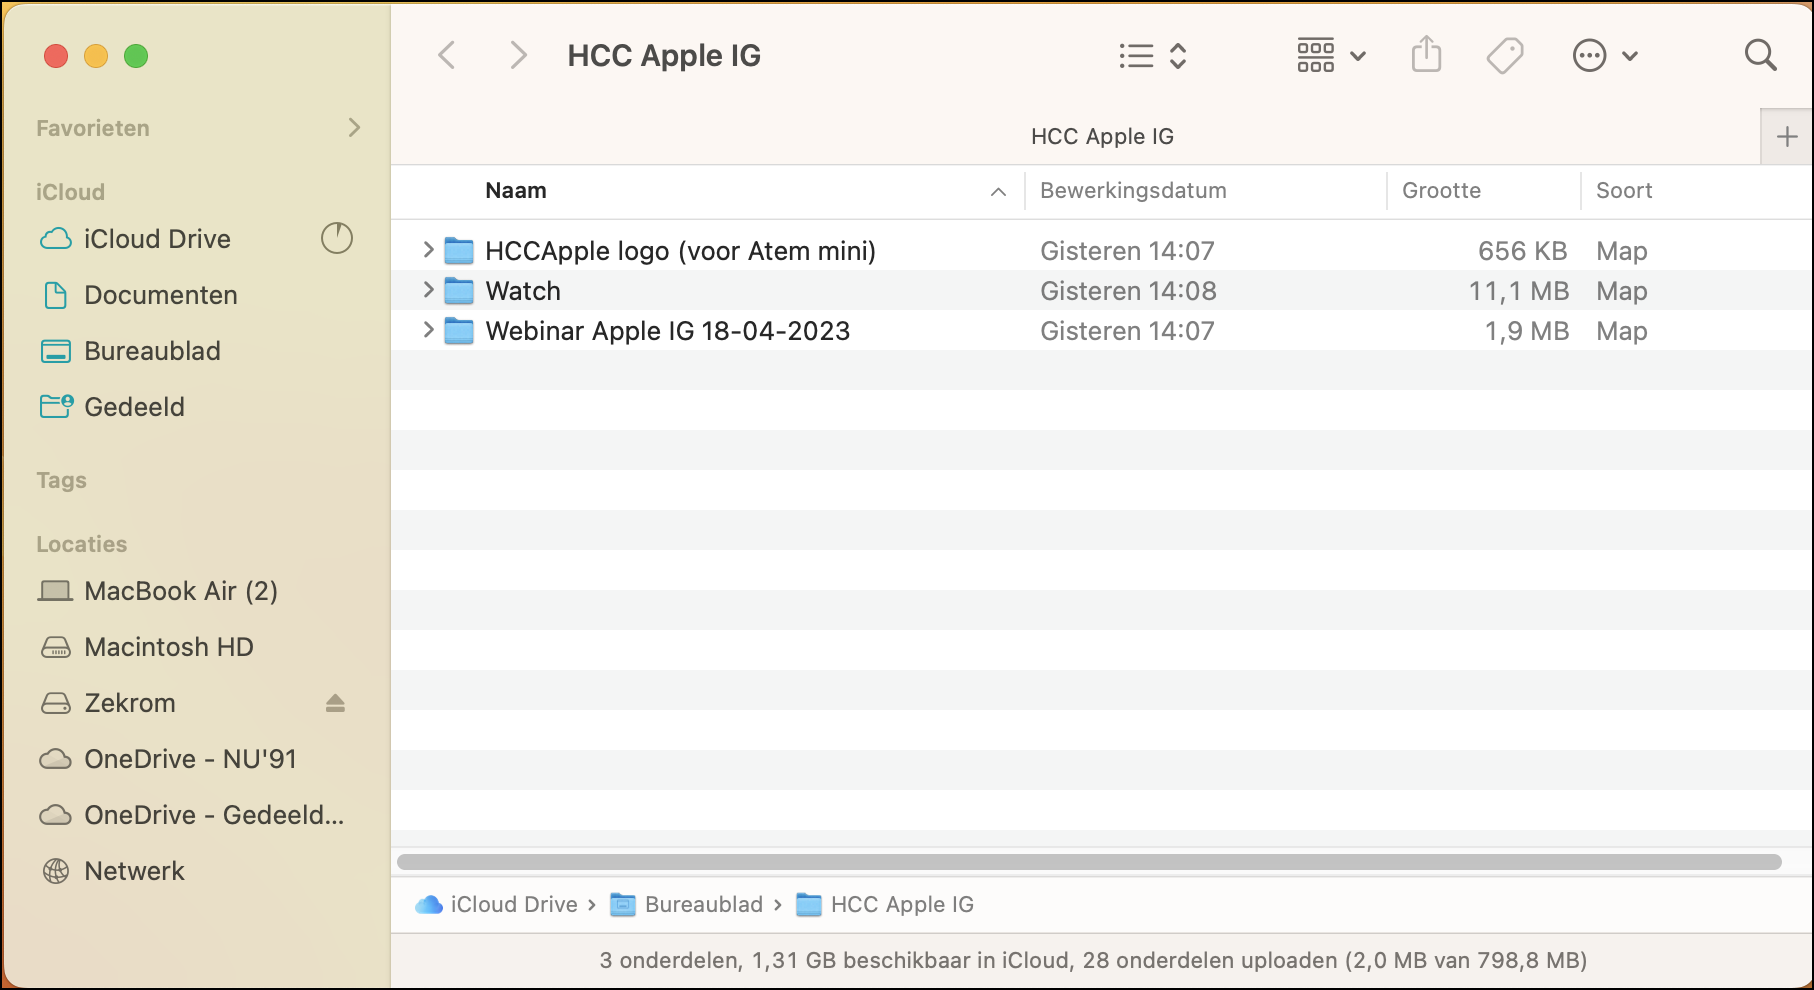
By clicking on the icons at the top you can specify your – display – preference. Via the settings you can choose how you want the files to be displayed.
Through ![]() you can indicate how you as a user want files to be displayed: as symbols or icons, in columns, list or Gallery (a kind of preview); useful if you want to view photos, for example.
you can indicate how you as a user want files to be displayed: as symbols or icons, in columns, list or Gallery (a kind of preview); useful if you want to view photos, for example.
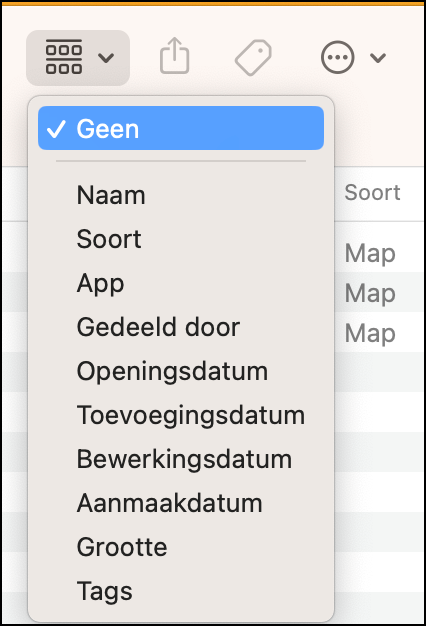
The second option is what you want to sort by. Bee No is that the name. Through the top Name clicking will sort by name in ascending or descending order.
More symbols
The next icon in the Finder window is the Share icon: ![]() By clicking on this, you can indicate with whom you want to share a folder or file, but also by sending a file, for example, in Notes to put.
By clicking on this, you can indicate with whom you want to share a folder or file, but also by sending a file, for example, in Notes to put.
With the label ![]() or tag symbol you can mark files and then search for them, quite handy.
or tag symbol you can mark files and then search for them, quite handy.
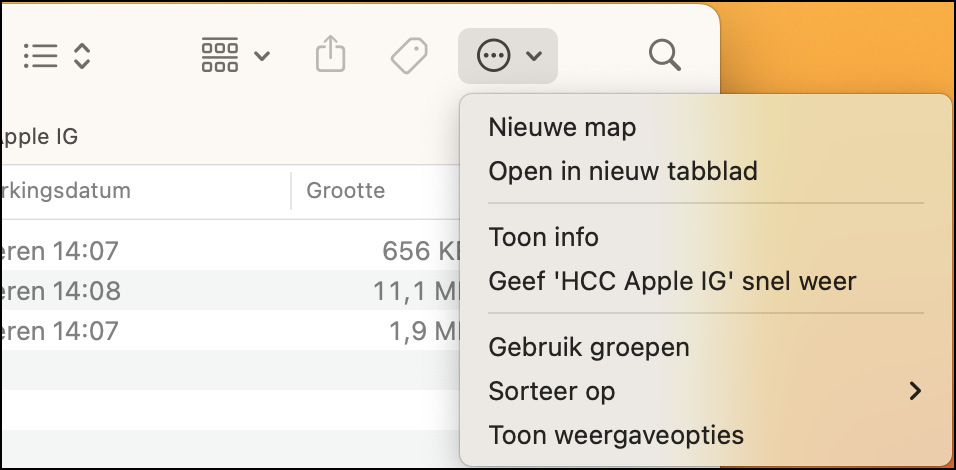
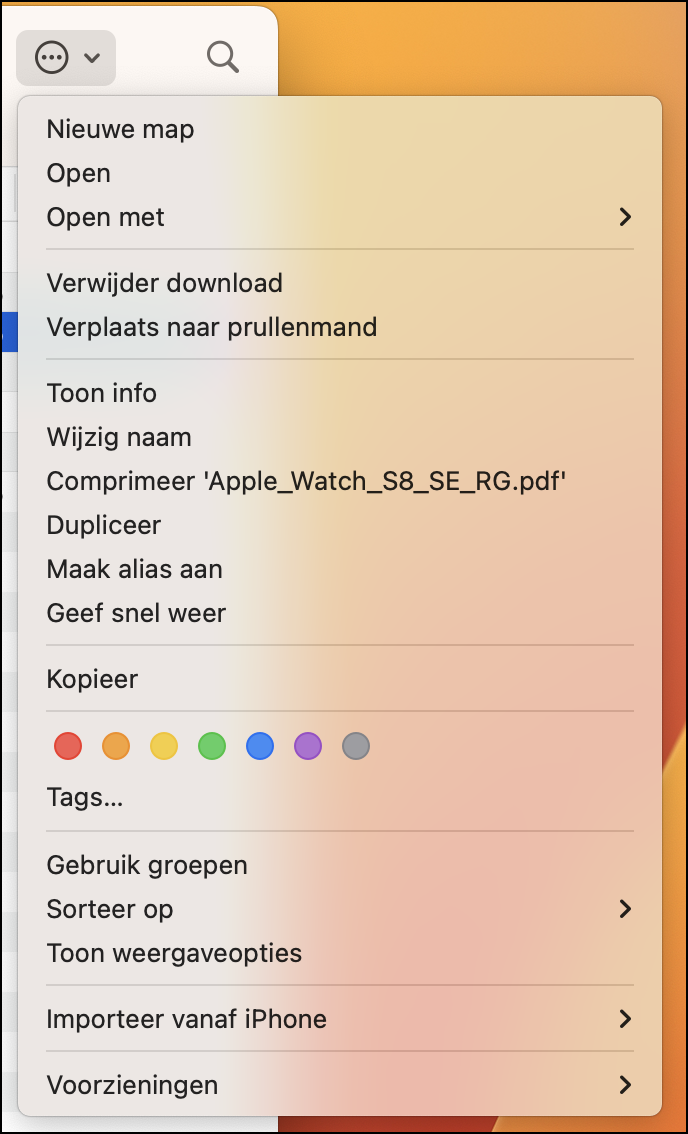
With this symbol ![]() you can arrange some extra things by opening a new folder or, for example, moving a file to the trash.
you can arrange some extra things by opening a new folder or, for example, moving a file to the trash.
You get the following menu with folders:
and this menu comes on the presence of files:
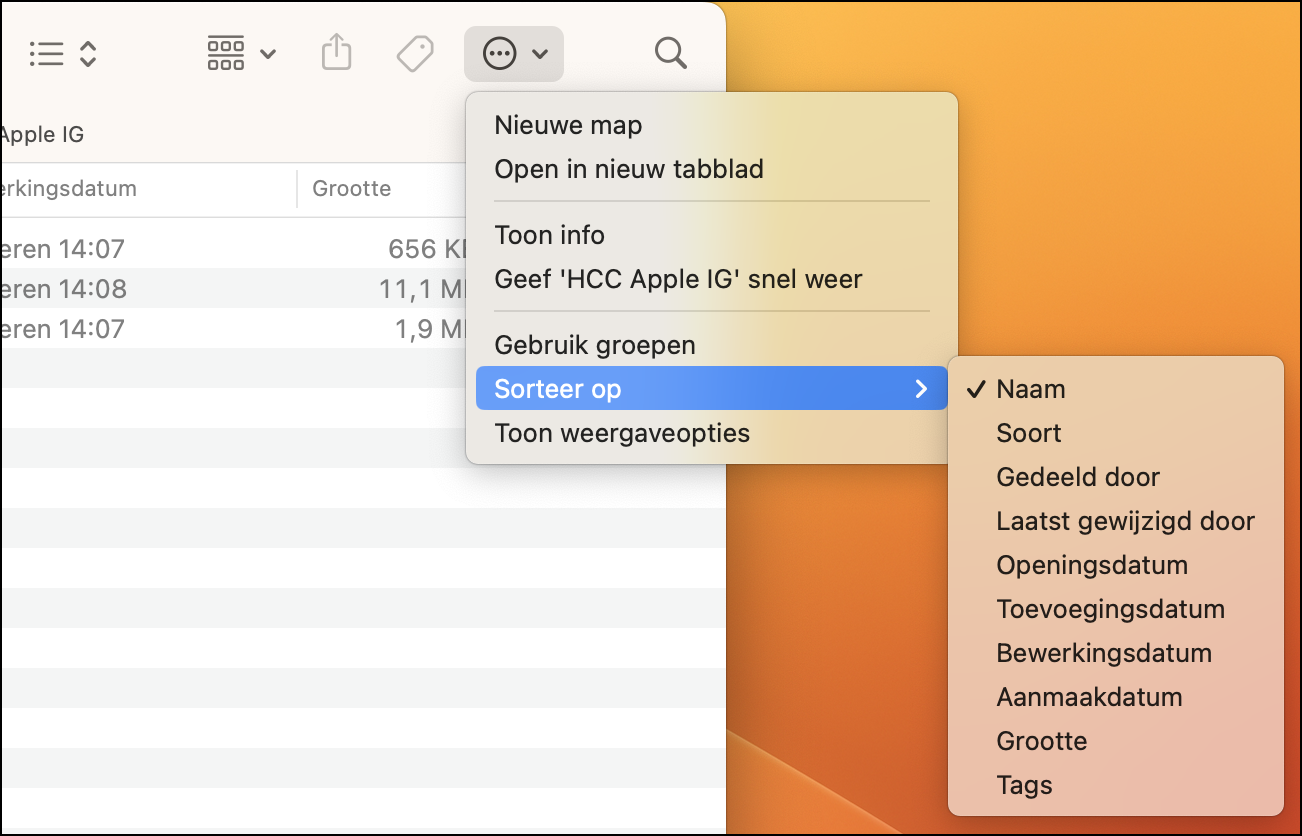
For example, you can set the sorting function; by default it is by name:
Magnifying glass
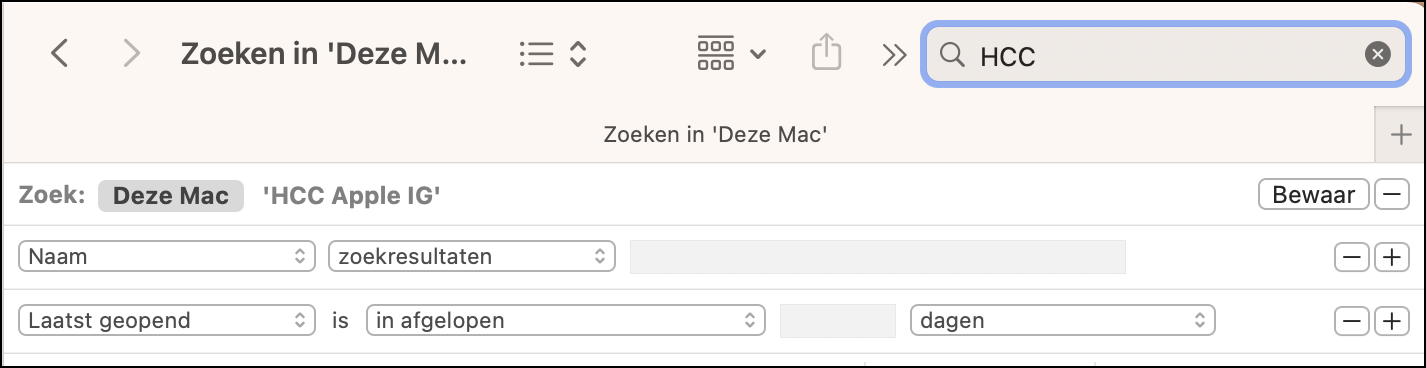
The magnifying glass symbol ![]() refers to the powerful search function
refers to the powerful search function ![]() where within (and outside) the underlying folder(s) can be searched. Searches are then performed both by name and within documents, which means that the number of hits can be very large.
where within (and outside) the underlying folder(s) can be searched. Searches are then performed both by name and within documents, which means that the number of hits can be very large.
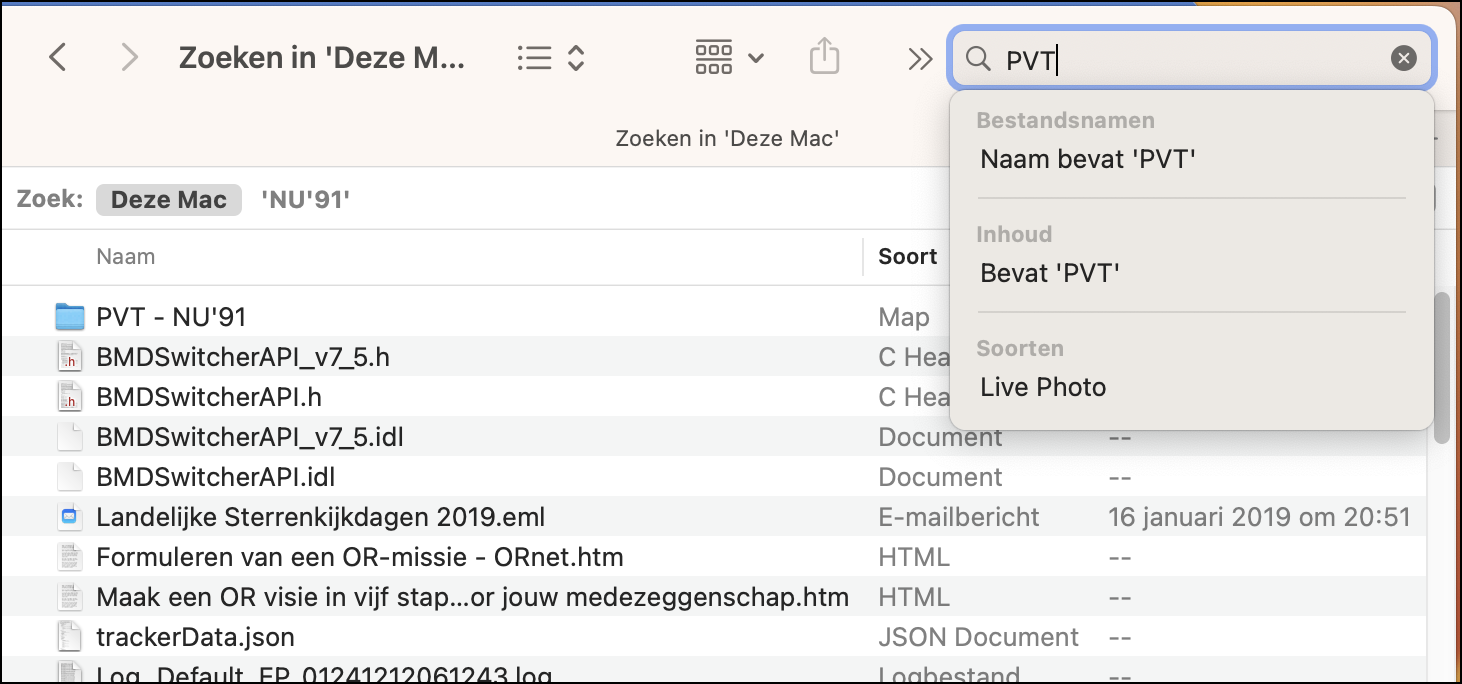
The search options can be expanded with, for example, HCC:
Finally, you can also find Finder in the Menu bar to adjust:
Finally
In this first part of macOS tips and tricks you can read a number of possibilities to customize Finder, so that you can quickly and easily find your way around your Mac. I especially advise the novice Mac user to try out the various functions and display options and then make a choice.