
It’s always fun to share your vacation stories and photos with your family and friends. You can do this with the free Polarsteps, directly online from your holiday address.
Alex White
Polarsteps gives you the opportunity to put your holiday experiences clearly and beautifully presented in a travel diary. Complete with photos and a map showing your locations. Not only can your family and friends follow your holiday up to date, you also have a personal holiday diary that you can look through again years later. You can use Polarsteps for free via the website and the Polarsteps app smartphonestore. For this workshop we will use the website in Windows.
 1 create Account
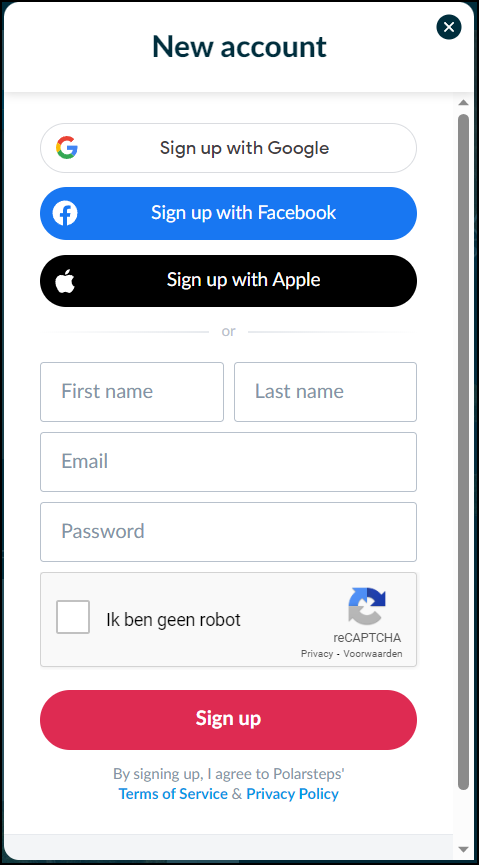
The first step to using Polarsteps is to create an account. Go to www.polarsteps.com and click Create an account. If you see a pop-up window, click Sign up on web. You can choose to create an account using your Google, Facebook or Apple account, or just the old-fashioned way. Complete the form, indicate that you are not a robot and click Sign up.
You now provide some information for your profile. Of Upload a photo you can add a profile photo. This is not mandatory. Type in City your place of residence and click on it in the list. Continue with Next. Finally, you will read some information about the app. click on Okay!
 2 Starting your journey
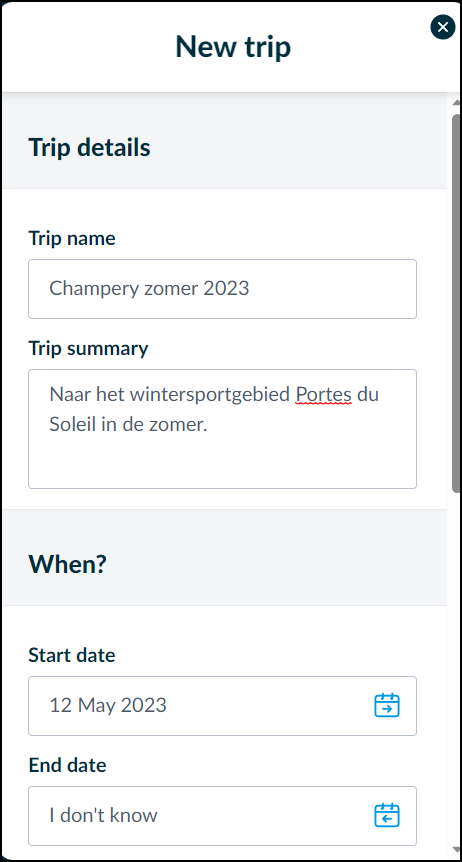
You will arrive at your account with a beautiful world map and you will be immediately ready to enter your first trip. To do this, click on Add a trip. In the pop-up window, enter basic information for your trip.
Bee Trip name enter the name of your trip Trip summary a brief description. You enter the start date of your trip Start date by clicking on the box. In the calendar you choose the year, month and day. Also specify the end date if necessary. Because you can choose an earlier date than today, you can also simply put an earlier trip in Polarsteps.
Finally, you indicate who can see your travel adventures. Only you (Only me), you and your followers (My followers) or everyone (Public). You can also adjust this later via Trip settings. Everything done? Then click Add trip.
3 Your first step in your journey: location
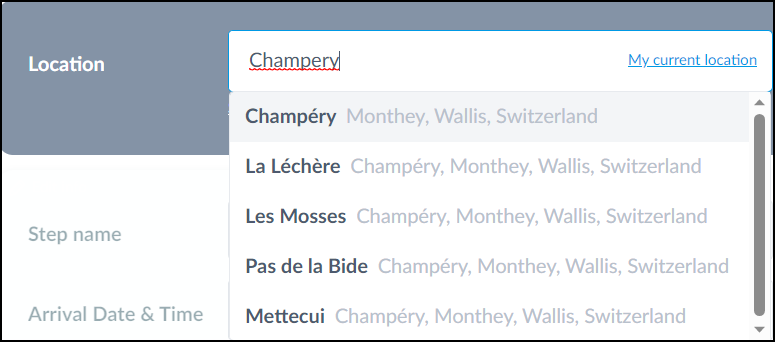
With your itinerary entered, you can start filling your vacation diary with your adventures and photos. Click for that Add your first step. You first enter your travel location. You can do this by typing the location at Location and then choose the right place in the list. You can also look up the location on the world map. Zoom in with the + key and zoom out with the – test. GPS coordinates can also be entered at Set GPS coordinates.
4 Step name, date and time
By default, Polarsteps gives your travel step the name of the location. For a little more variation, adjust it accordingly Step name. Bee Arrival Date & Time the current date and time always appear initially. If necessary, adjust this to the actual date and time of your experience.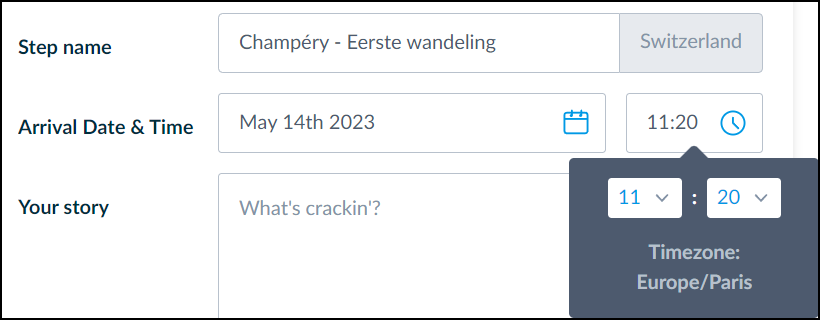
5 Your travel story
After all the technical information, you come to the best part: your travel story of the day. You type that in the box Your story. You can keep it short if you want, but an extensive story is also suitable.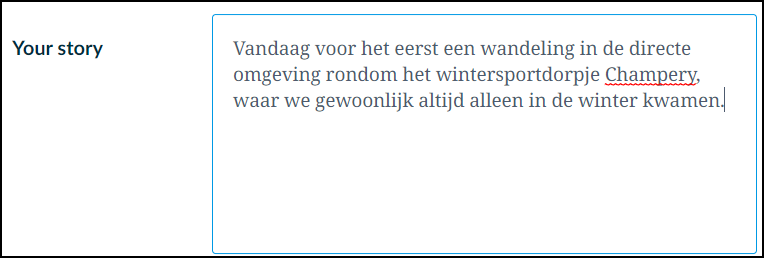
6 Your photos
It is of course extra nice if you illustrate your travel story with one or more photos. You can put them directly into the box from your photo folder Add your photos to tow. Or you click on the photo icon. Go to the folder with the photos. Click on a photo or select several by clicking with the Ctrl key pressed. Upload them with one click To open.
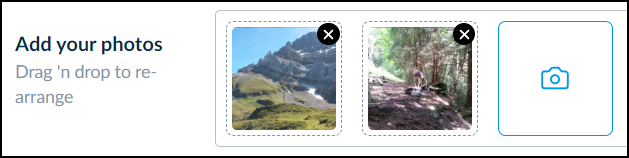
Once added to Polarsteps you can easily rearrange them by dragging them, or delete them with a click on the cross.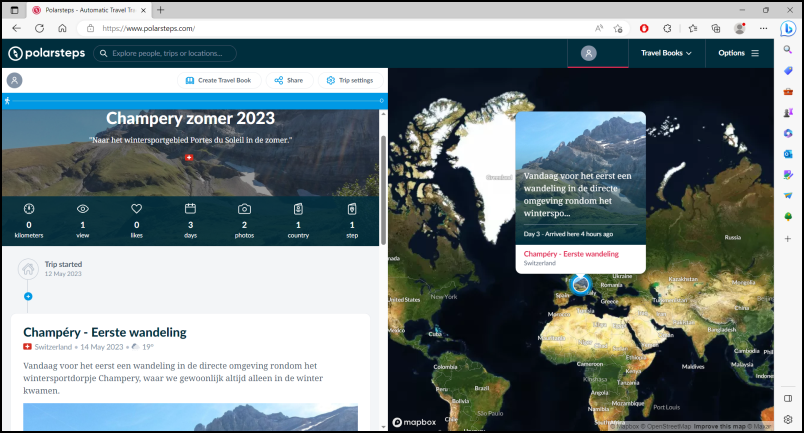
7 Take your travel step online
Completed everything as desired? Then you can set your travel step online with one click Add step. The first step of your travel diary has been taken. You can recognize it on the map by a thumbnail of the top photo. This way you can follow your entire journey clearly on the map. If you want to change anything about the step, click at the bottom of your story Edit step.
8 Complete
Have you finished entering your experiences for the day? Then you stop Polarsteps by clicking Options top right and then up Logout all the way at the bottom.
9 Continue your journey
After you have entered the first step of your holiday, you will of course also want to add your experiences to your Polarsteps diary on other days. To do this, go to the site and click on Sign in. Log in with your social media account or your Polarsteps login details. Choose bottom left Trips the holiday diary you want to continue with. Scroll all the way down and click Add a step for your next travel update.
|