
For people with poor or less good vision, Apple devices are often a solution due to the many integrated accessibility options. I will go into this in more detail in this article.
Ronald Korpershoek
With age also come defects. We’re all going to have a little more trouble with small print, especially in the dark. In addition, there are more than 300,000 people in the Netherlands who are visually impaired or even blind. How do you still use a computer and telephone in that case? Or even better, the computer or telephone can help you with certain actions. Apple is a solution in that regard with the many integrated accessibility options.
 |
|
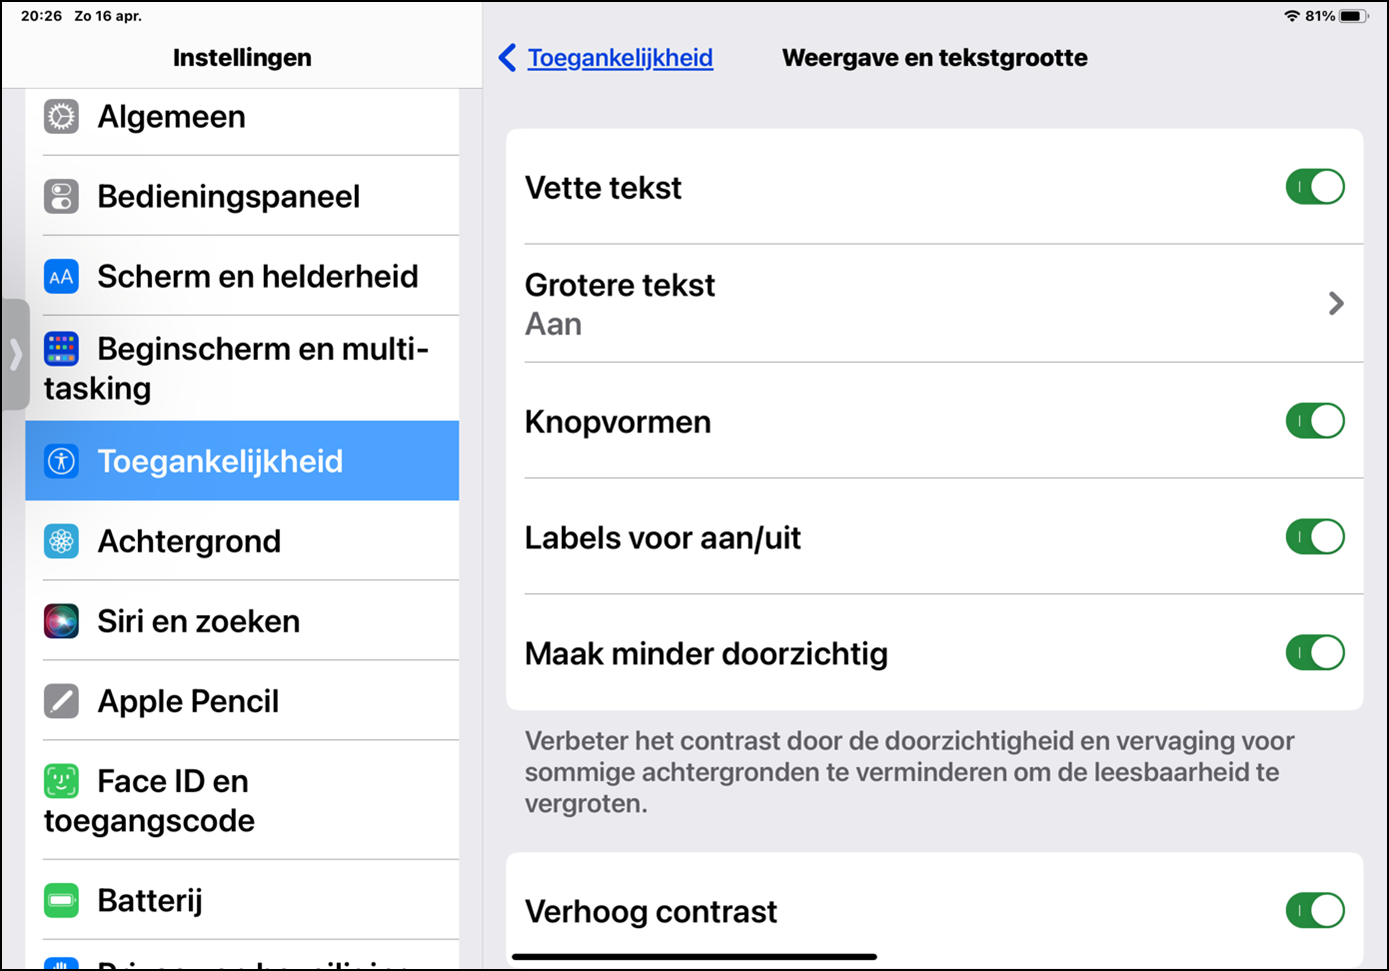
Bold Text and Increase Contrast via Accessibility on your iPad |
More contrast, larger letters
You don’t have to be visually impaired to have trouble reading small print on your iPhone or iPad. No worries. By flipping a few switches you can increase the contrast and make the font slightly larger. On your iPhone or iPad, go to Institutions and choose Accessibility. You will then see a long list of options in four categories: seeing, physical and motor, hearing and general. In this article I will mainly discuss the options below to see. And we start with the third option: Display and text size. To start, turn on the switches bold text and a little further on increased contrast Once on. That already saves one sip on a drink. If you want to go further, you can also experiment with the other options, such as Larger text.
Magnifying glass under control panel
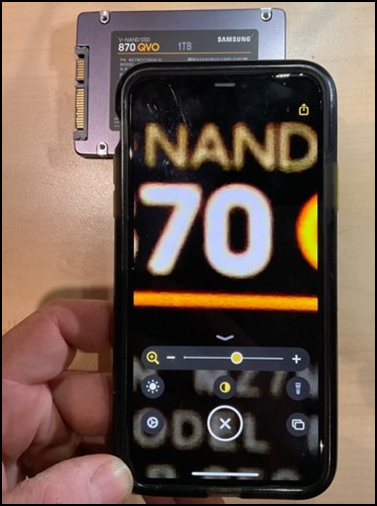
Even sighted people sometimes have trouble with the very small print on packaging or the serial number of a device. Searching for a magnifying glass in the cupboard is no longer necessary. It has been standard in iOS for a few years now. Go to Institutions and Control panel and choose from the list more controllers for magnifying glass.
Need a loupe? Swipe a finger from the top right corner to control panel to bring forward and choose Magnifying glass. You can easily enlarge with the slider or with two fingers on the screen. You can also freeze the image, add light, etc.
 |
 |
|
Use Magnifier via Control Center |
Have a digital newspaper read to you
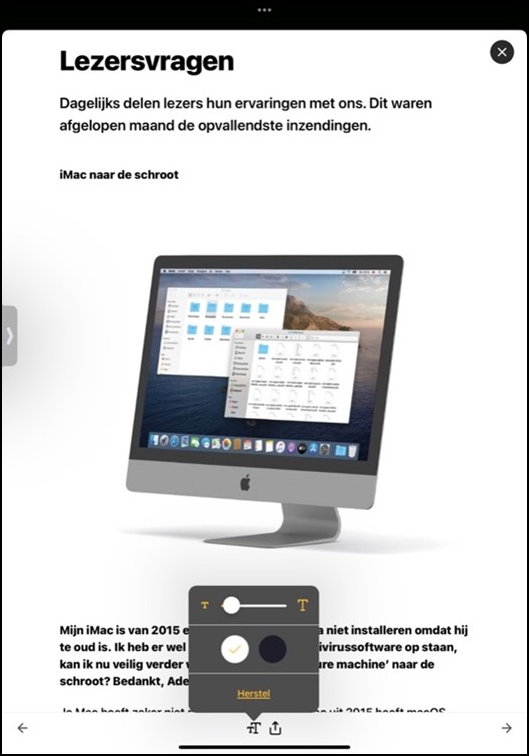
Many are still very attached to a paper newspaper. It is clearer and the text is larger than on your screen. Yet there are major advantages to digital. You have your newspaper available everywhere, no more late delivery and no more waste paper. Of course it is easier to read from an iPad than from an iPhone. If the print is too small, read your articles article mode. To do this, tap on the article and in a overlay you will see the article in a single column more or less in plain text. With most newspapers you can even enlarge the text via the buttons A – a.
|
Have the newspaper read aloud on iPad via Spoken Material |
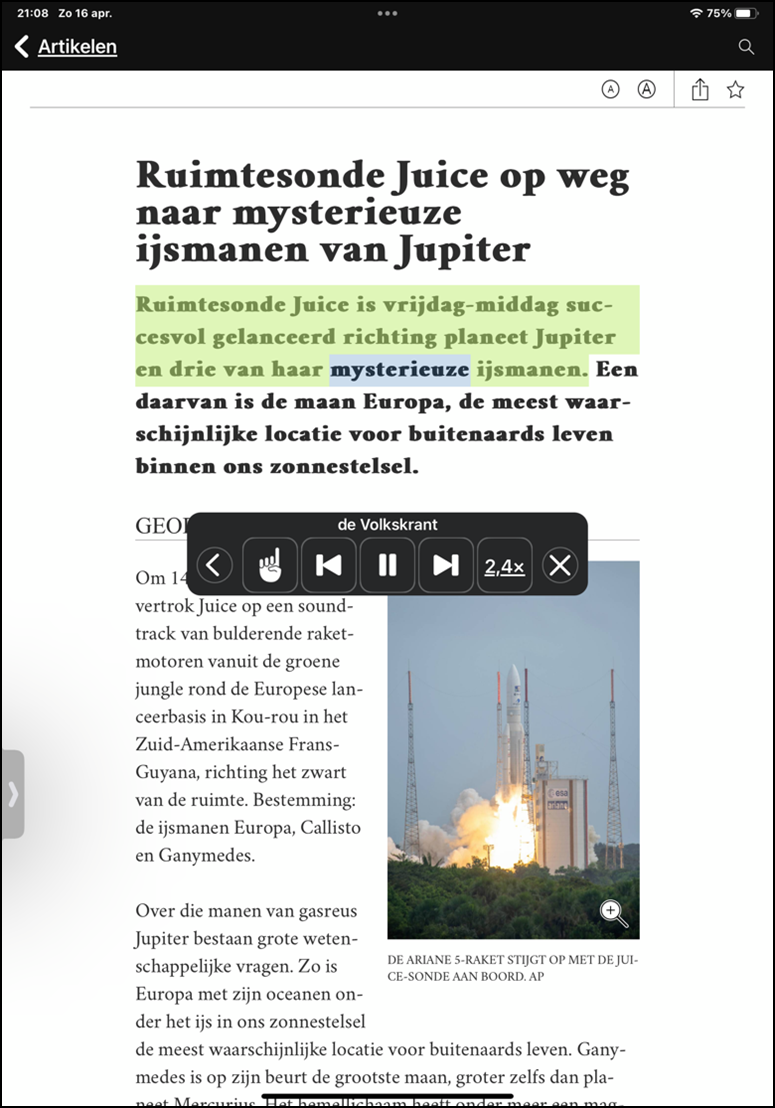
Is this not sufficient or are you visually impaired? In that case, consider having your newspaper read to you. Go back to Institutions and Accessibility and this time choose Spoken material. Turn on the second switch at the back Speak screen. And as the text directly below the switch indicates, by swiping down from the top of the screen with two fingers, the iPhone or iPad will read the text aloud in article mode. Further down the list you can make some adjustments, such as choosing a different voice, speed and highlighting the content. I opted for this last position words and sentences and as a marking style Background colour so that I can see in purple which sentence is being read and in yellow which word within that sentence.
I’ve even gone so far as to link this feature to tapping the back of my iPhone. You also do this below Accessibility, only then you choose To touch. At the very bottom of this menu Tap the back. Turn this on and choose from the list Speak screen. Now when I walk my dog in the morning, I open the Volkskrant and tap an article so that it appears article mode appears and I then tap the back twice. Immediately my iPhone starts reading the article to me. When I’m done or I want to continue sooner, I swipe to the left and double-tap the back again. This way I can ‘walk’ through the newspaper at my leisure.
Enlarge screen
Many visually impaired people are still quite visually oriented. Speech is not yet the solution for everything. You also want to be able to enlarge things quickly.
In that case it is useful to Zoom to enable, again via Setting
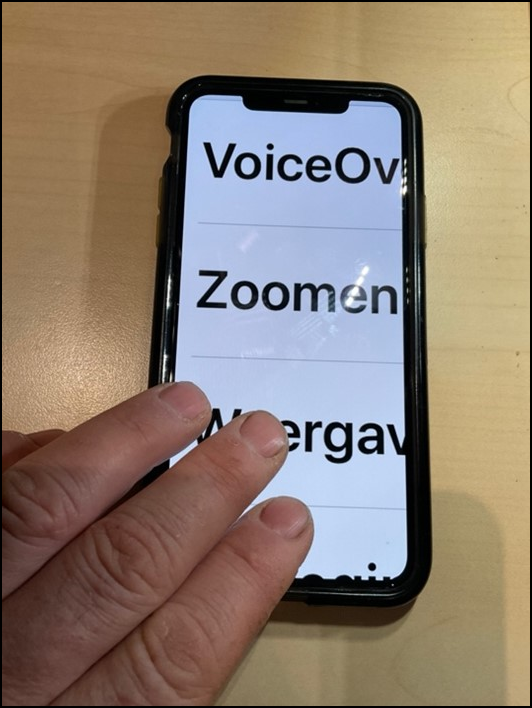 |
| Use Zoom by pressing with three fingers tap and move up and down |
lings and Accessibility, as the second option in the list. Directly below the switch are the instructions on how to zoom: I find it easiest to tap twice with three fingers and immediately increase or decrease the size in the second tap by moving up or down respectively with my three fingers. Of course, you only keep part of your screen in view. It takes some getting used to. If you really need it, you will see that you will get the hang of it after a few weeks.
By the way, we’re always talking about the iPhone and iPad. You can also use this function on your Mac, with the difference that you do not place your fingers on the screen, but on your touchpad. Of course, you must first enable the function here via System preferences and Accessibility. Click Zoom On. I have the position myself Use scroll gestures turned on and selected the Control-test. If I now press this key and move it up with two fingers, I will continuously enlarge my screen. I work without magnification for the overview, but as soon as I want to read or click something, I mindlessly throw the button CNTR + 2 fingers up or down the screen goes to large and a little later back to full screen.
|
VoiceOver, the heavier artillery
 |
| Frame around field that becomes read by VoiceOver |
If you really can’t see it anymore or are blind, then… Voice Over absolutely a godsend. Again, go to Accessibility, and select in the first line Voice Over. Turn on the switch. Now it’s time to practice. You will see the instructions below the switch and even the option at the bottom practice with voiceOver. Definitely do that. This will take you time, perhaps weeks. If you persevere, you will discover how incredibly easy it works. You move your finger across the screen and the name of the app, text or functions are read out. If you want to open an app, move a switch or choose a link, double tap and it opens. And of course you can also personalize all kinds of things here, from voice, speed to detail recognition. It’s just a matter of experimenting regularly to find what works easiest for you.
Once you have mastered the basics, be sure to start working on the rotor. Place two fingers on the screen and twist them around each other. A rotor will now appear with which functions such as language, speed, voice, etc. become directly accessible. If you swipe up or down, you change the values.
Also on the Mac Voice Over the solution for visually impaired and blind people. Especially here, it takes even more time to master it properly. The utility guides you through this step by step.
Also on the Mac Voice Over the solution for visually impaired and blind people. Especially here, it takes even more time to master it properly. The utility guides you through this step by step.
Listen to books and magazines digitally
With apps, newspapers, etc., you can now move forward. What if you want to read a book? First of all, you can get books and PDFs through Apple’s Booksapp to read aloud in the same way as I mentioned earlier in the newspaper: via Spoken material, so if it is still on, swipe down from the top edge of your screen with two fingers, or via VoiceOver.
|
Read digital magazines via Readly |
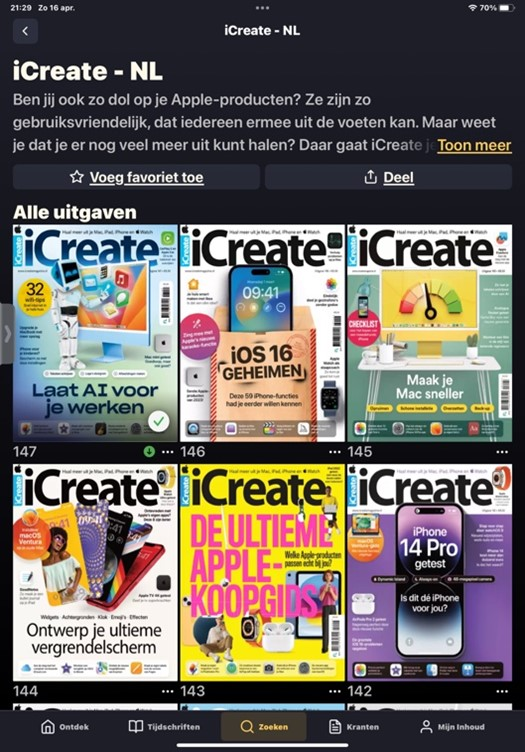
And yes, magazines, something like that. From iCreate, Discovery Magazine, Quest to Historia and Landleven. For €11.99 per month you can view these digitally via the Readly app. And here too, the text is too small, just tap on the article to turn on article mode. And if you want it read to you, use again Spoken material with the two fingers from the top of the screen or move VoiceOver On.
 |
|
Read text via OCR with Prizmo Go |
Speak it
Until now, it has always been about reading and having it read to you. Another option is to operate your phone with voice control.
Starting with Siri. Turn it on via Institutions and Siri and search. Press the home button a little longer and say your commands. I use it a lot to call: ‘Call so-and-so’. Or another trick: the dictation function. Turn this on via Settings, Keyboard and enable dictation function. From now on, there will always be a microphone at the bottom right of your keyboard. Tap this and speak well-articulated sentences, using the words ‘period’ and ‘comma’ if necessary. With some practice you will be able to type with two thumbs in no time millennial match in speed.