
You bought a new computer. However, you would like to transfer important data, some apps and Windows settings from your old computer to your new device. We will help you with the move.
Toon van Daele
A brand new computer with a ready-installed Windows 11 is nice, but you may still miss your familiar environment, settings and data. You could consider cloning the drive on the old computer to the new drive, but that is technically quite complicated and there is a risk that it will not work completely correctly.
In this article we keep it simple and transfer the most important parts, such as data files, your Windows account including settings, and (the configuration of) your trusted applications.
1 Data (Explorer)
 |
|
Use good old Explorer to copy data files |
Let’s start with the simplest task: copying several data files. You can connect a USB stick or an external USB drive with sufficient storage capacity to your computer and then transfer all the desired files via the Scout copy to USB media.
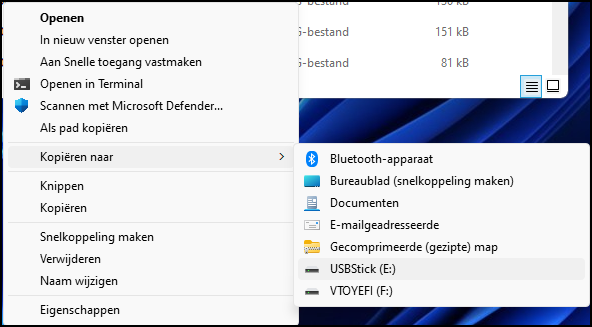
To select all items in a folder at once in Explorer, you can use the key combination Ctrl + A to use. To select only specific items, click and hold the first item Ctrlkey while clicking on a different item each time. Then right-click on your selection and choose Show more options / Copy to and select the USB medium. Once the copying is complete, connect this media to your new computer and copy any desired data from Explorer to appropriate folders on that computer.
 |
| Use your favorite cloud storage service as a way station |
2 Data (cloud)
Instead of using a removable USB media as an intermediate station, you can also use your cloud storage space, such as Google Drive or Microsoft OneDrive, for a limited amount of data. Let’s take Google Drive, with 15 GB of free storage space, as an example. To do this, go to drive.google.com with your web browser and log in with your Google account.
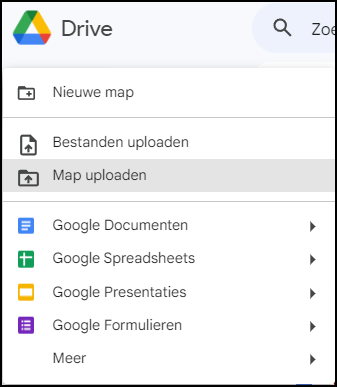
Click at the top left +New and select Upload files or Upload folder. An Explorer window will appear where you select the items you want. Then click at the bottom right To open (for files) or upload (2x) (for a folder). After uploading you will find this information My Drive in the left pane of Google Drive.
On your new computer, now also go to your Google Drive and select all the desired items by pressing Ctrl-test. Click on the arrow button at the top To download. The files will automatically appear in an Explorer window a moment later. Click here Unpack everything and pass on To leaf through a suitable location.
3 Data (PCTrans)
If the previous methods are not practical for you and you do not mind installing an additional tool, then you can conveniently use EaseUS PCTrans Free. You download this from www.easeus.com/download/pctrans-free-download.html via the button Free Download. Then double click on the downloaded exe file and click Yes and Install now.
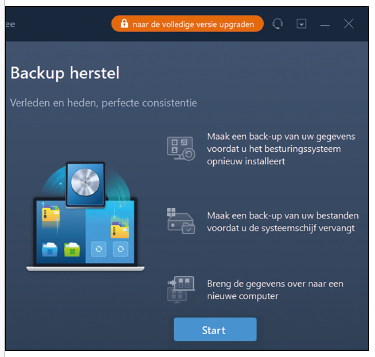 |
| With Backup restore you can in PCTrans copy data files |
After installation, click on Start now or you start EaseUS Todo PCTrans from the Windows start menu. In the left pane you will find the option, among other things PC to PC. This is useful when both PCs are connected to your home network, but we assume this is not the case
Then just select Backup restore and click Start. Choose at the top Backup of facts and name your backup file. click on To leaf through and designate a removable USB media. Confirm your choice, go to the section Files at the top and check all the files and folders you want to transfer. At the top right you can read how much accumulated data is involved. You could already click on Make a backupbut you’ll have to wait a while for that.
4 Apps (PCTrans)
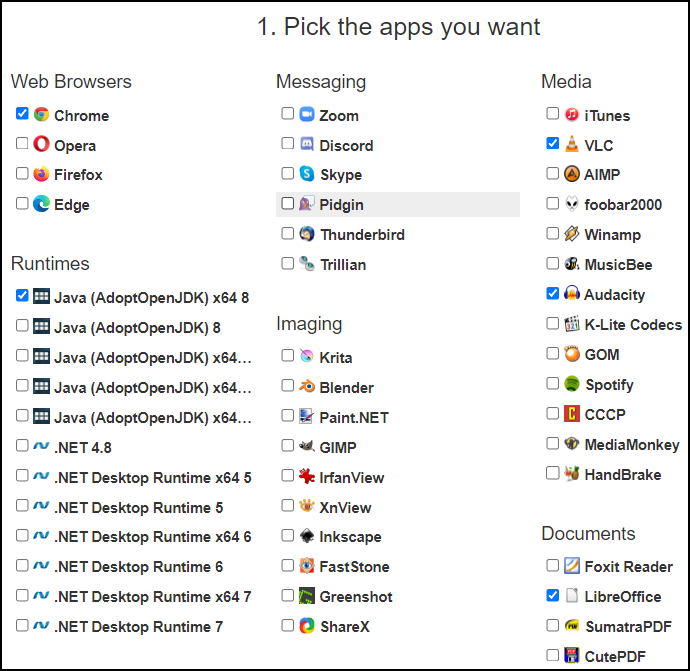
EaseUS PCTrans also allows you to transfer installed applications. In the free version you are unfortunately limited to five apps. Go to the section Application at the top and click Supported to view the list of installed and recognized programs that PCTrans can usually transfer without any problems. Place a check mark next to the desired applications. You are now ready, but wait a moment with the button Make a backup.
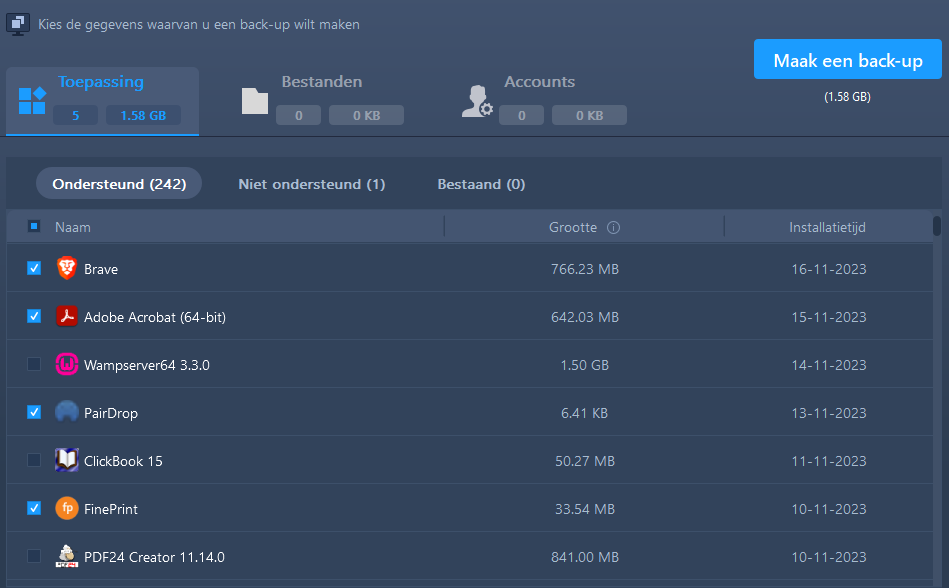 |
| PCTrans supports many applications |
5 Accounts (PCTrans)
With PCTrans you can also transfer Windows accounts. This is actually reserved for the paid Pro version, but we managed to do this in the free edition as well. In any case, it’s worth a try.
| You choose which account settings you want to transfer |
This time open the section Accounts at the top. Here you will get an overview of the Windows accounts on your PC, both local and Microsoft accounts. Place a check mark next to the accounts that you also want to have on your new computer. For each account, you will find four sections in the right pane: User settings, User data, Personalization and Institutions. Click on the arrow button each time to expand these parts further and select the items that you actually want to transfer to your new PC.
If you also want to transfer the settings for your wireless network, check this box WiFi settingsin the left panel.
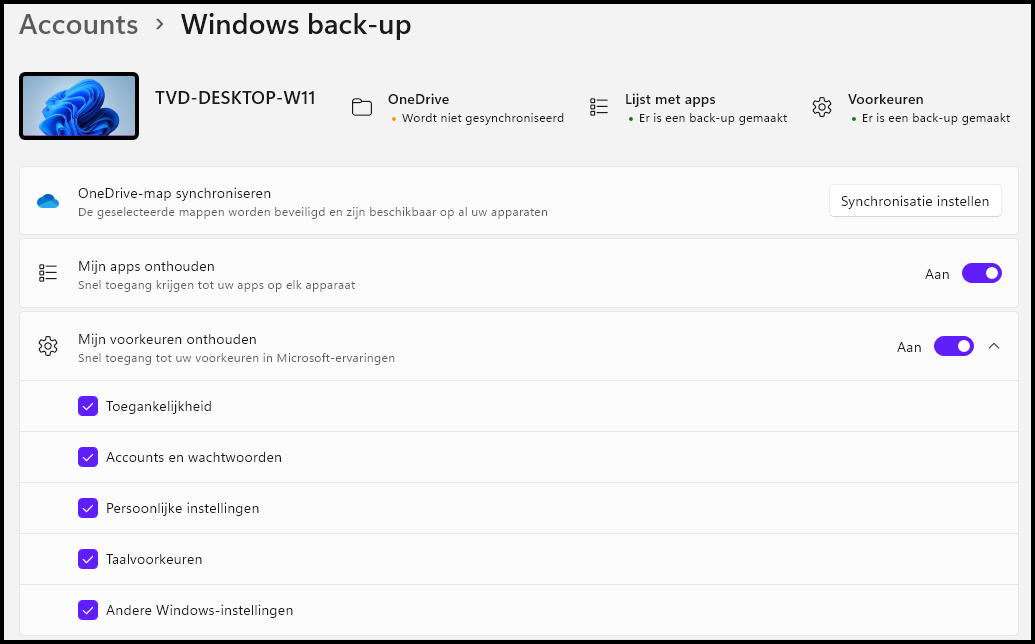
Microsoft accountIf you are unable to transfer your Windows account with (the free version of) PCTrans, you can consider the following alternative. One requirement is that you have logged into Windows on your old computer with a Microsoft account. Signed in with your Microsoft account on your old computer, now go to Settings / Accounts and select Windows backup. Make sure the options Remember my apps and Mine remember preferences (including its children) are enabled. Now when you log in to your new computer with the same Microsoft account, the items you selected on your old computer should be synced nicely. |
6 Migration (PCTrans)
You are now ready to go Make a backup to click. The data is immediately saved to a backup file (
Launch the tool and choose Backup restore. click on Start and select this time Restore data at the top. click on The next and browse for it PCTfile in your backup location. Confirm with To open.
Open the section Application, Files and/or Accounts, depending on the data previously copied (see steps 3, 4 and 5 above). Place a check mark next to all items that you actually want to transfer. Leave at the bottom Create a restore point for the operating system of the new PC checked (see also the ‘Restore point’ text box). click on To recover to start the transfer and wait for completion.
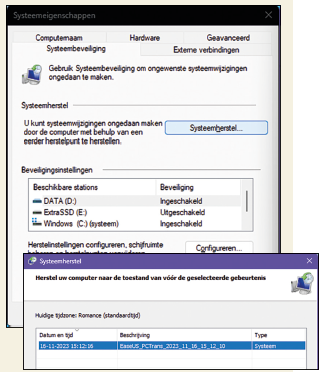
Restore pointAs mentioned, when transferring data via PCTrans, leave the check mark unchecked Create a restore point for the operating system of the new PC. This allows you to return to the original state in case something unexpectedly goes wrong during the transfer. You do this as follows. |
||
7 App configurations (old)
In step 4 we explained how to transfer applications from your old computer to your new computer with PCTrans, but unfortunately this is very limited in the free edition. A useful addition to this is CloneApp, which allows you to migrate the configurations of many popular programs.
Fast installationsChances are you have several useful free programs installed on your old computer. It can be annoying to have to install all of these on your new computer. Fortunately, there are tools that can significantly speed up this download and installation process. We briefly introduce a few of them. The simplest is Ninite (www.ninite.com). In the browser window, check the desired apps and click GetYour Ninite. A little later you can make an adjustment installer.exefile download. With a double-click on this file you can then install the previously selected applications in one go. |
||
On your old PC, go to www.builtbybel.com/apps/cloneapp and click Download latest version. CloneApp is a bit older, but still appears to work well for the supported apps. Double click on the downloaded cloneapp.zipfile and choose Unpack everything. Then right-click in the selected extraction folder CloneApp.exe and select Run as administrator.
 |
|
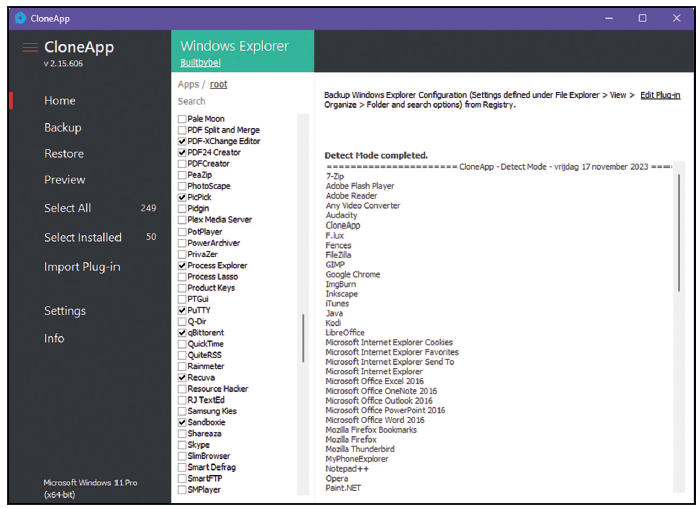
CloneApp will detect the backup file of the app configurations by itself |
After your confirmation, CloneApp will start. Click here Select Installed. The tool will now place a check mark on all installed and recognized applications. You can feel free to uncheck items whose data or configuration you do not want to transfer, for example items that contain ‘Windows’ to start. This saves you time and storage space. Finally, click Backup and confirm with Yes.
8 App configurations (new)
On your old computer, first copy the complete contents of the CloneApp extraction folder, including the underlying folders with the backed up configuration files, to a removable USB media via Explorer.
Then go to your new computer, where you logically first install the applications whose configuration files you want to migrate in a moment. After you have done this, connect the USB media to your new computer and open it in Explorer. Right click on CloneApp.exe and choose Run as administrator. Once the tool has started, click Restore and confirm with Yes to restore the suggested backup data. A little later, the migration is complete and the relevant programs have your familiar configurations.