On your iPhone you can also easily edit your just taken photos. Read how to do that in this workshop and also how to organize your photos neatly.
Edited by Rob Coenraads
You don’t need an extra app to edit your photos on your iPhone (or iPad). This can be done directly from the photosapp. That editing software will not turn you into a great photographer nor into works of art from your photos. However, you can greatly improve the photos you’ve taken or copied to your Apple device.
For example, with the editing functions you can rotate photos from portrait to landscape format. There are also many editing options, such as adjusting color depth, brightness, and contrast. The option to crop images helps if you only want a specific part of a photo and want to delete the rest.
In addition to the photos you take with an iPhone (or iPad), you’ve probably gotten some through other channels: as an email attachment, via AirDrop or iCloud Photos, or directly from an SLR camera with an adapter. That’s why we immediately start working with the photos that are on your device.

Of Crop you can cut out parts of a photo that you don’t want, for example a blurry part. A grid makes it even easier to determine the correct position. You can also rotate a photo here and correct any distortion.
2 Improve
This seems like a basic function compared to most specialized editing programs, but with the push of a button your photo does get better. A feature to remember.
3 Save
Don’t forget to press the yellow button after an adjustment Ready to push. If you don’t do this, your changes will not be saved and all the work was for nothing.
4 Live Photos
With a Live Photo, the camera shoots several images in succession. Was the function turned on when the photo was taken? Then you choose the best picture via this button. This way you always have a perfectly timed photo, but the quality of the other images is lower than that of the main photo.
Copy editsAre you satisfied with the |
|
Send photoOnce you’ve applied the changes, you can download the photo from the Partbutton at the bottom left as |
||||
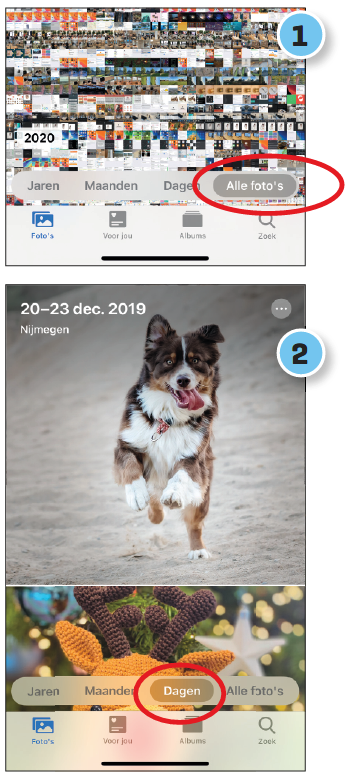
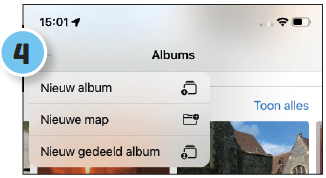
Organize photosIn the app photos all photos and videos that you take with your iPhone (or iPad) are collected. Because shooting with Apple’s devices is so popular, such a photo collection is doomed to become a giant chaotic pile of snapshots. That’s why Apple photos organized in such a way that your material is automatically sorted. This uses the time and location data that your iPhone (and iPad) automatically saves with every photo you take. Based on this late photos automatically see your material in a clear overview. In addition to this time-bound sorting analyzes photos also the locations and faces. This makes it very easy to find all photos taken at a certain place, or find all photos of one person. Also useful: photos automatically put your panoramic photos and videos together in a kind of album. Finally, the app also has a very smart search function, with which you can also search for objects in your photos. 1 Photo collections Tap in the bottom left of Photos photos for your complete collection. You can zoom in and out with a spread and pinch movement, you can also zoom via the button at the top right. 2 Featured photos Through Years, Months and To dawn you end up with beautiful collections of photos, which according to the app deserve to be featured. |
|
 |
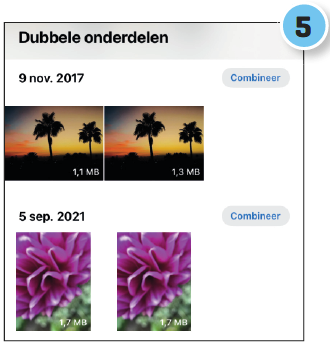
3 albums Tap the third tab albums. Here you will find self-created and shared albums, albums by person or place, as well as folders for media types such as videos, Live Photos, and selfies.
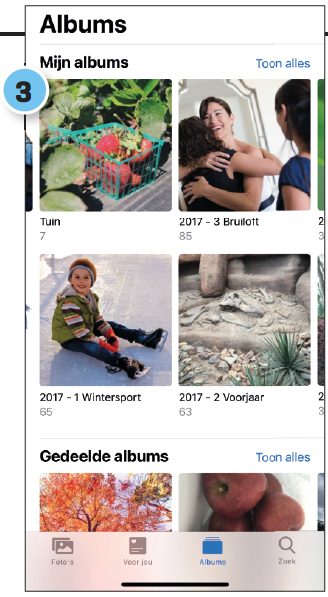
4 Make your own album? Tap the plus sign in the top left albums |
||
|
5 Double Sometimes photos accidentally end up duplicated in your photo library. Through albums and then Duplicate parts your iPhone will help you clean up these photos neatly.
|
|
||
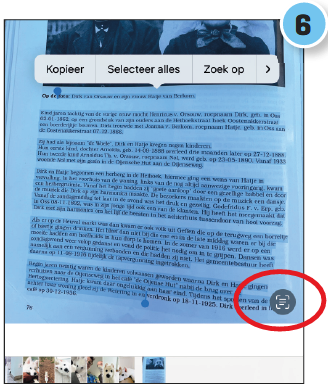 |
6 Live text You can copy text from photos (or videos) as you can with typed text. Turn it on first via Institutionsthen choose General and after that Language and region. Note the icon at the bottom right. |
CaptionsYou can add captions to photos to make them easier to find later. To do this, open a photo and swipe it upwards. |
